Fibonacci Clock - Part 2
Now that the electronics are done - time to tackle the case! It’s made from laser cut ply and was pretty straight forward to put together.
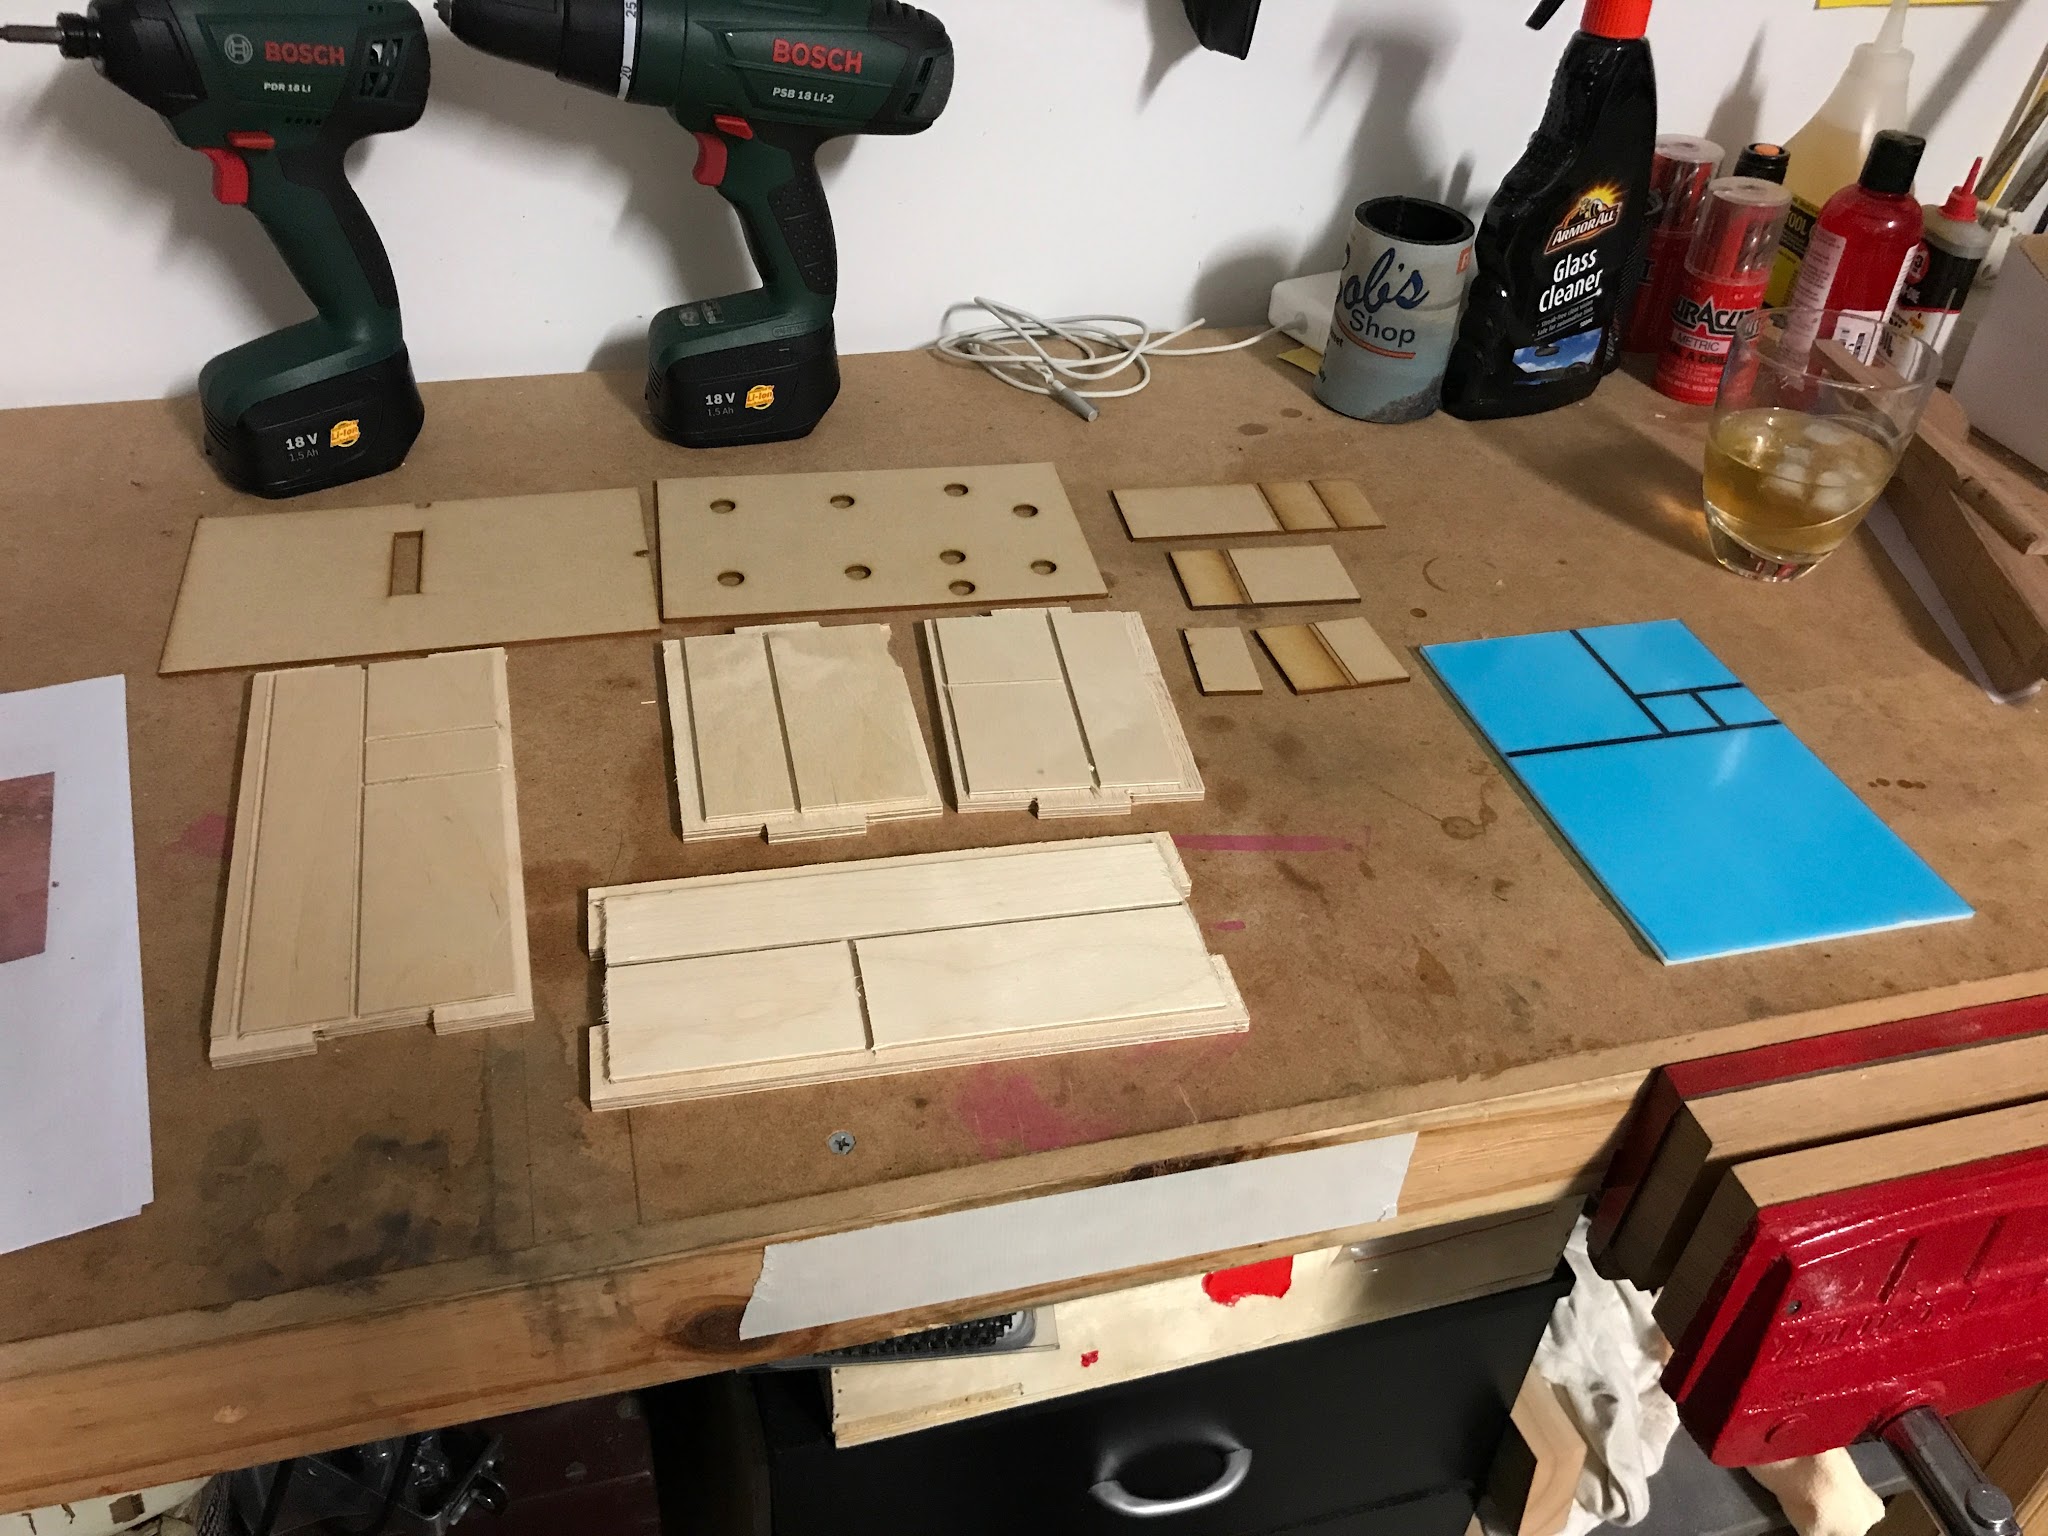
Started with some sanding to tidy up the laser cutting and then dry fit per instructions. Once that worked it was time for glue and clamps:
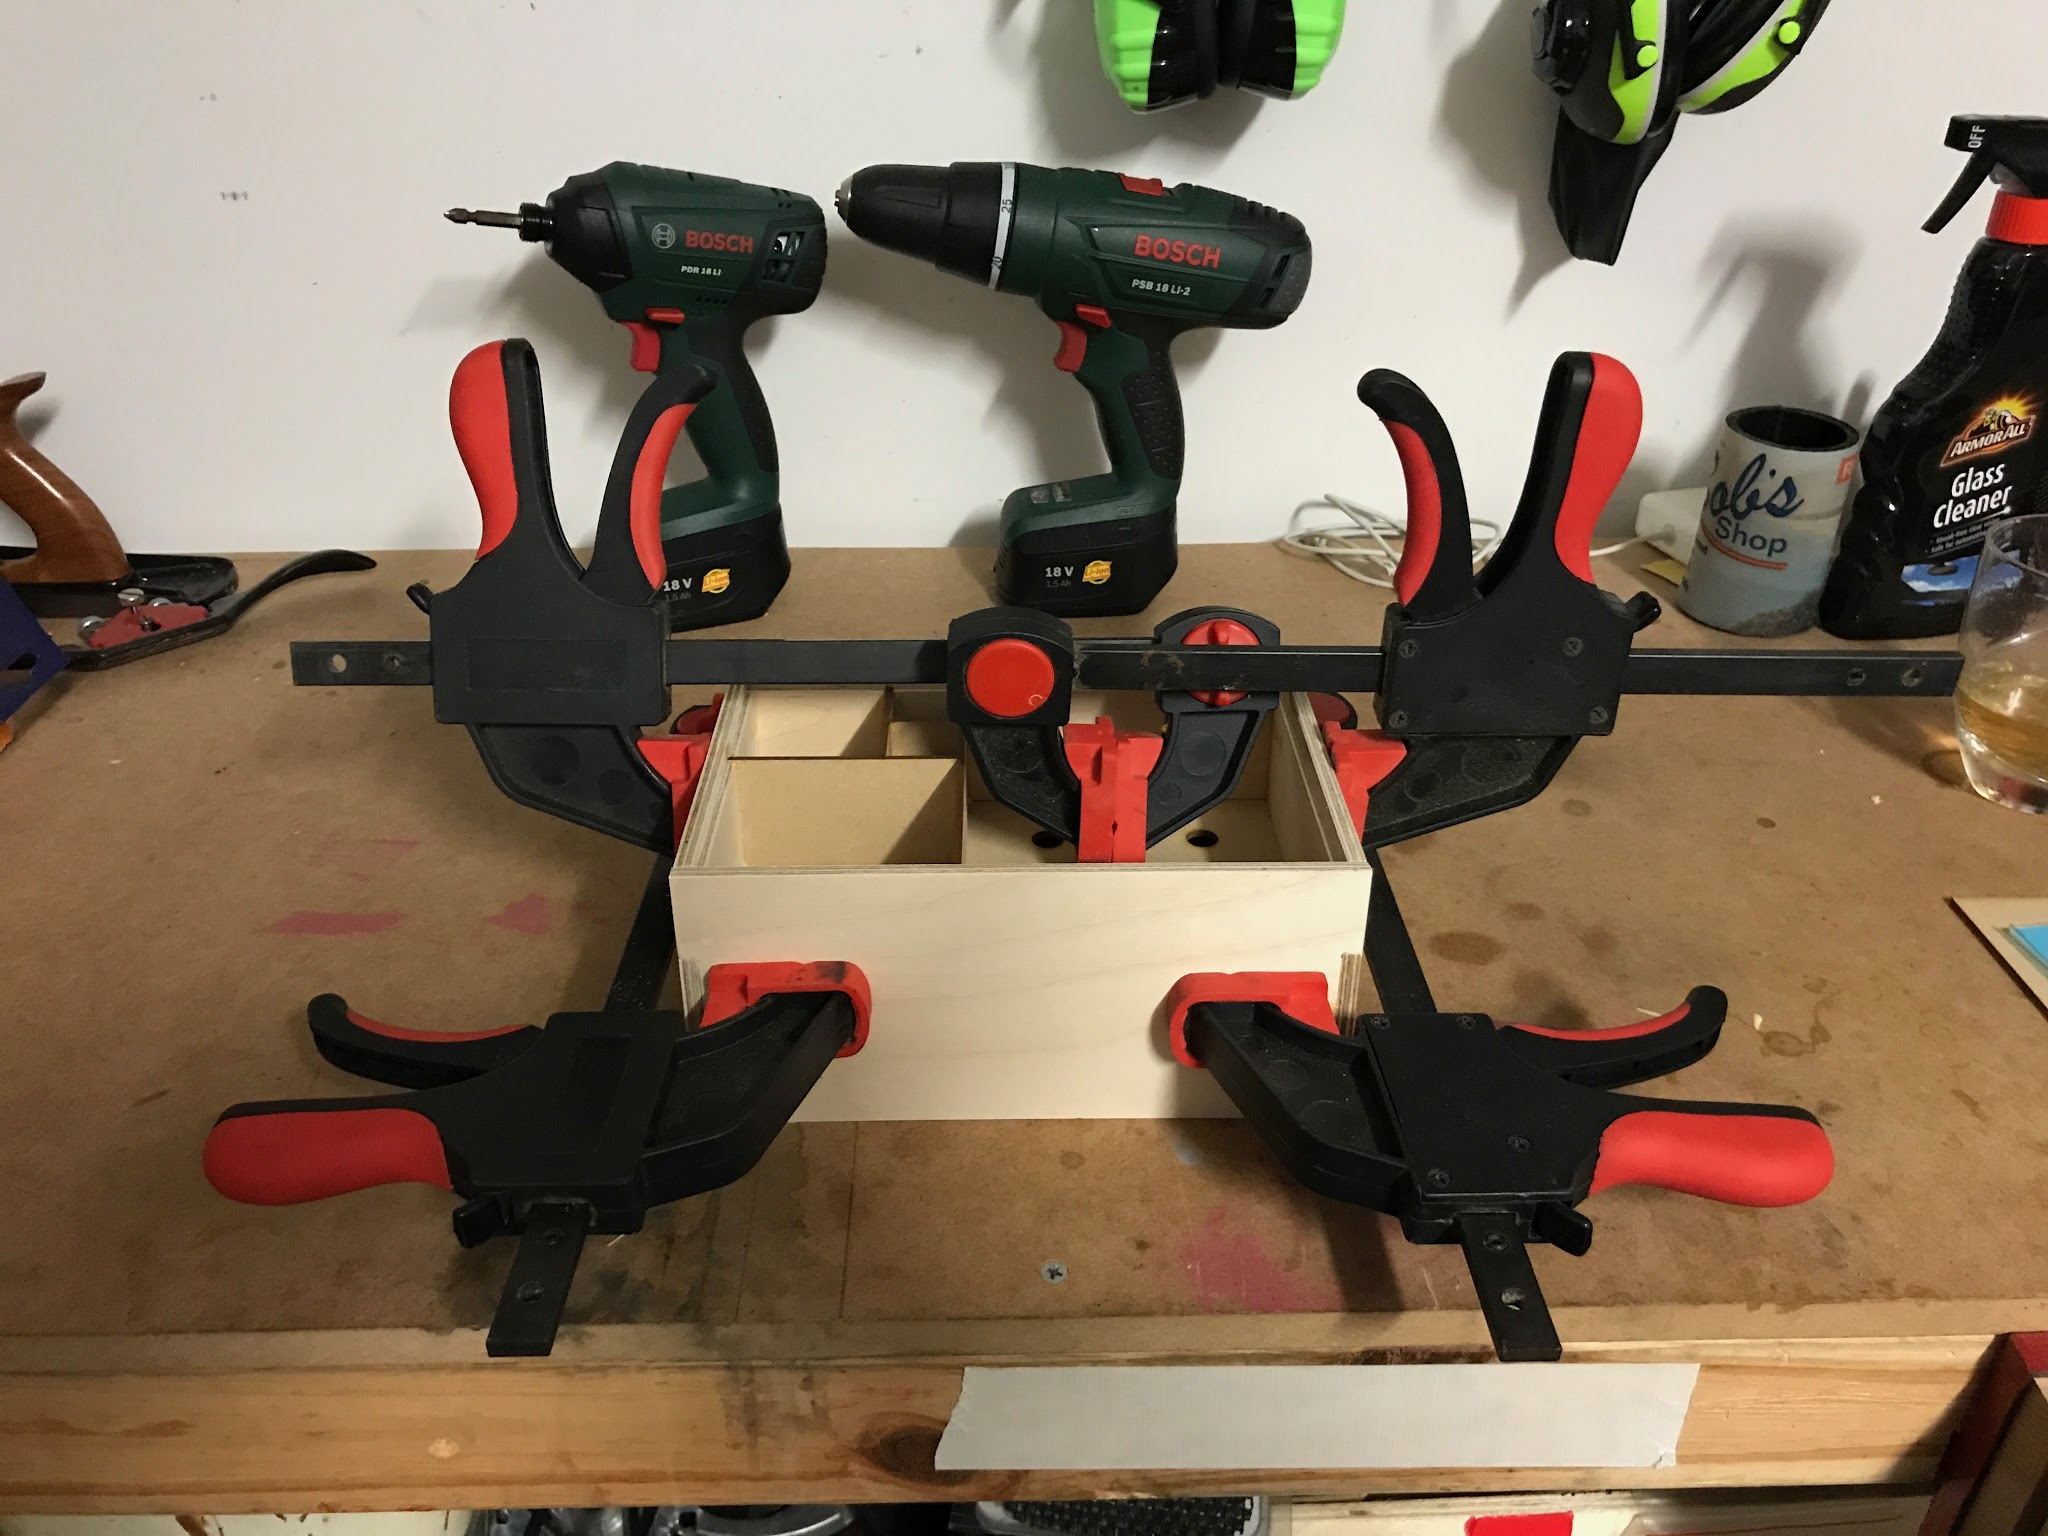
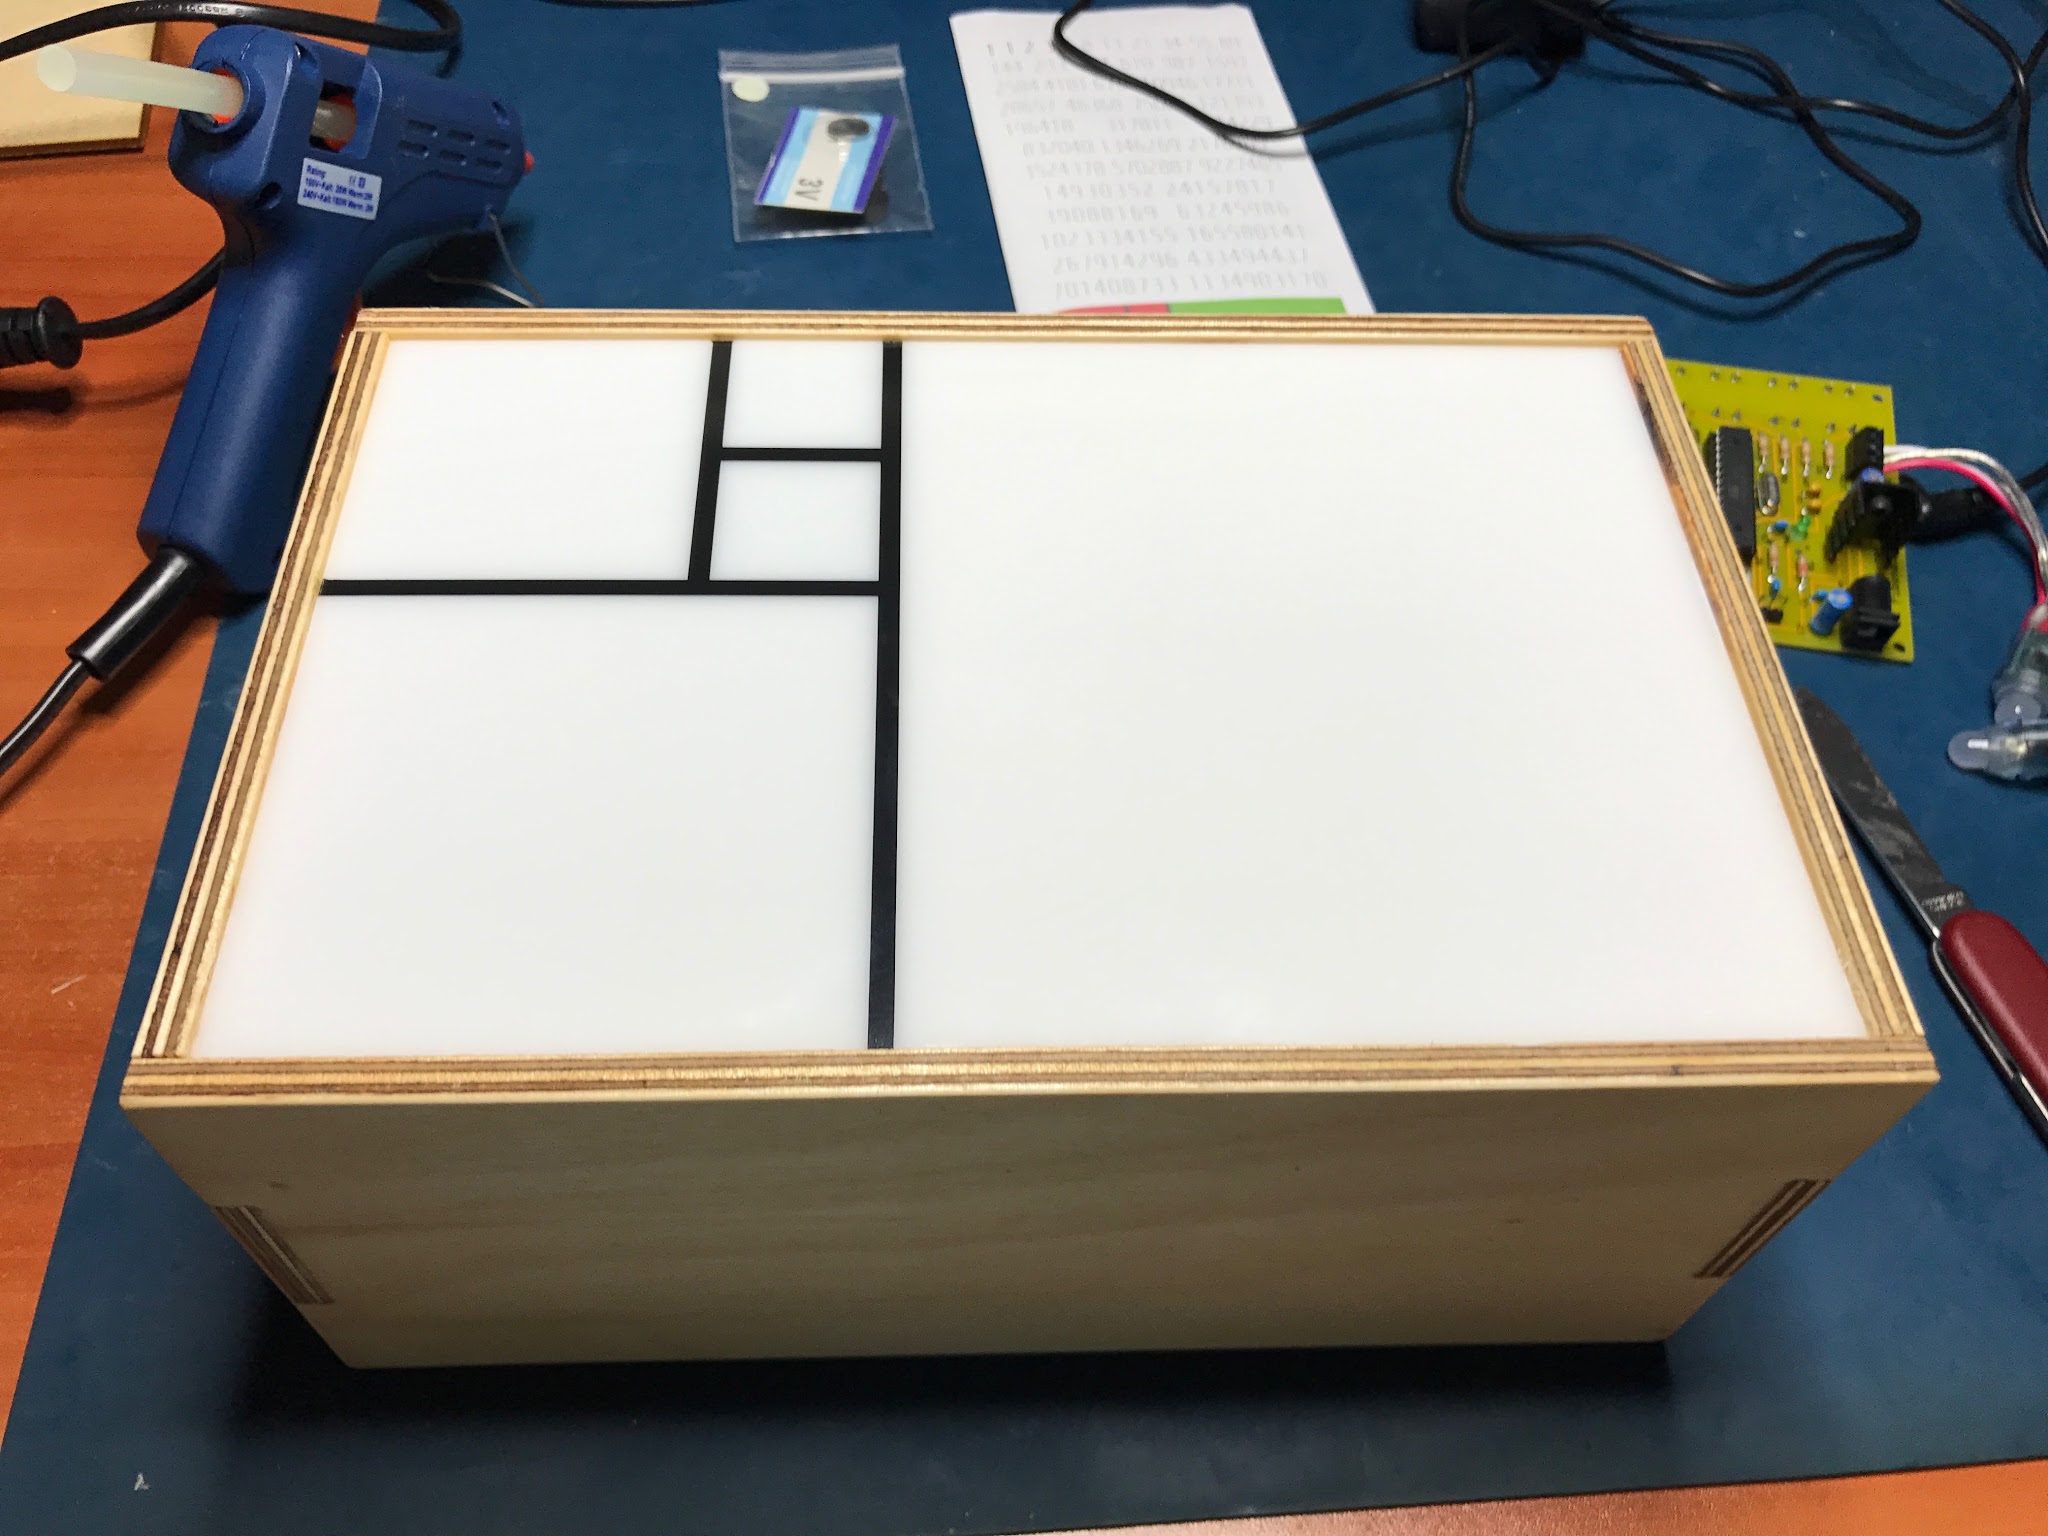
Left that over night to dry and then sanded again the next morning. Finshing wise I just used some oil I already had - came up looking pretty nice!
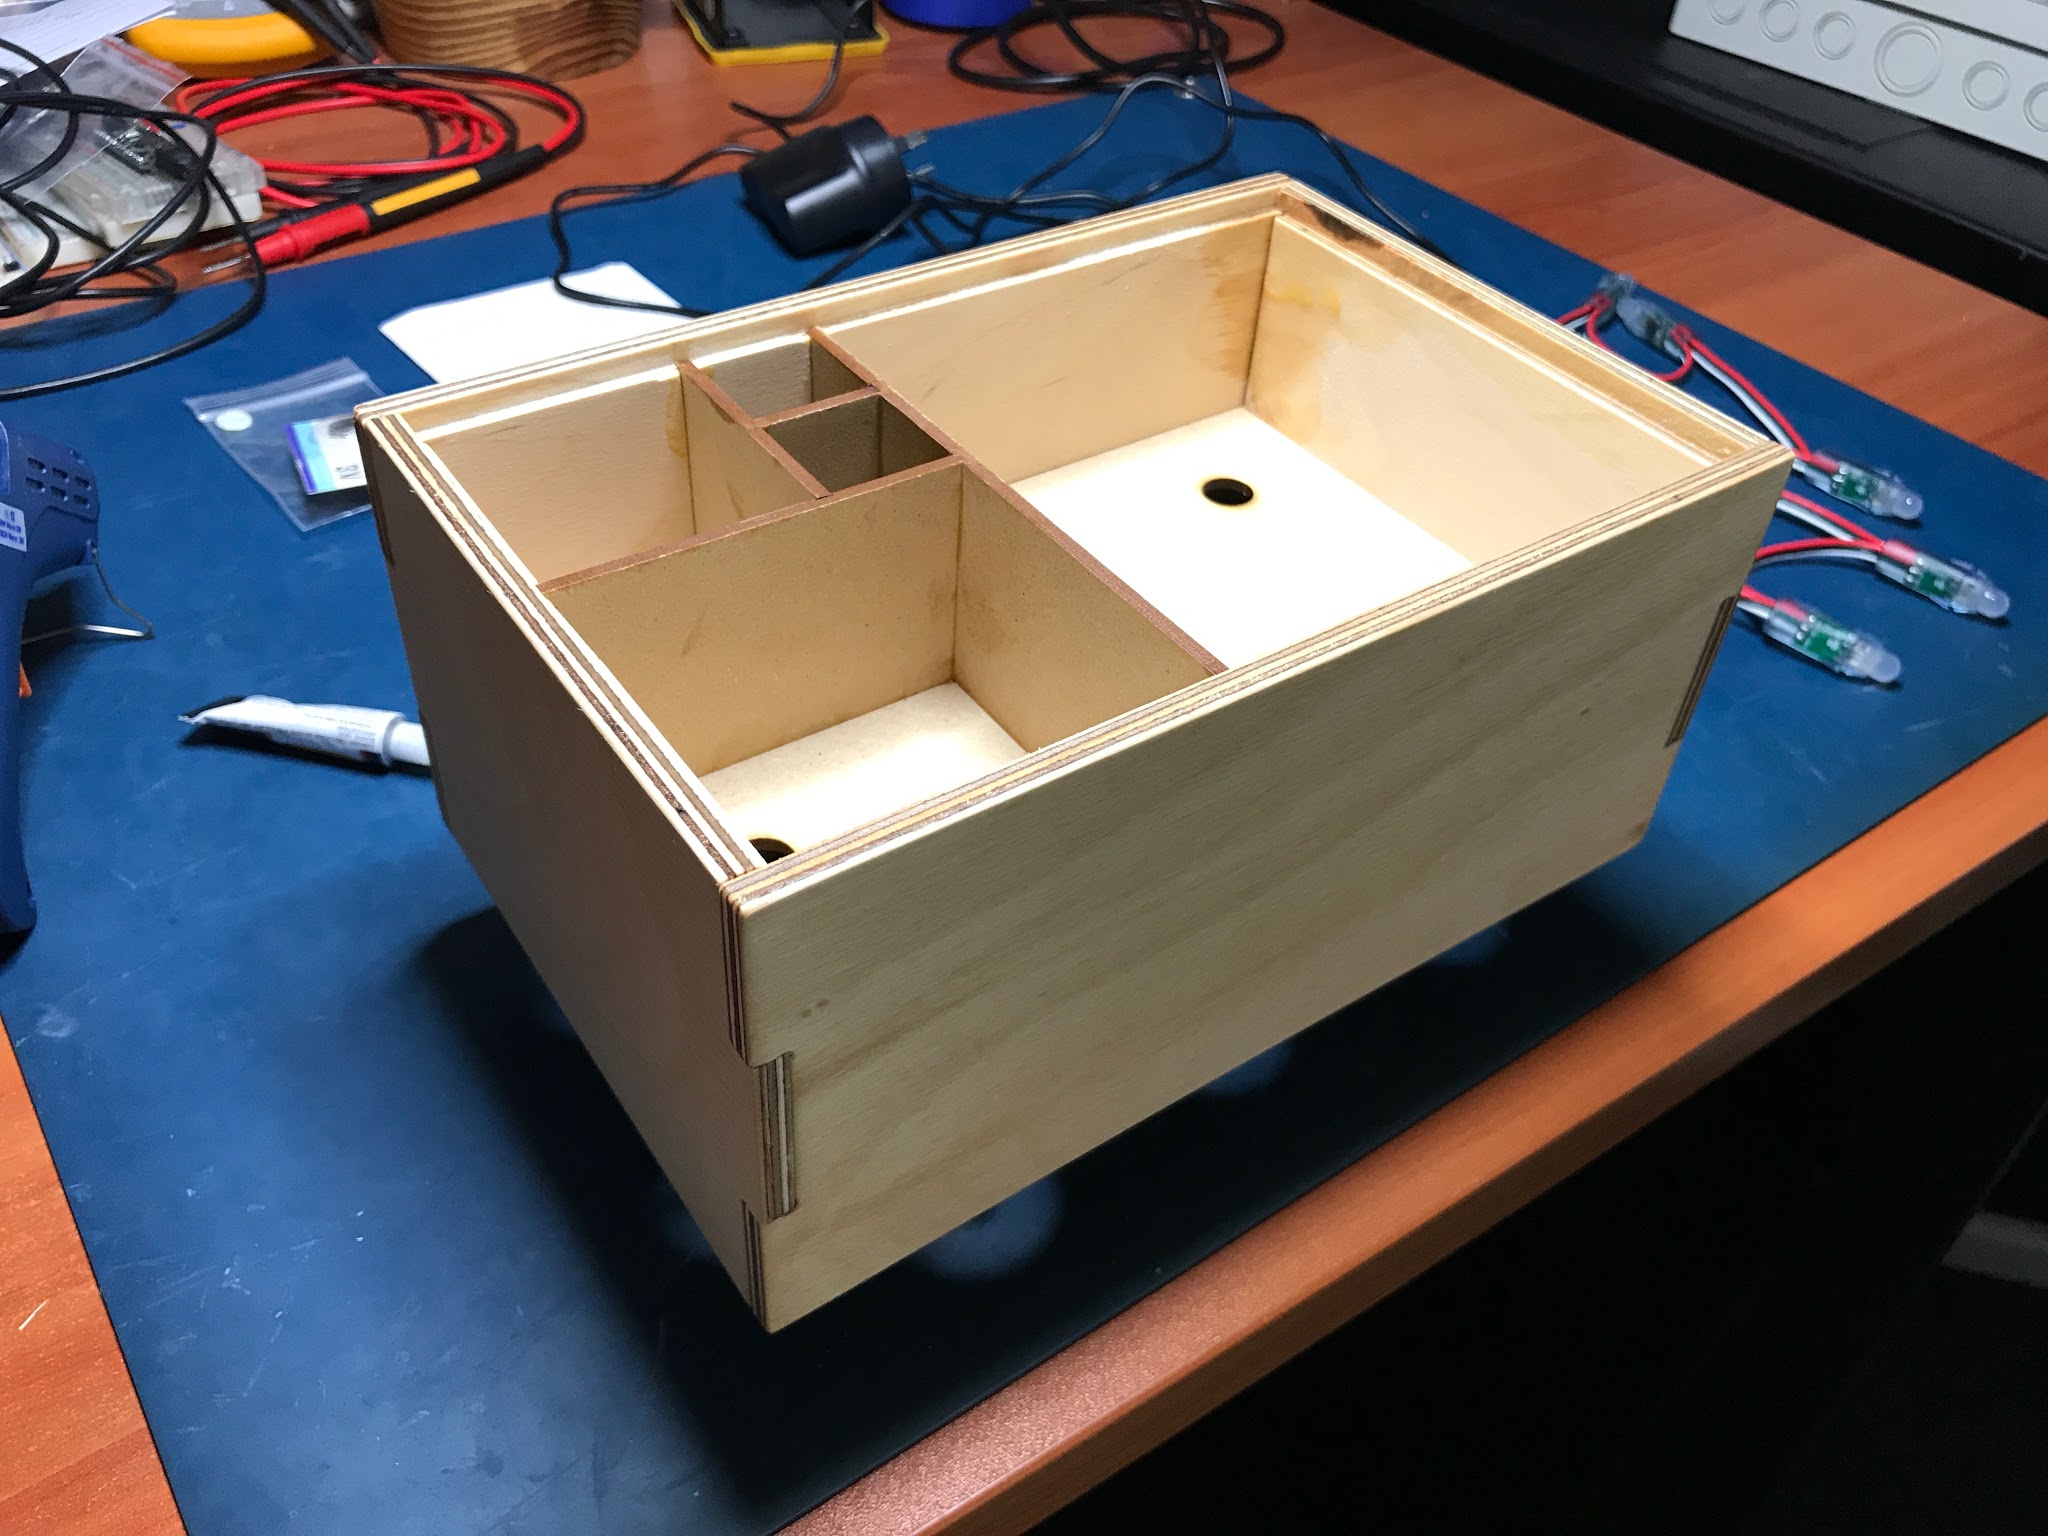
I then superglued in the front pieec of perspex. This was a tight fit thanks to those clamps during the glue up.
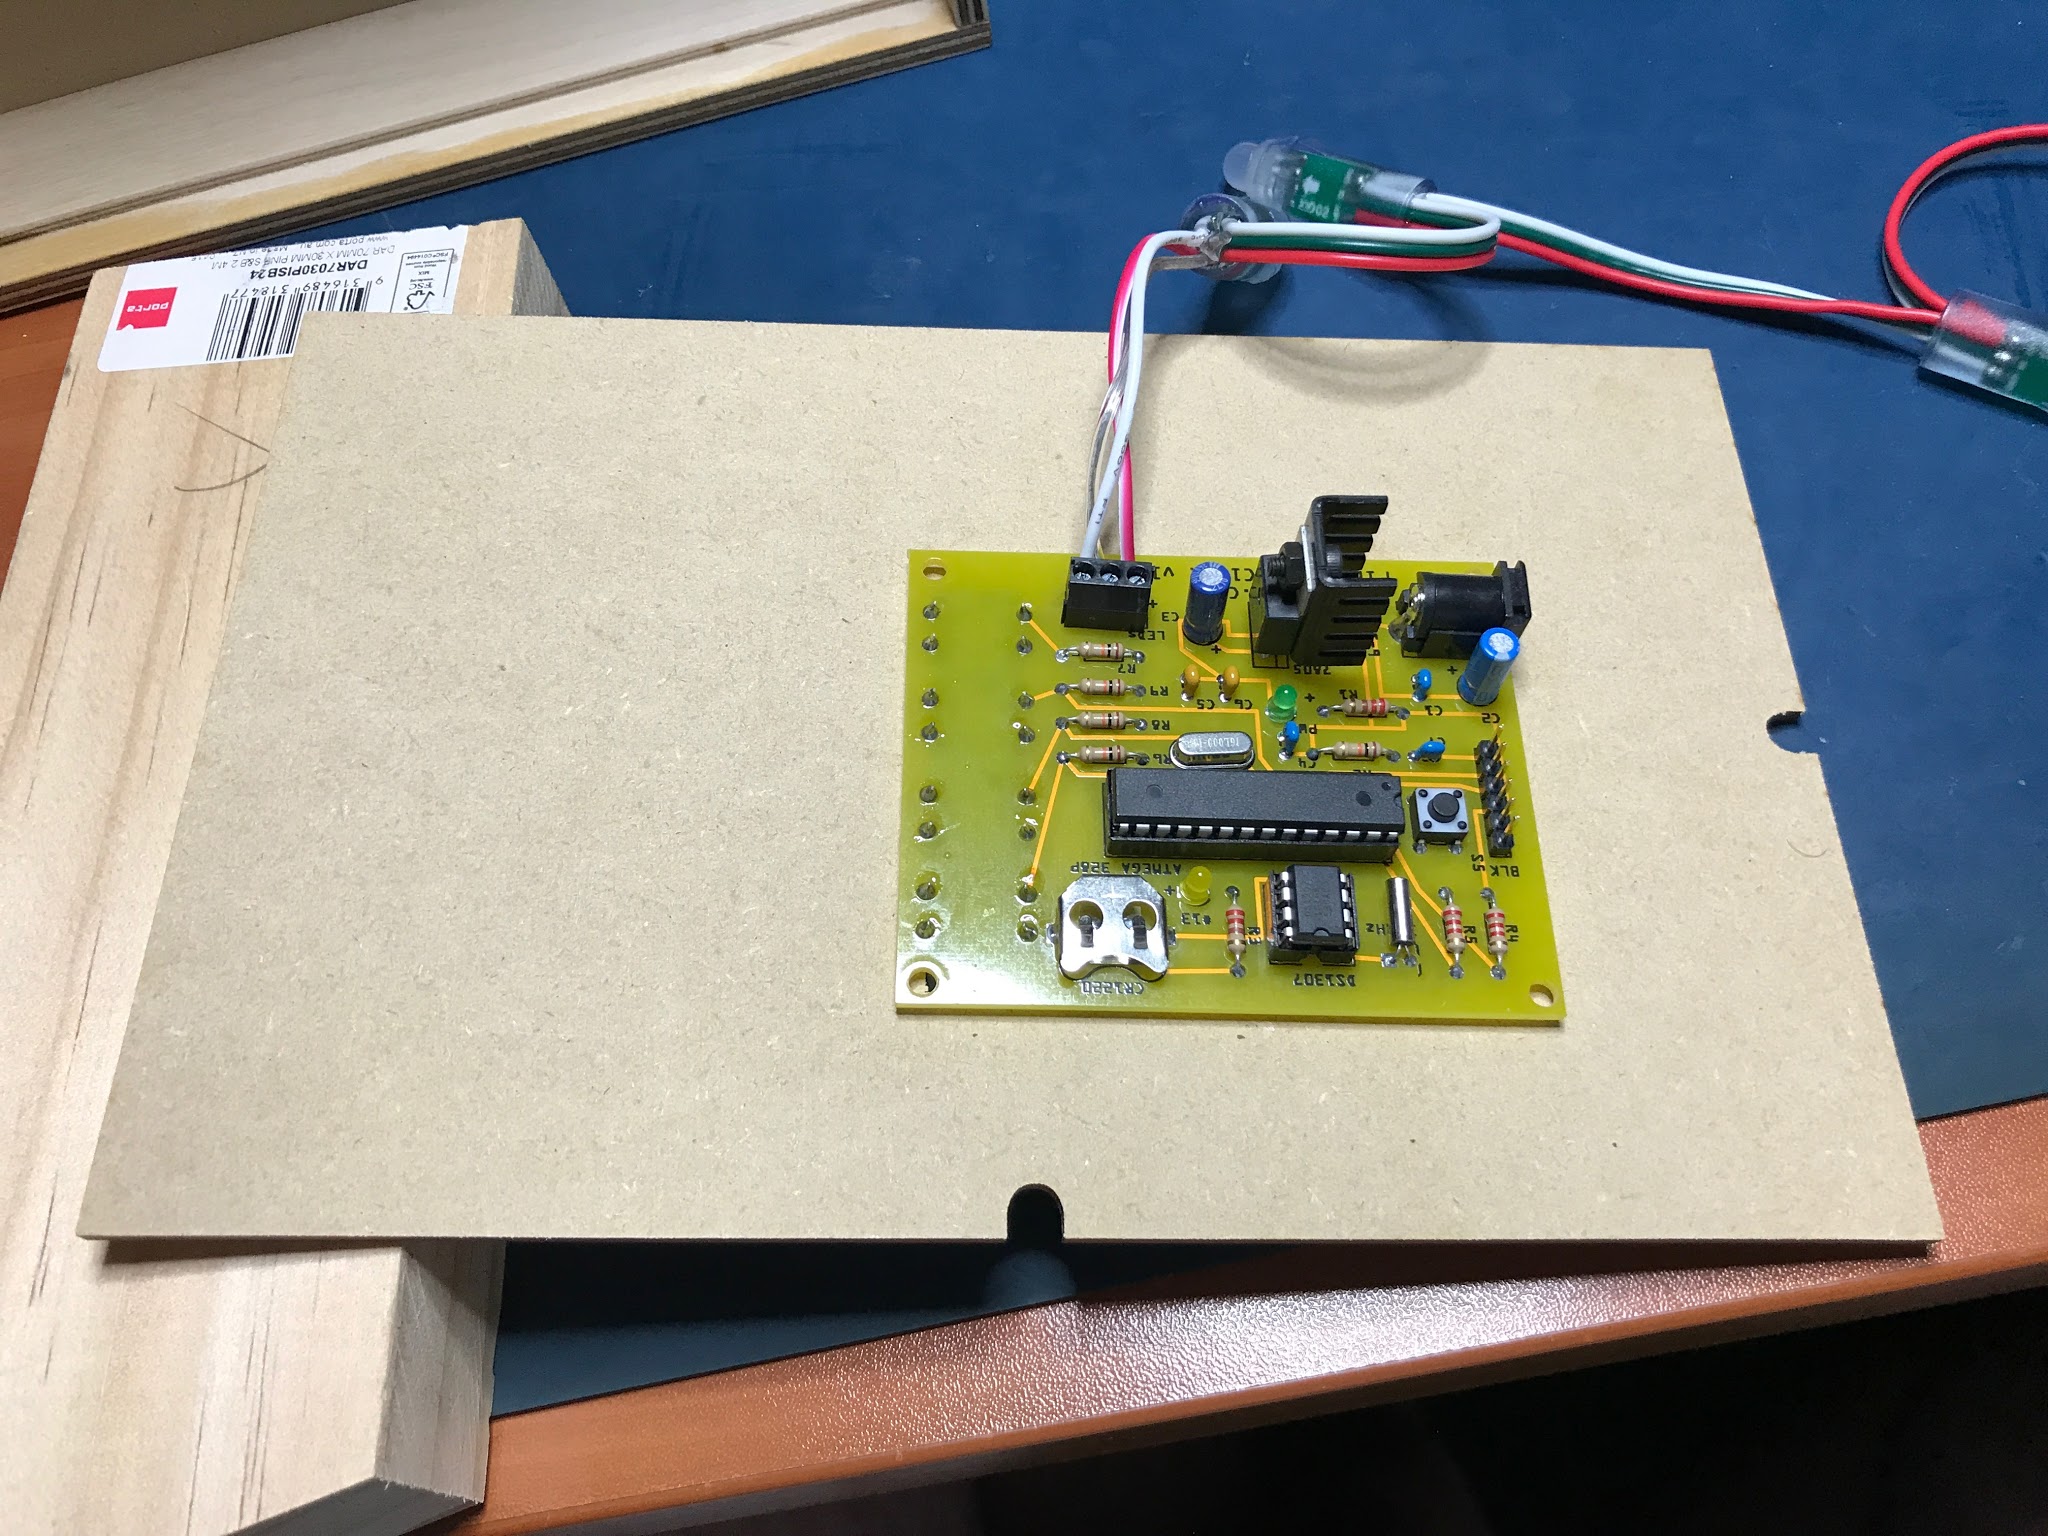
Next was to hot glue in the PCB and route the LEDs per the instructions.
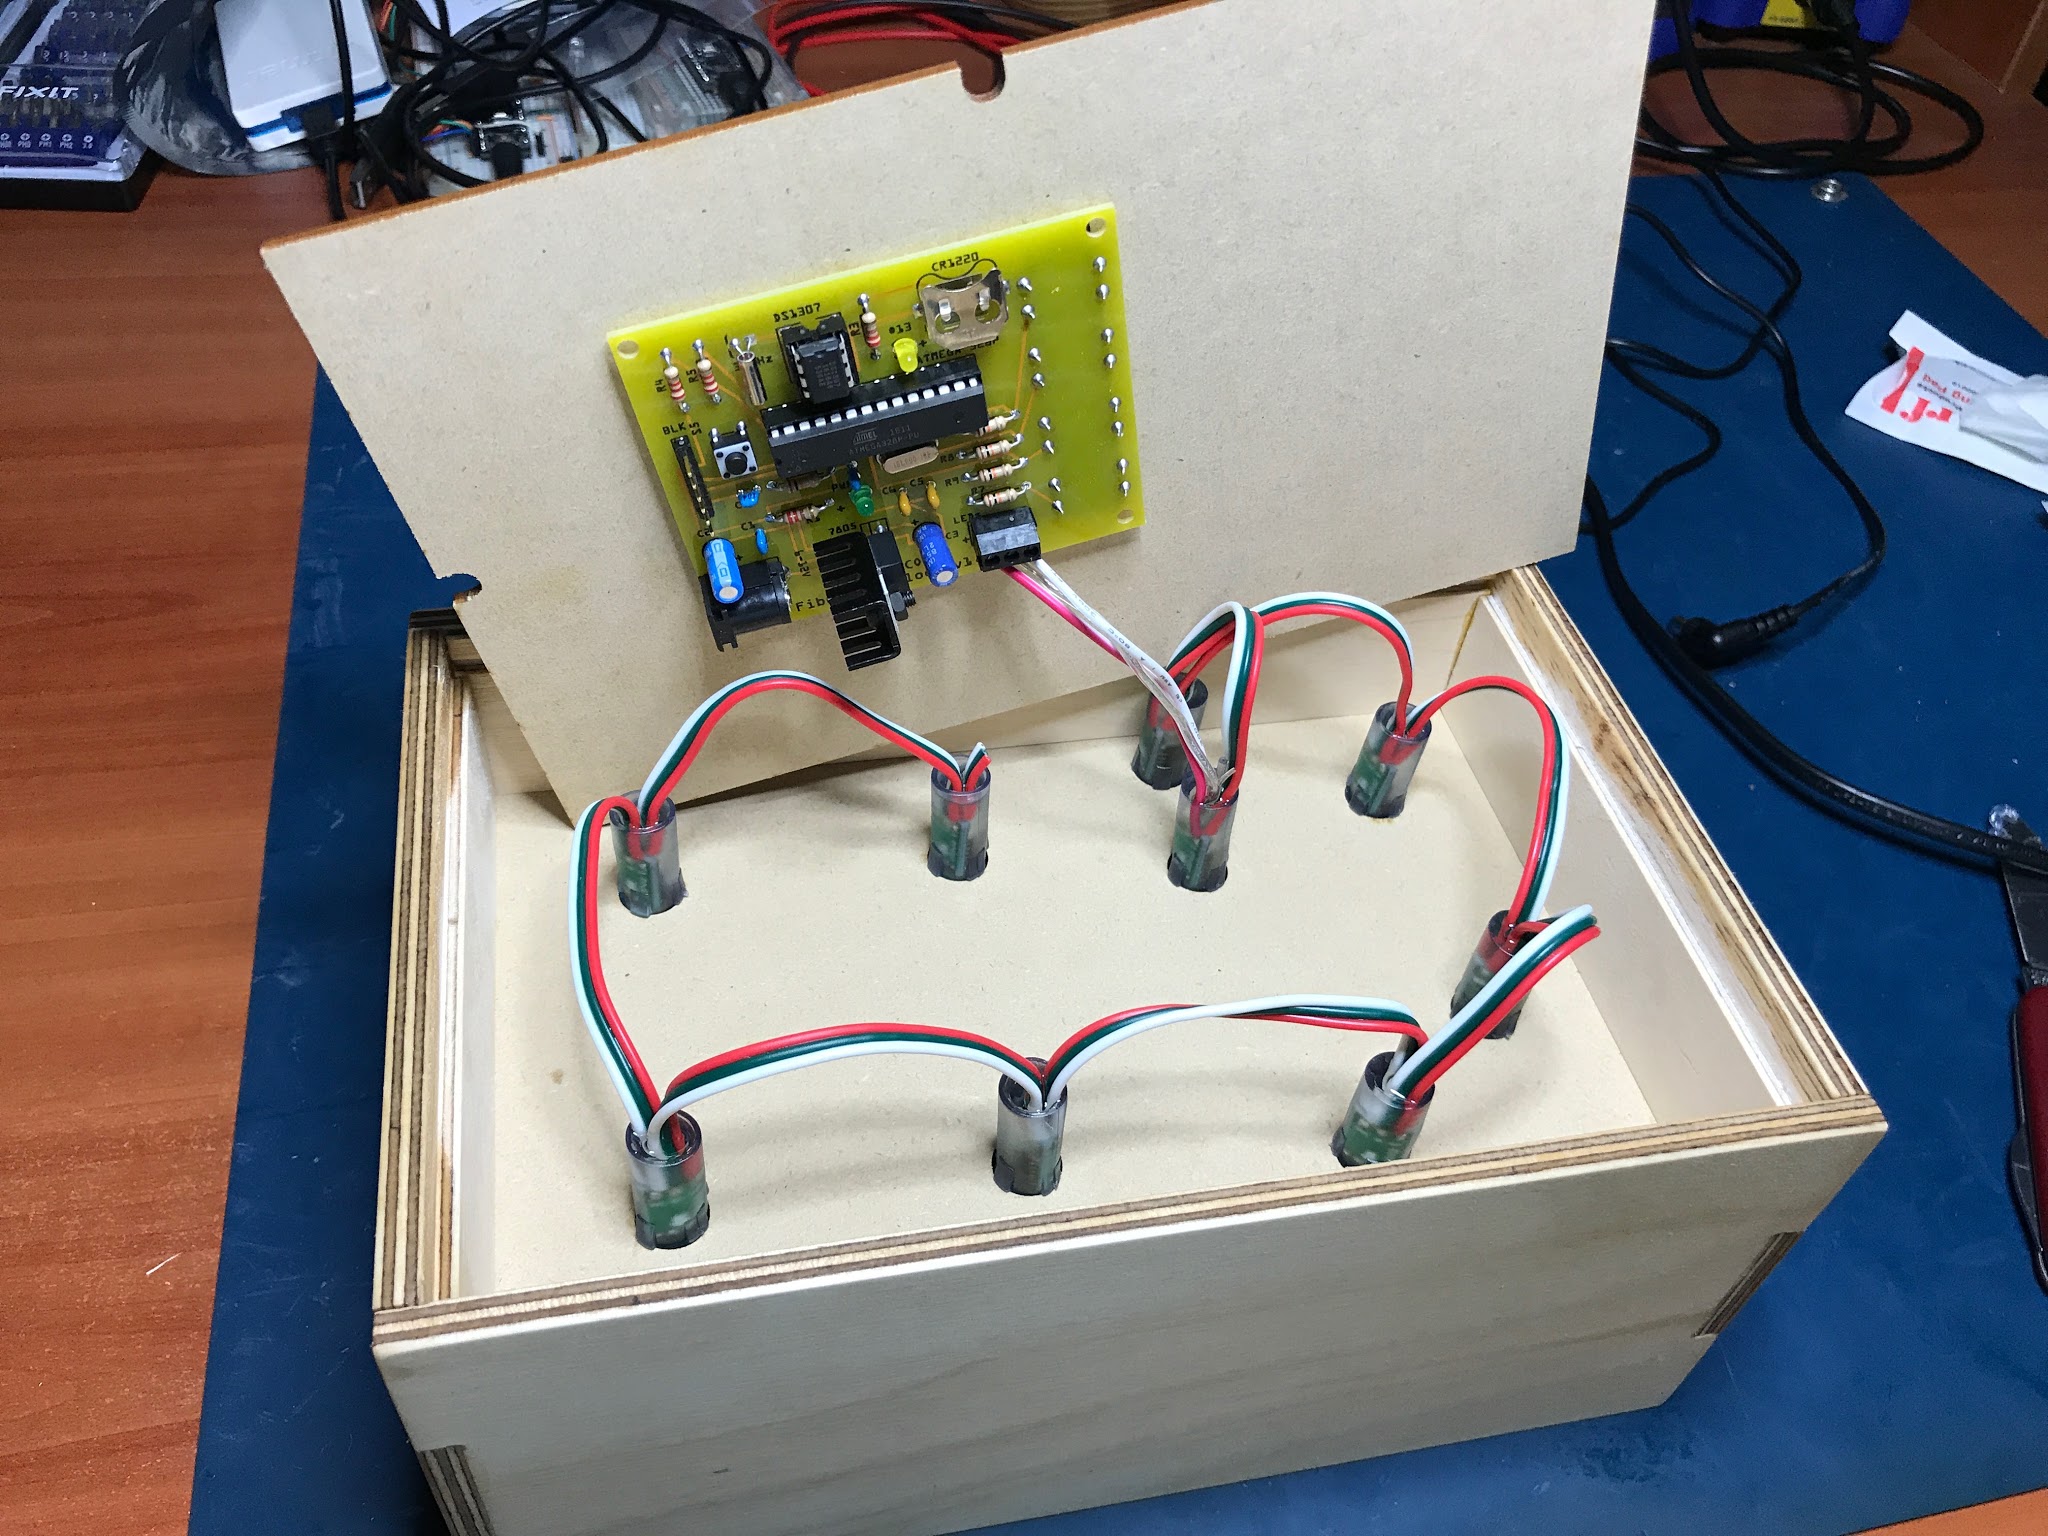
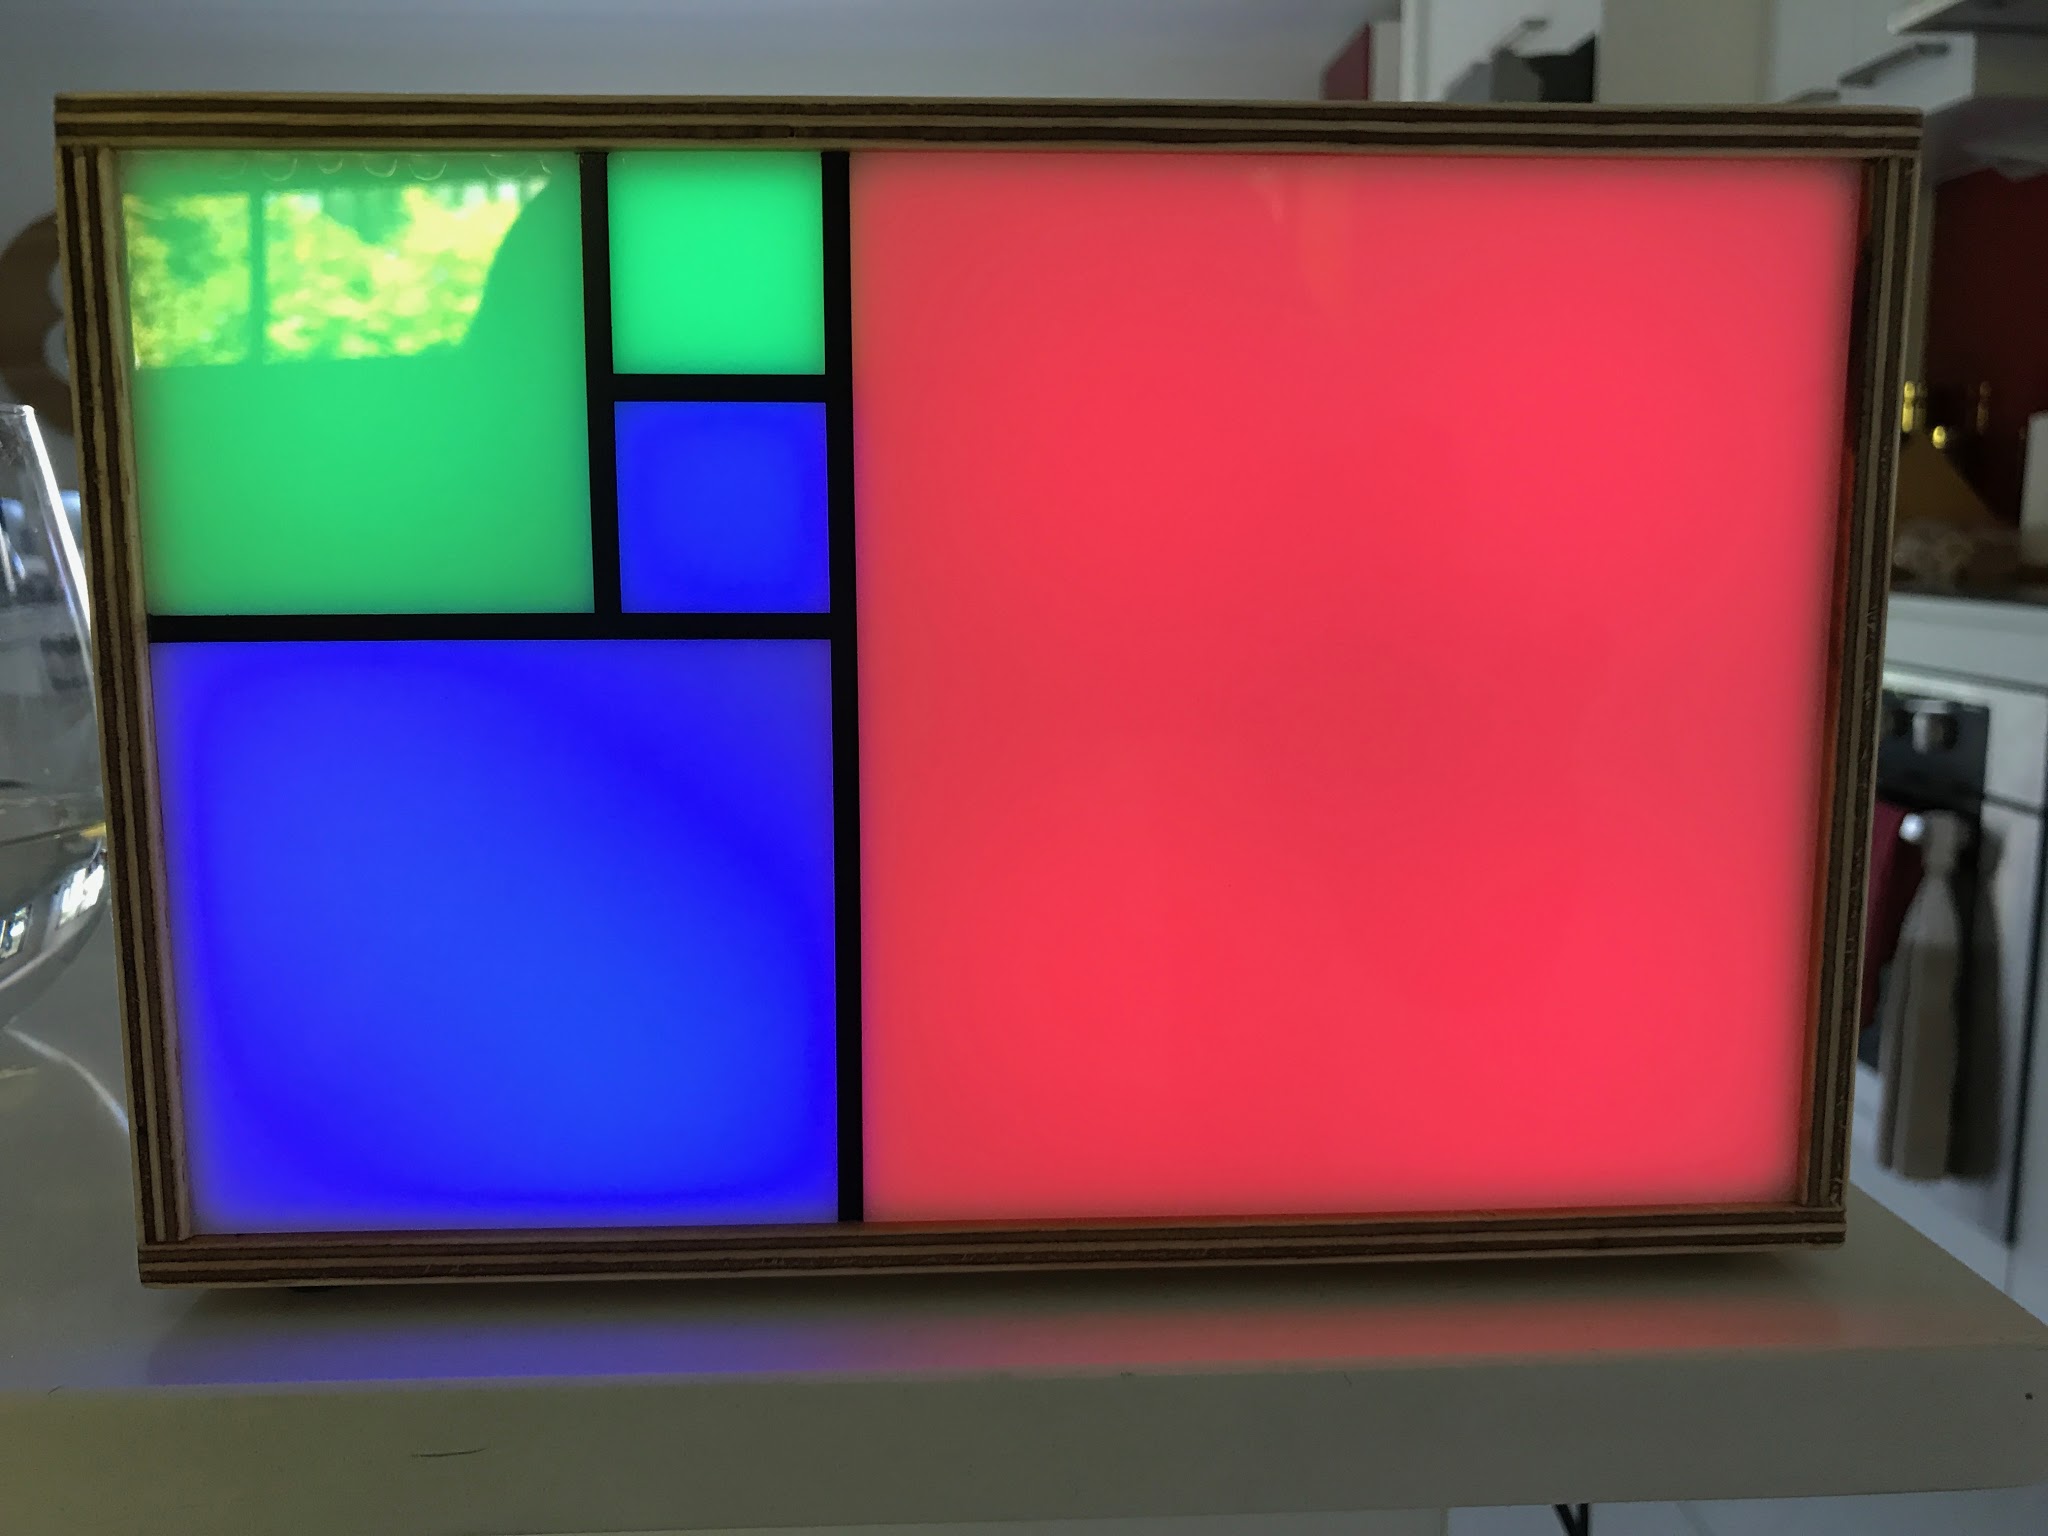
And finally it was time to power it up and set the time! It’s a pretty tight little kit - I’m very impressed!