Amiga 1200 in 2026
For anyone that’s read this blog for a while or knows me - you know I like retro computers and in particular original hardware where I can help it. Often with a few modern upgrades (mainly for storage). There’s been a lot of talk in the retro community about the revival of Commodore and the new Commodore 64. This is awesome, however I already have an original breadbin c64 that works quite well so I haven’t purcahsed one (so far). The excitement it’s brought into the retro community is awesome though, which got me paying attention again.
And though I don’t plan on getting a new c64, I have wanted an Amiga 1200 on and off for a while now, and that was re-enforced when I saw a few recent YouTube videos like this one from MVG. The idea of writing code (either in assembler or something like C) with the benefit of modern development tools and emulators but then being able to run the code on original hardware really appeals to me. So I started my search for an Amiga 1200.
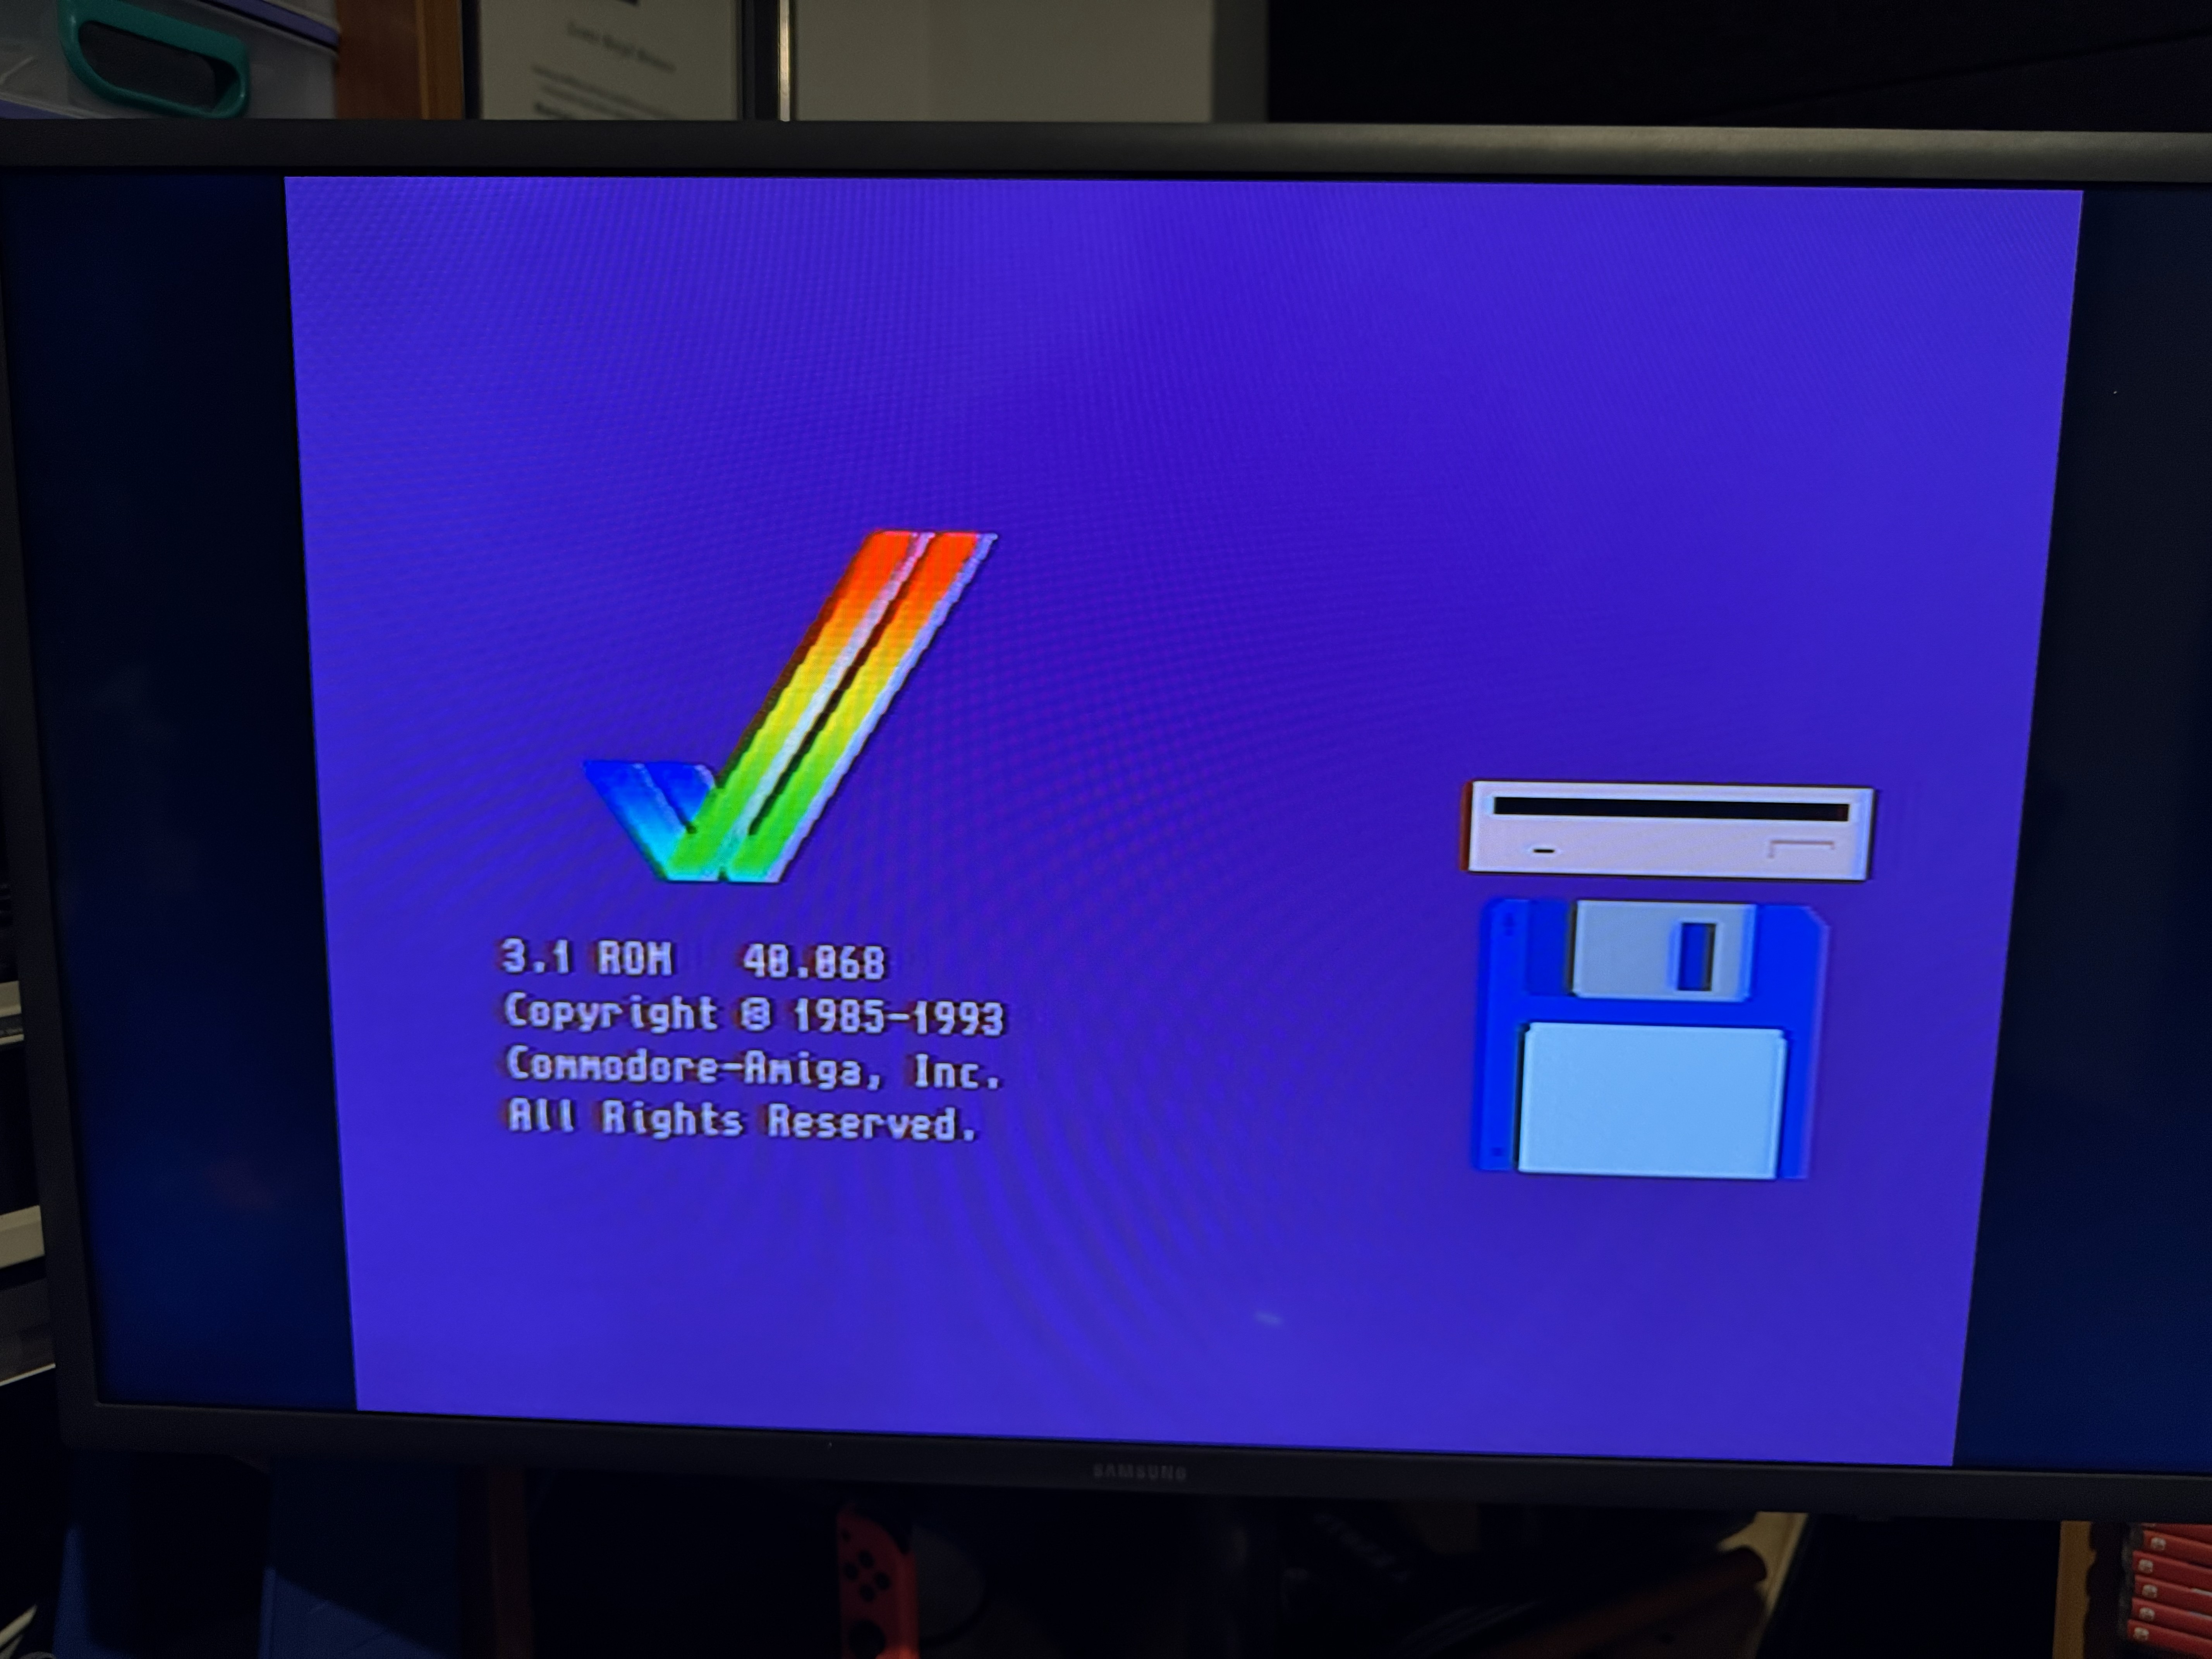
Fortunatley within about a month of looking one popped up not far from home for a reasonable price on eBay. I reached out and made an offer that was accepted, and picked it up that afternoon on the way home from work. This was in December 2025, however thanks to the end of year rush I didn’t really get a chance to look at it until early in the new year while still on leave. It was sold as fully working, not having been recapped as far as the current owner was aware. I wanted to power it on before the cleaning and maintence started to confirm what I was working with. The Amiga 1200 has a few factory video out options and I went with RCA for the inital testing as it’s easy and works with the TV on my bench.
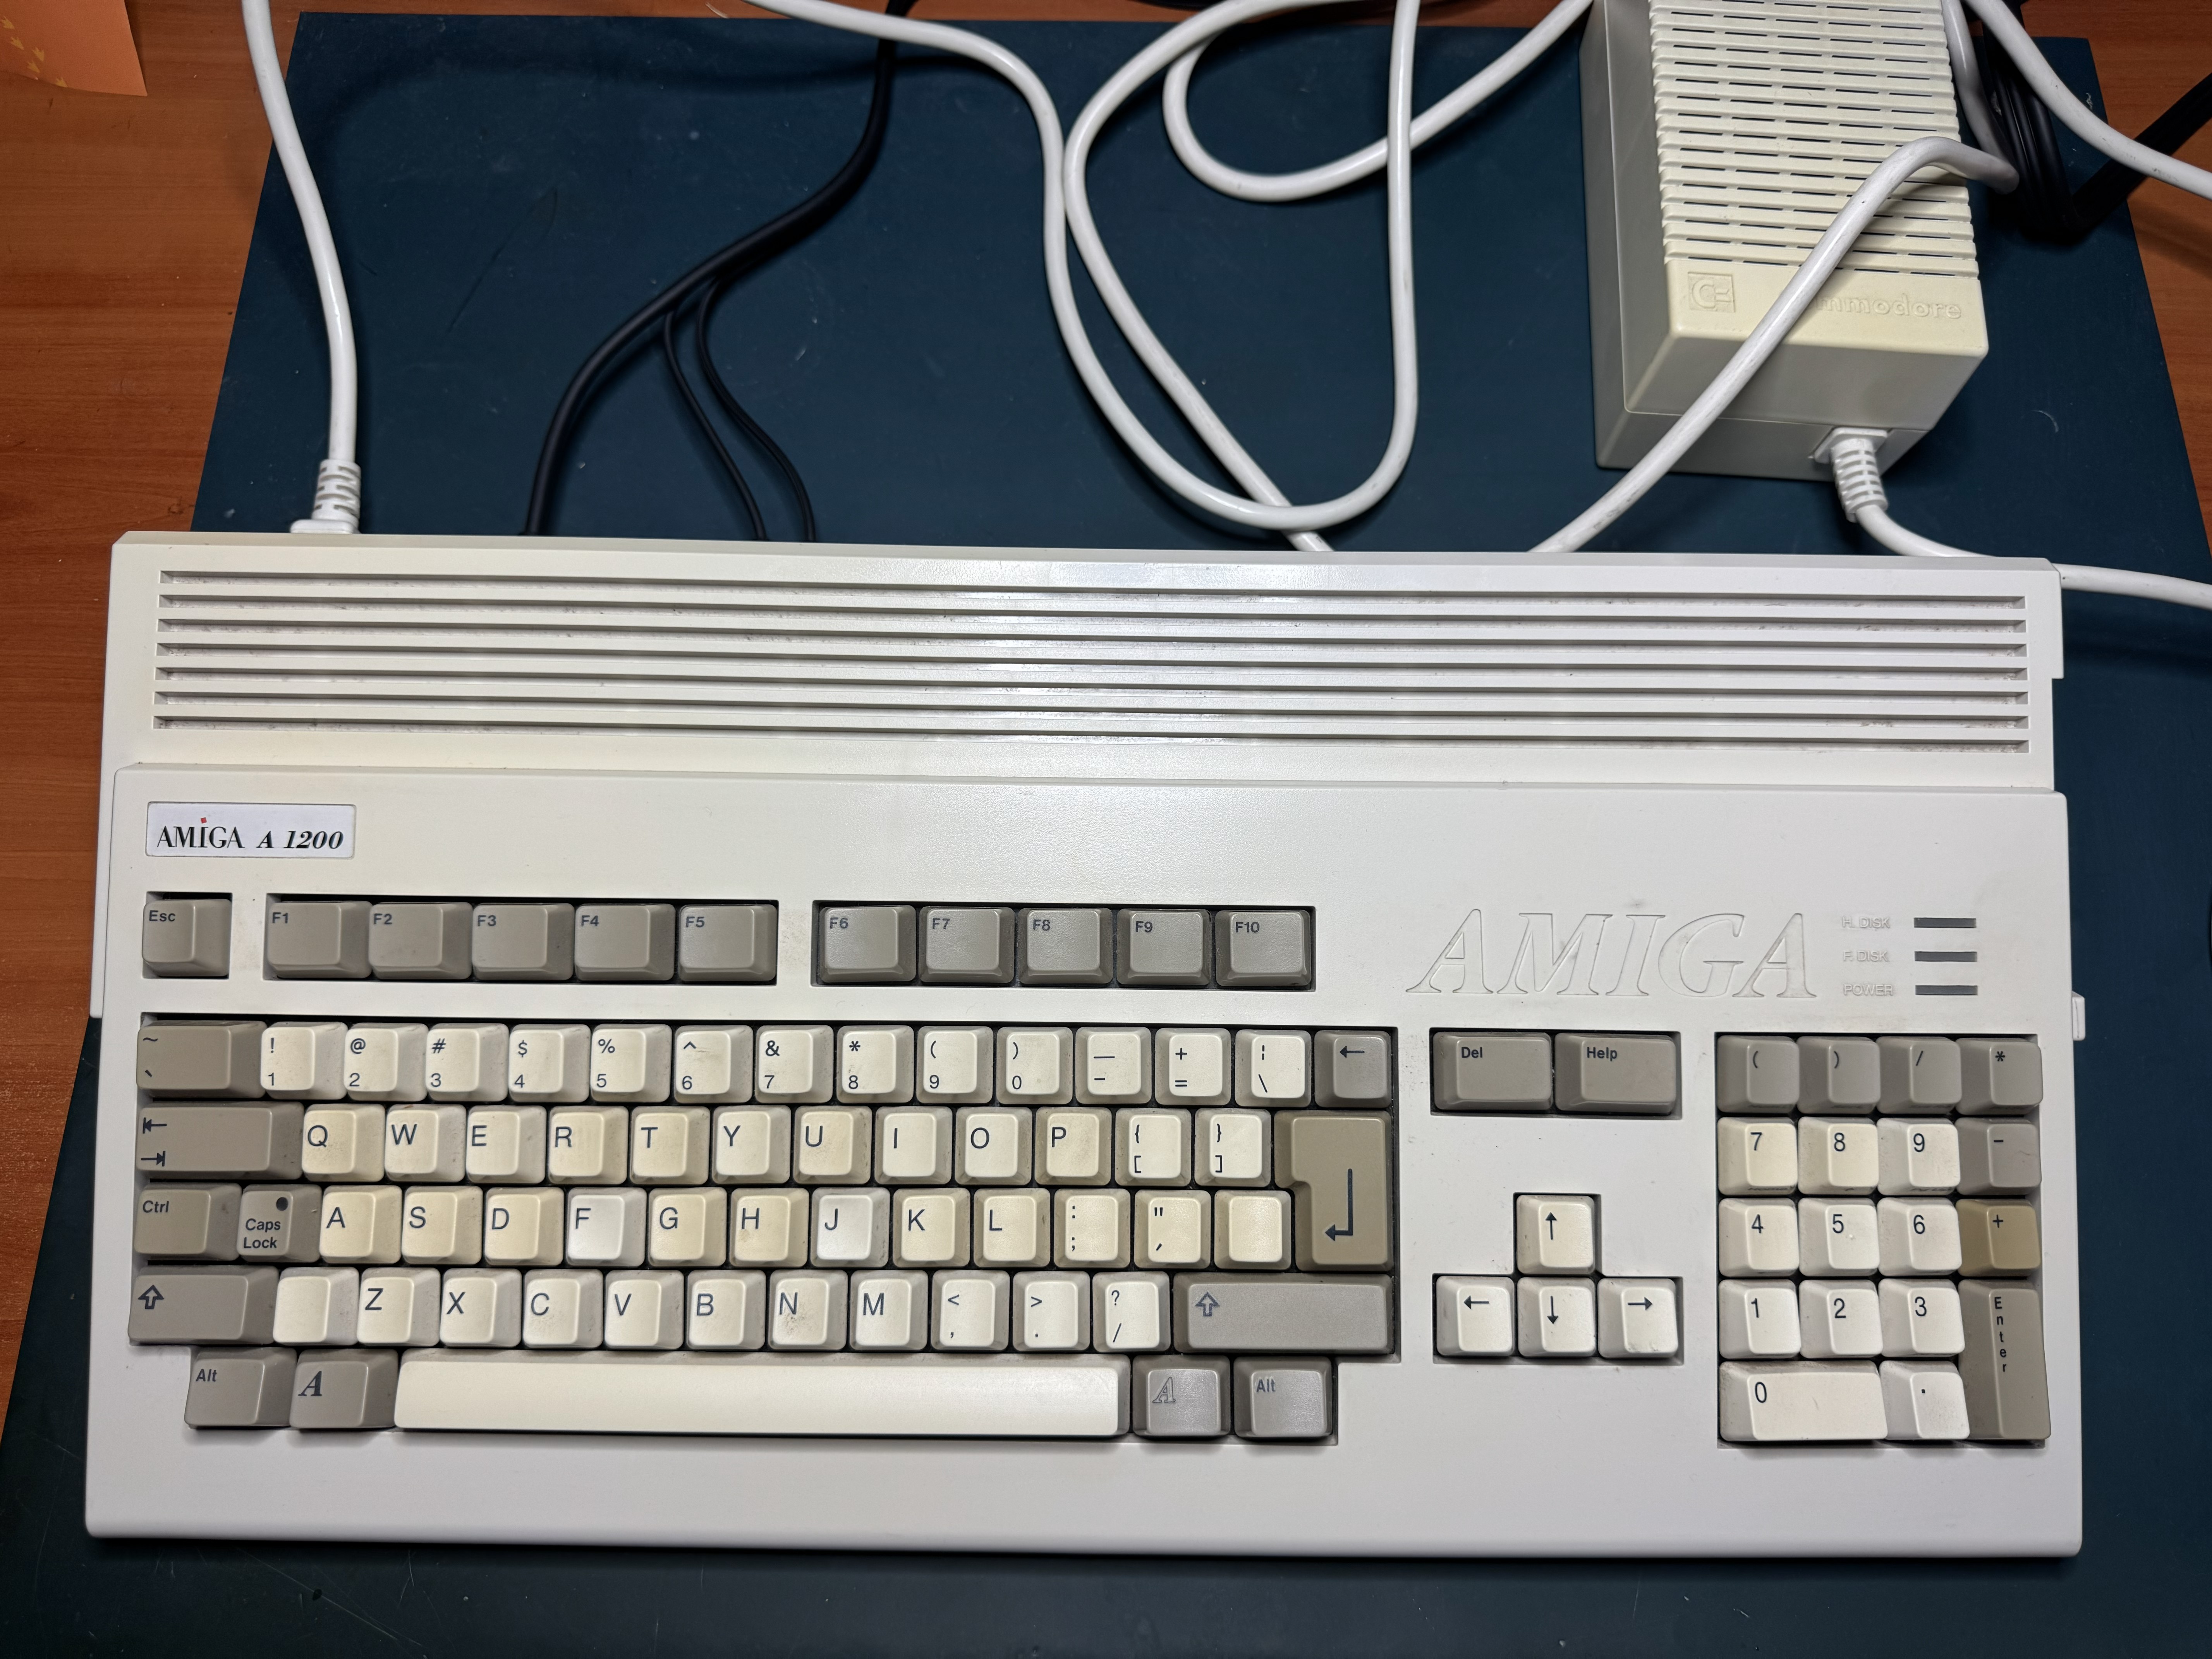
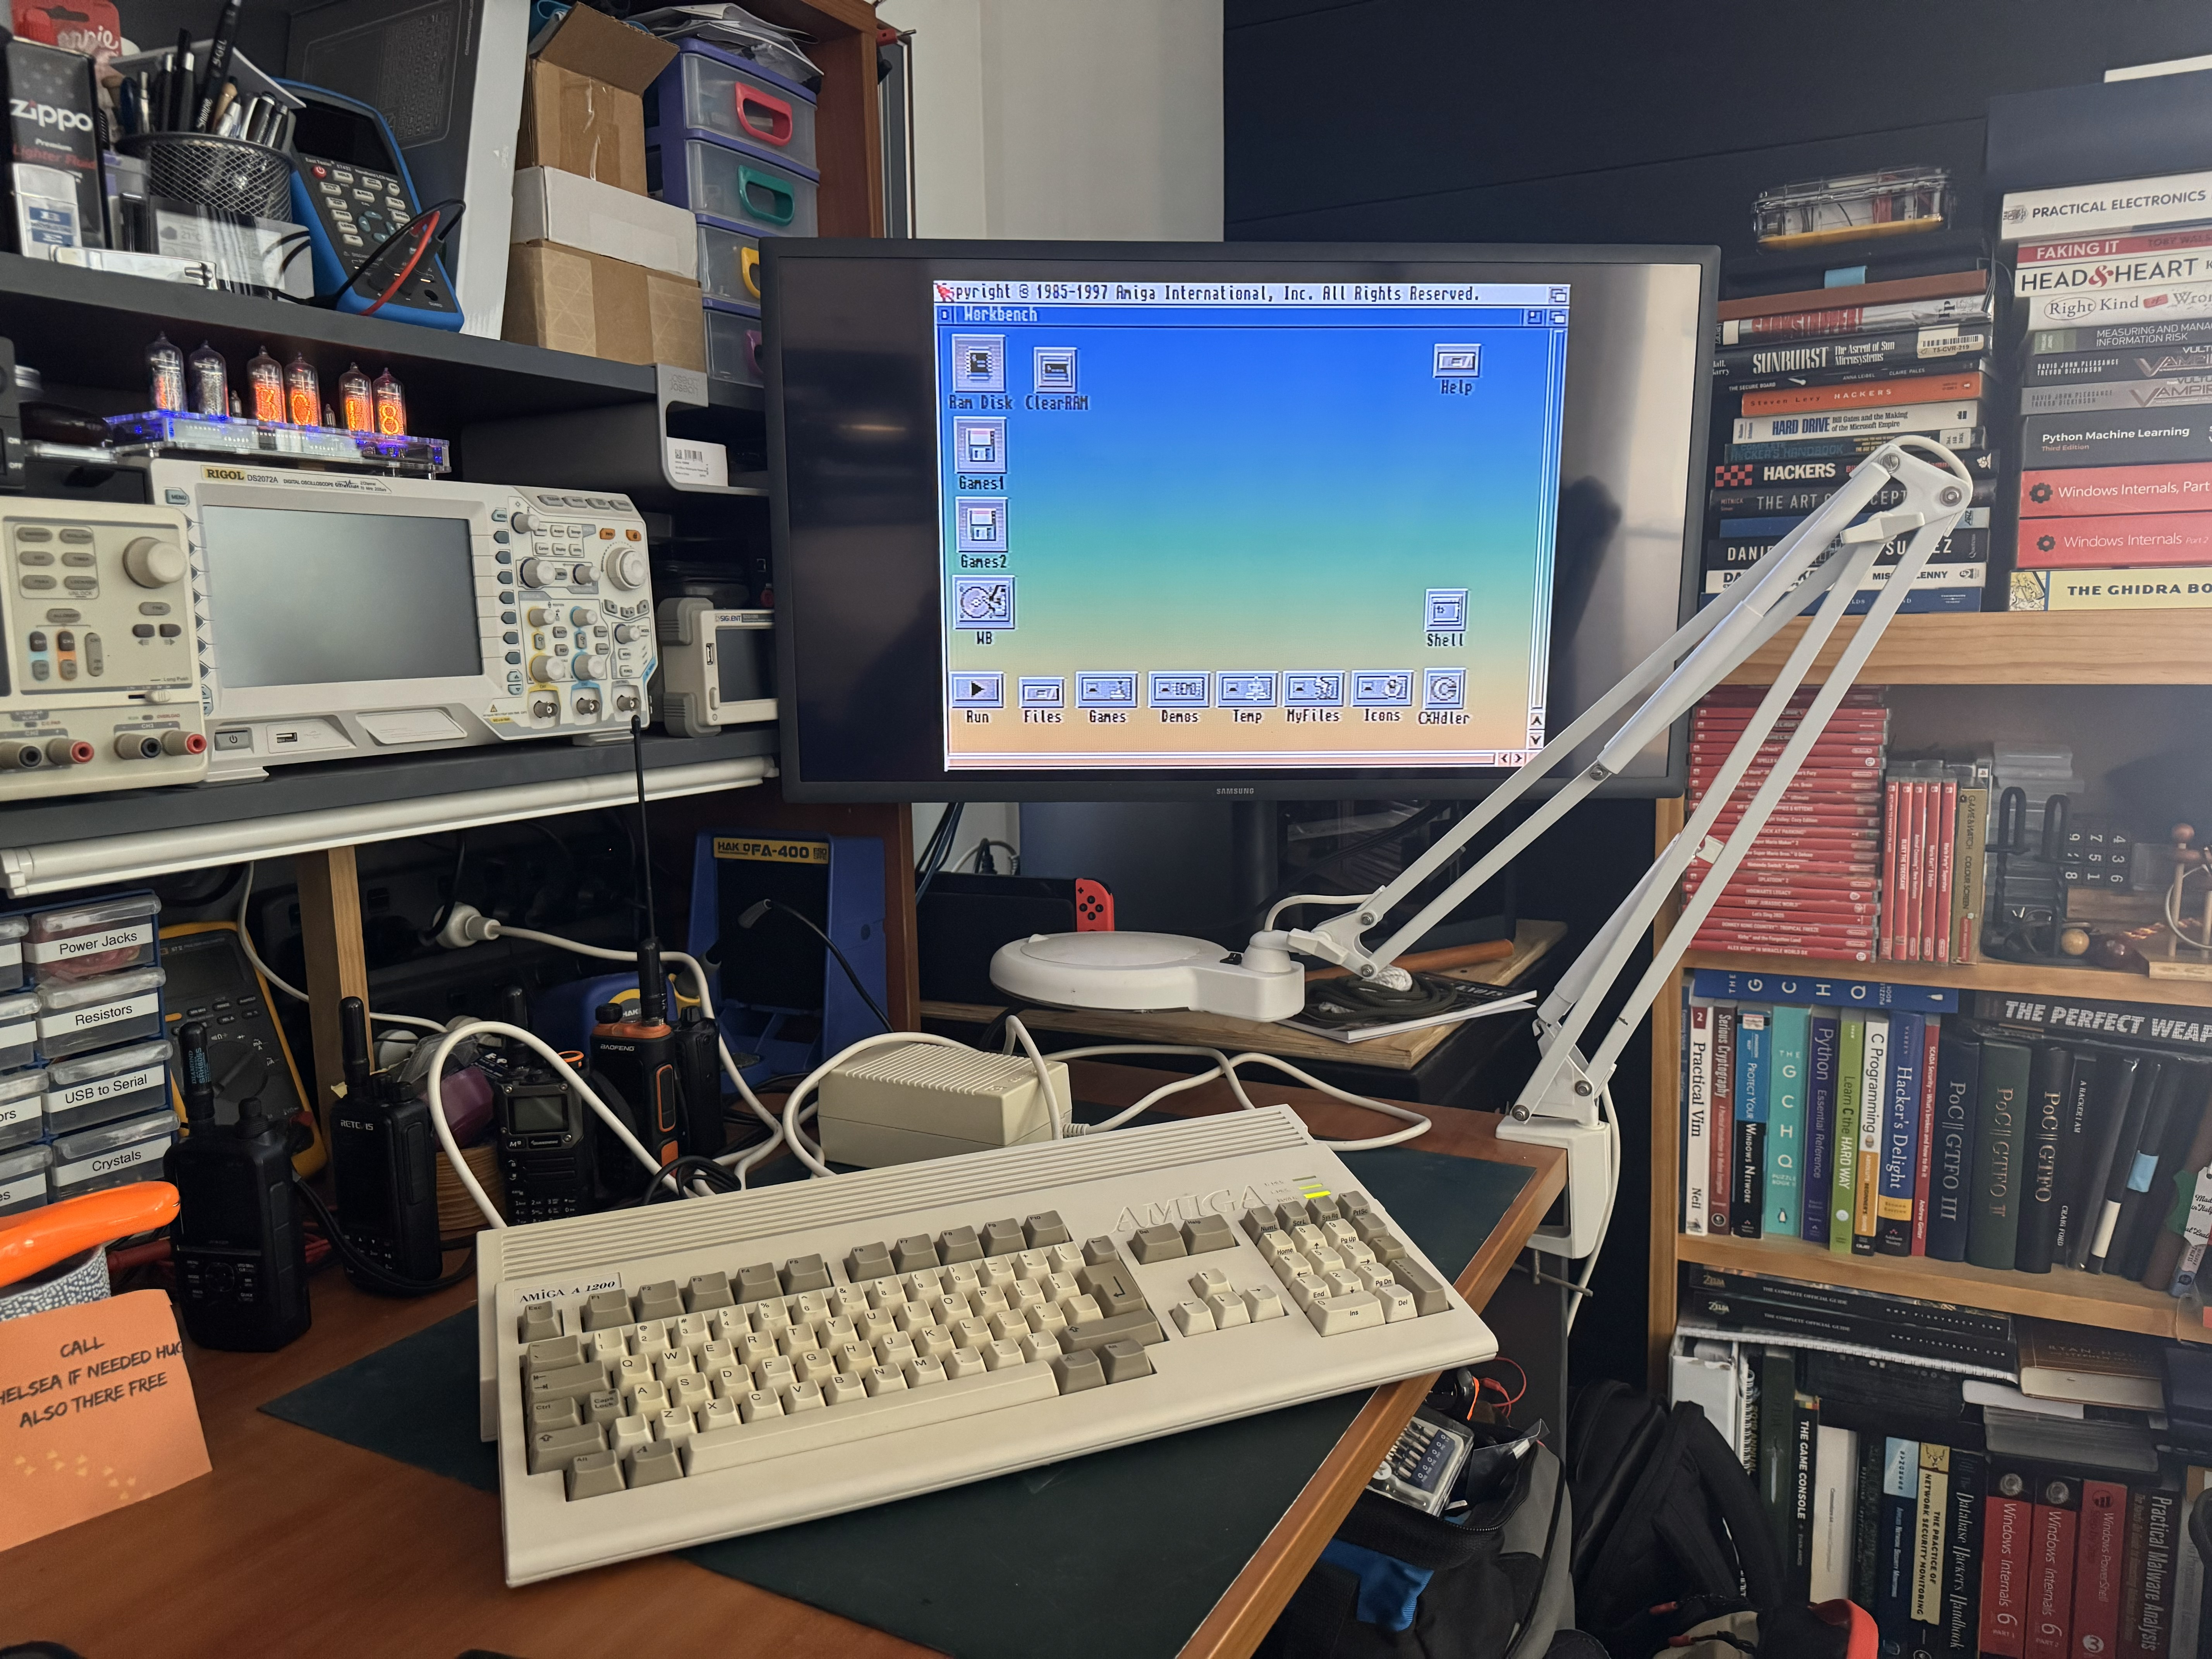
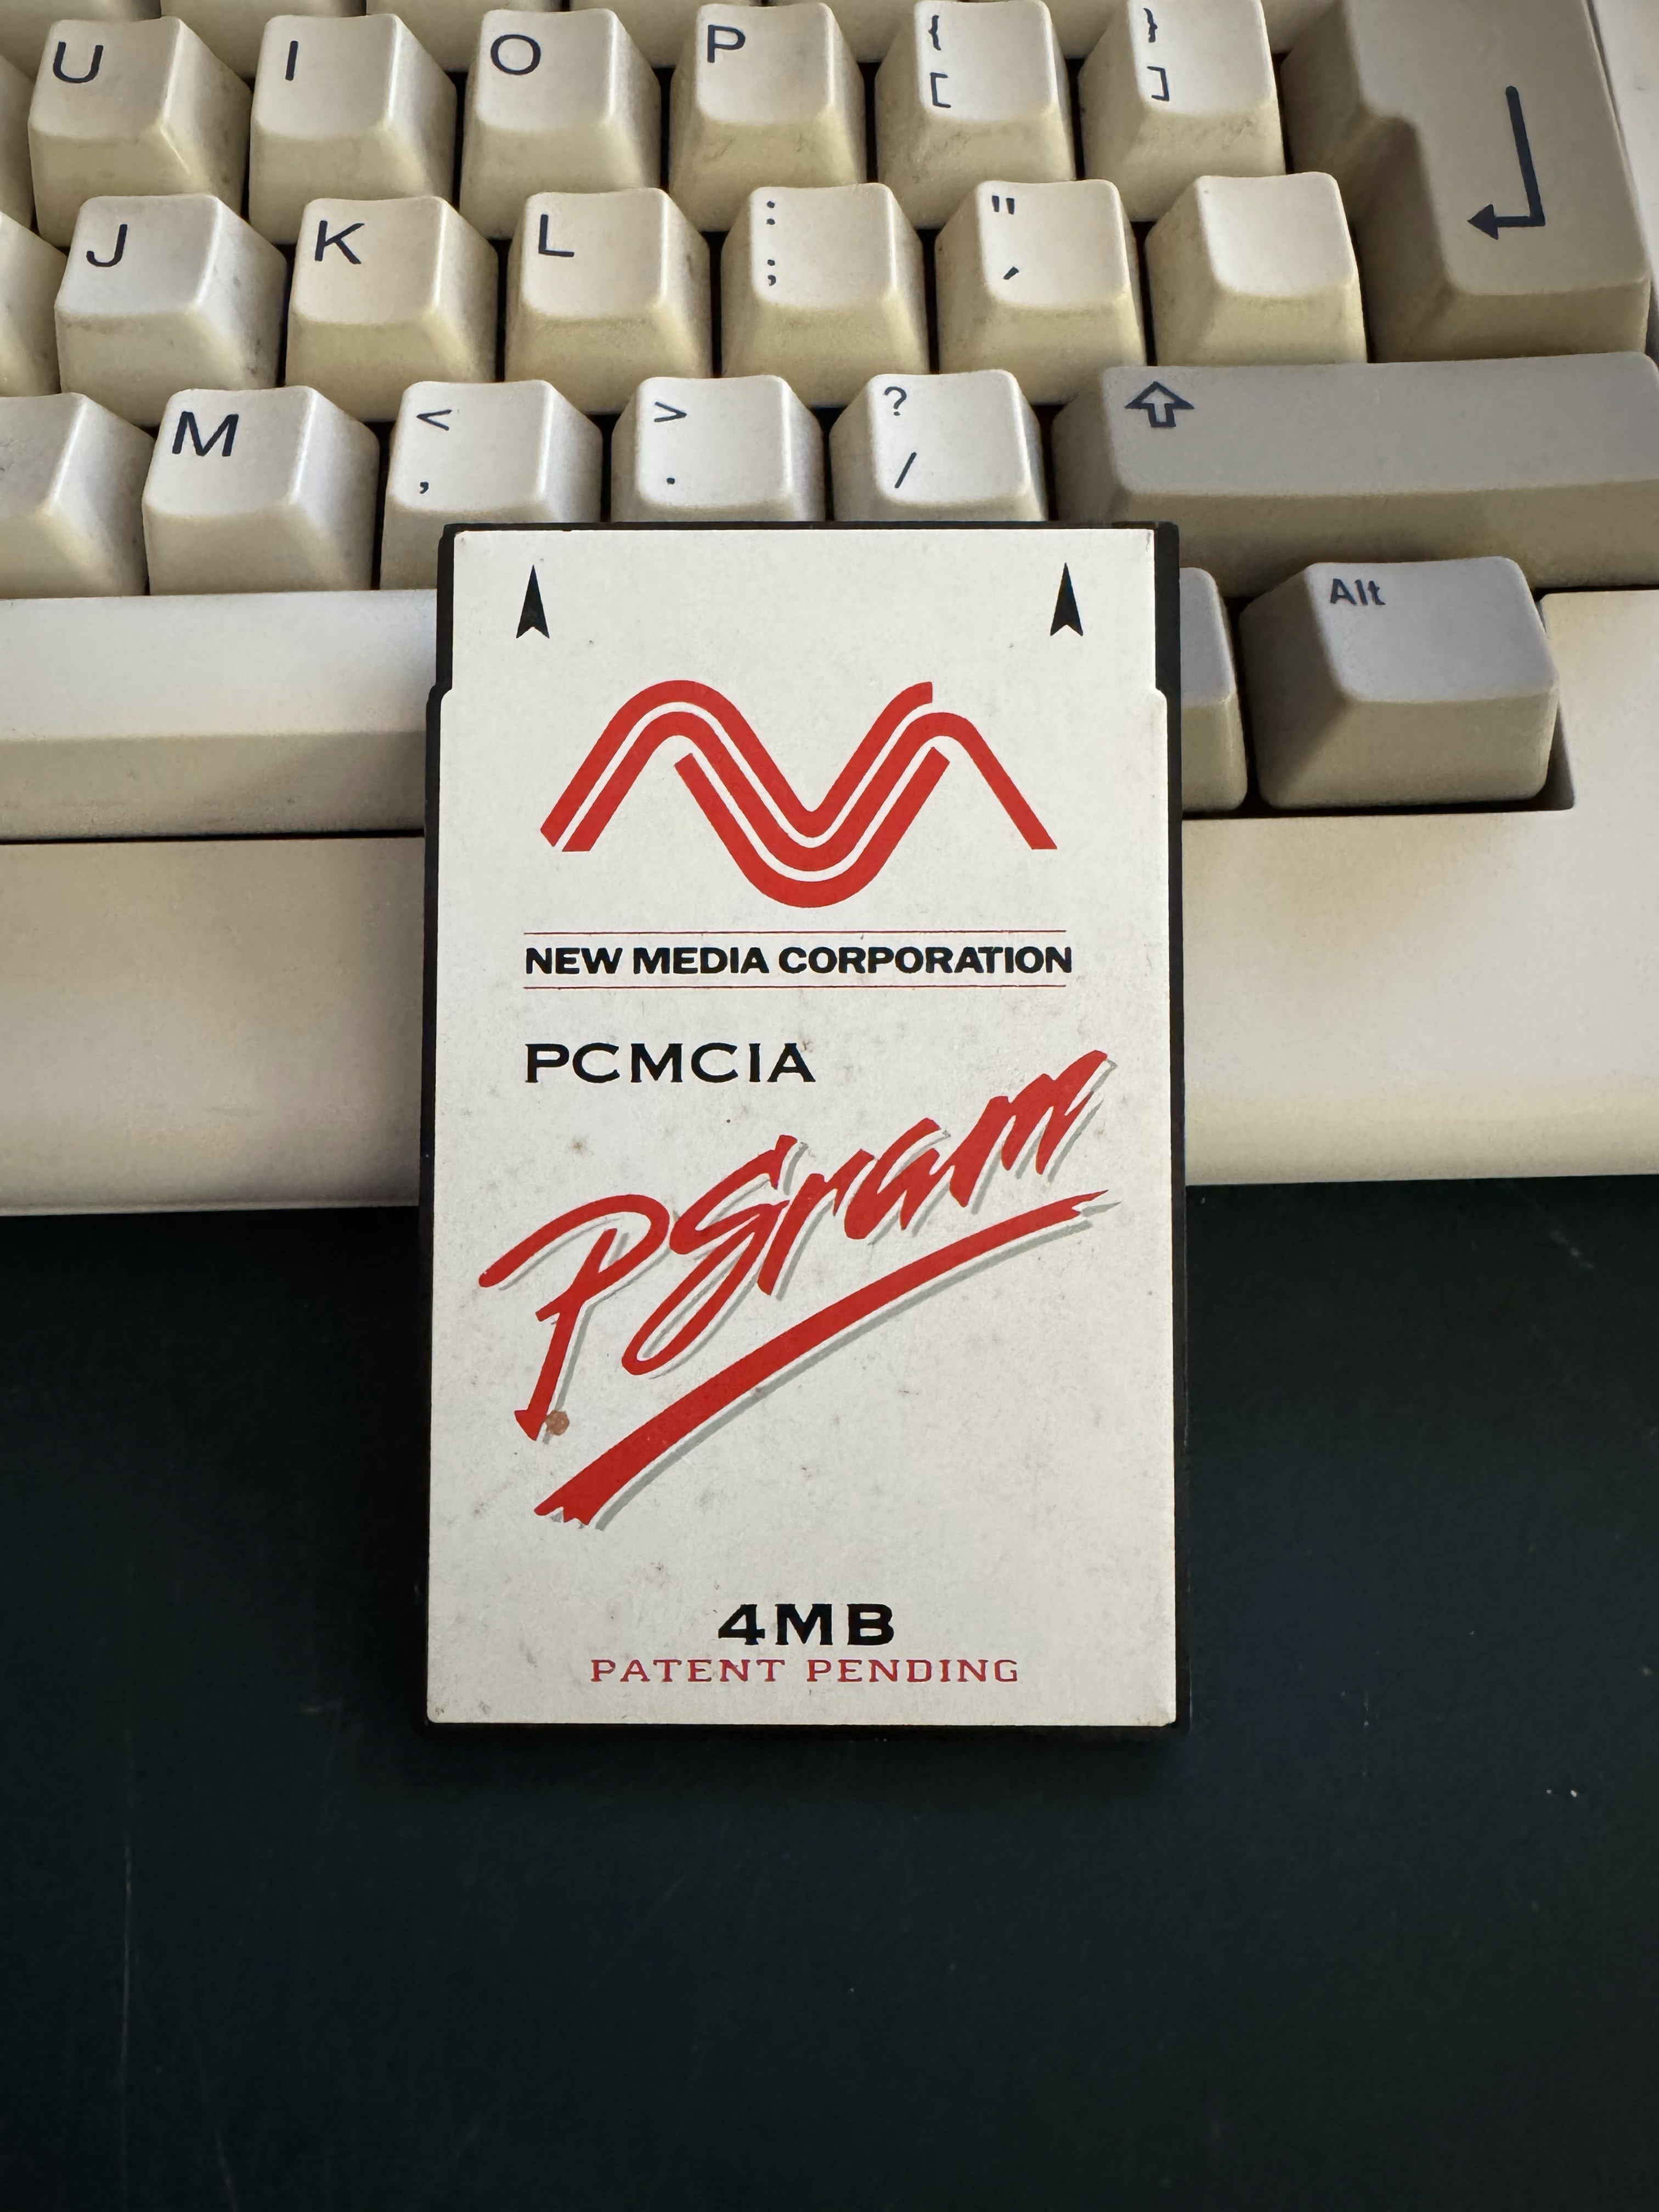
It powered right up and booted to workbench without issue. The keyboard and mouse seemed to work ok, as did loading a few programs. A couple complained about lack of memory - thankfully it came with a 4MB PCMCIA card. I plugged that in and could launch a few demos and games that required more than the factory RAM:
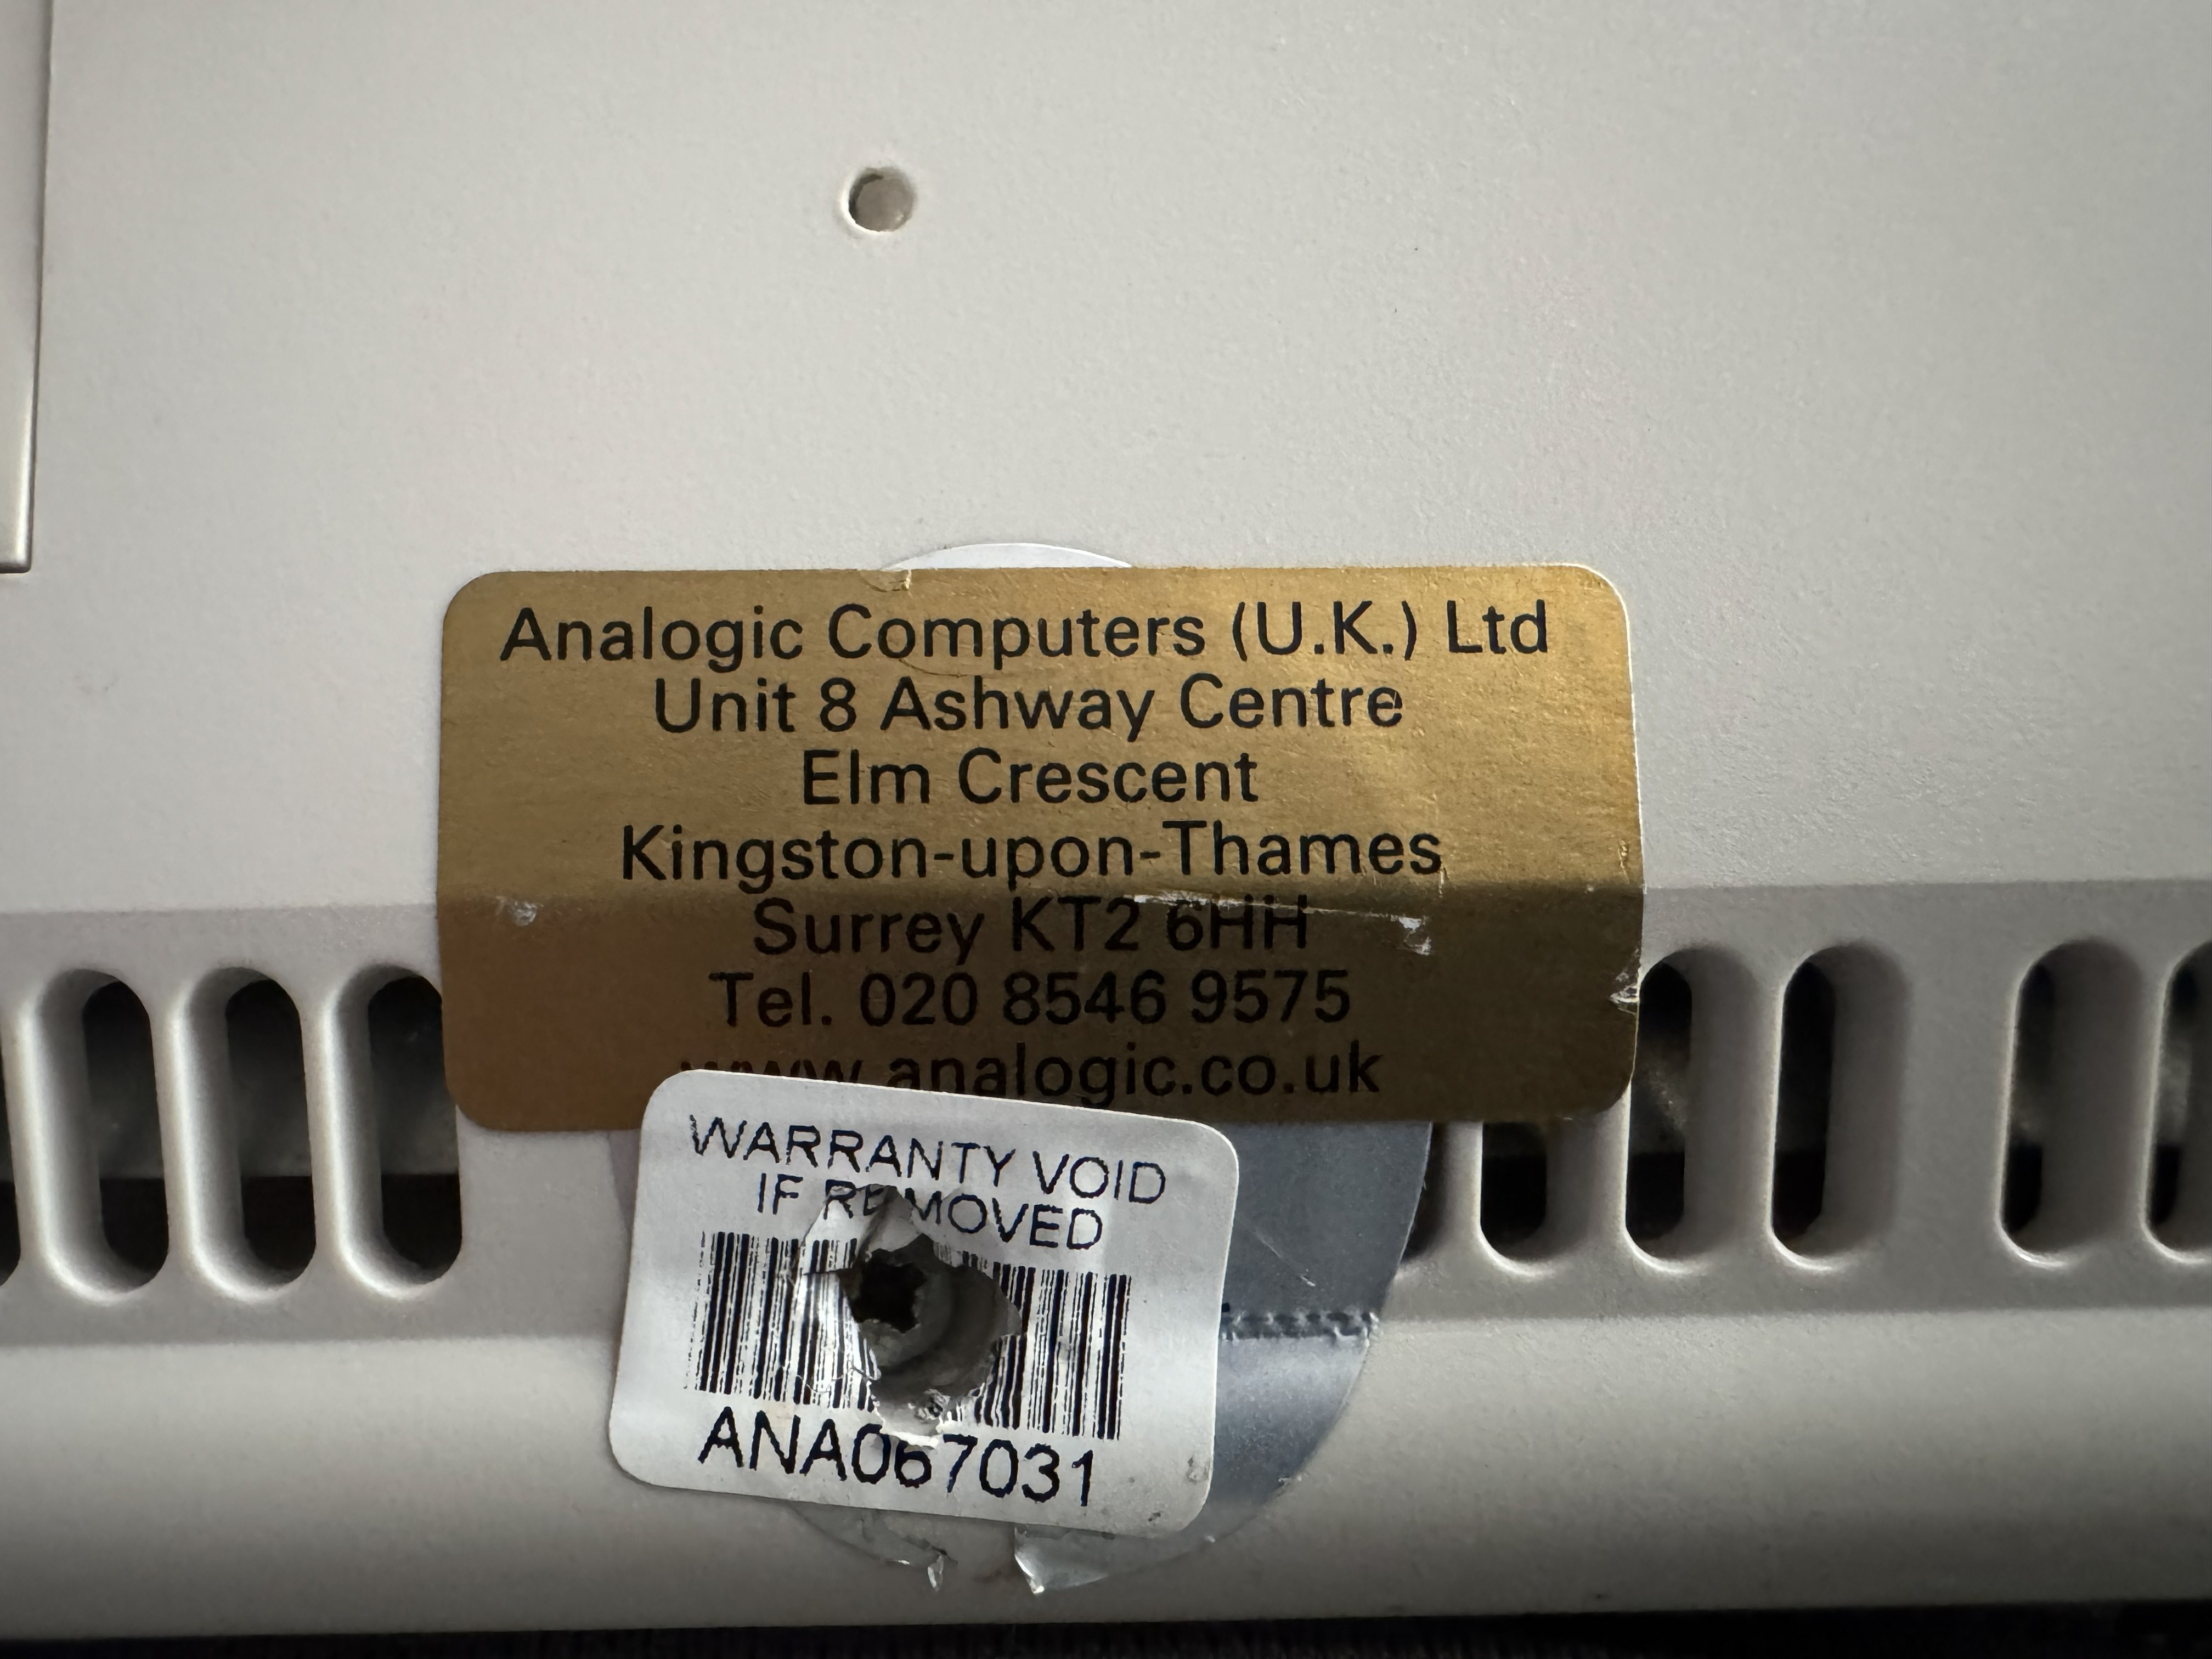
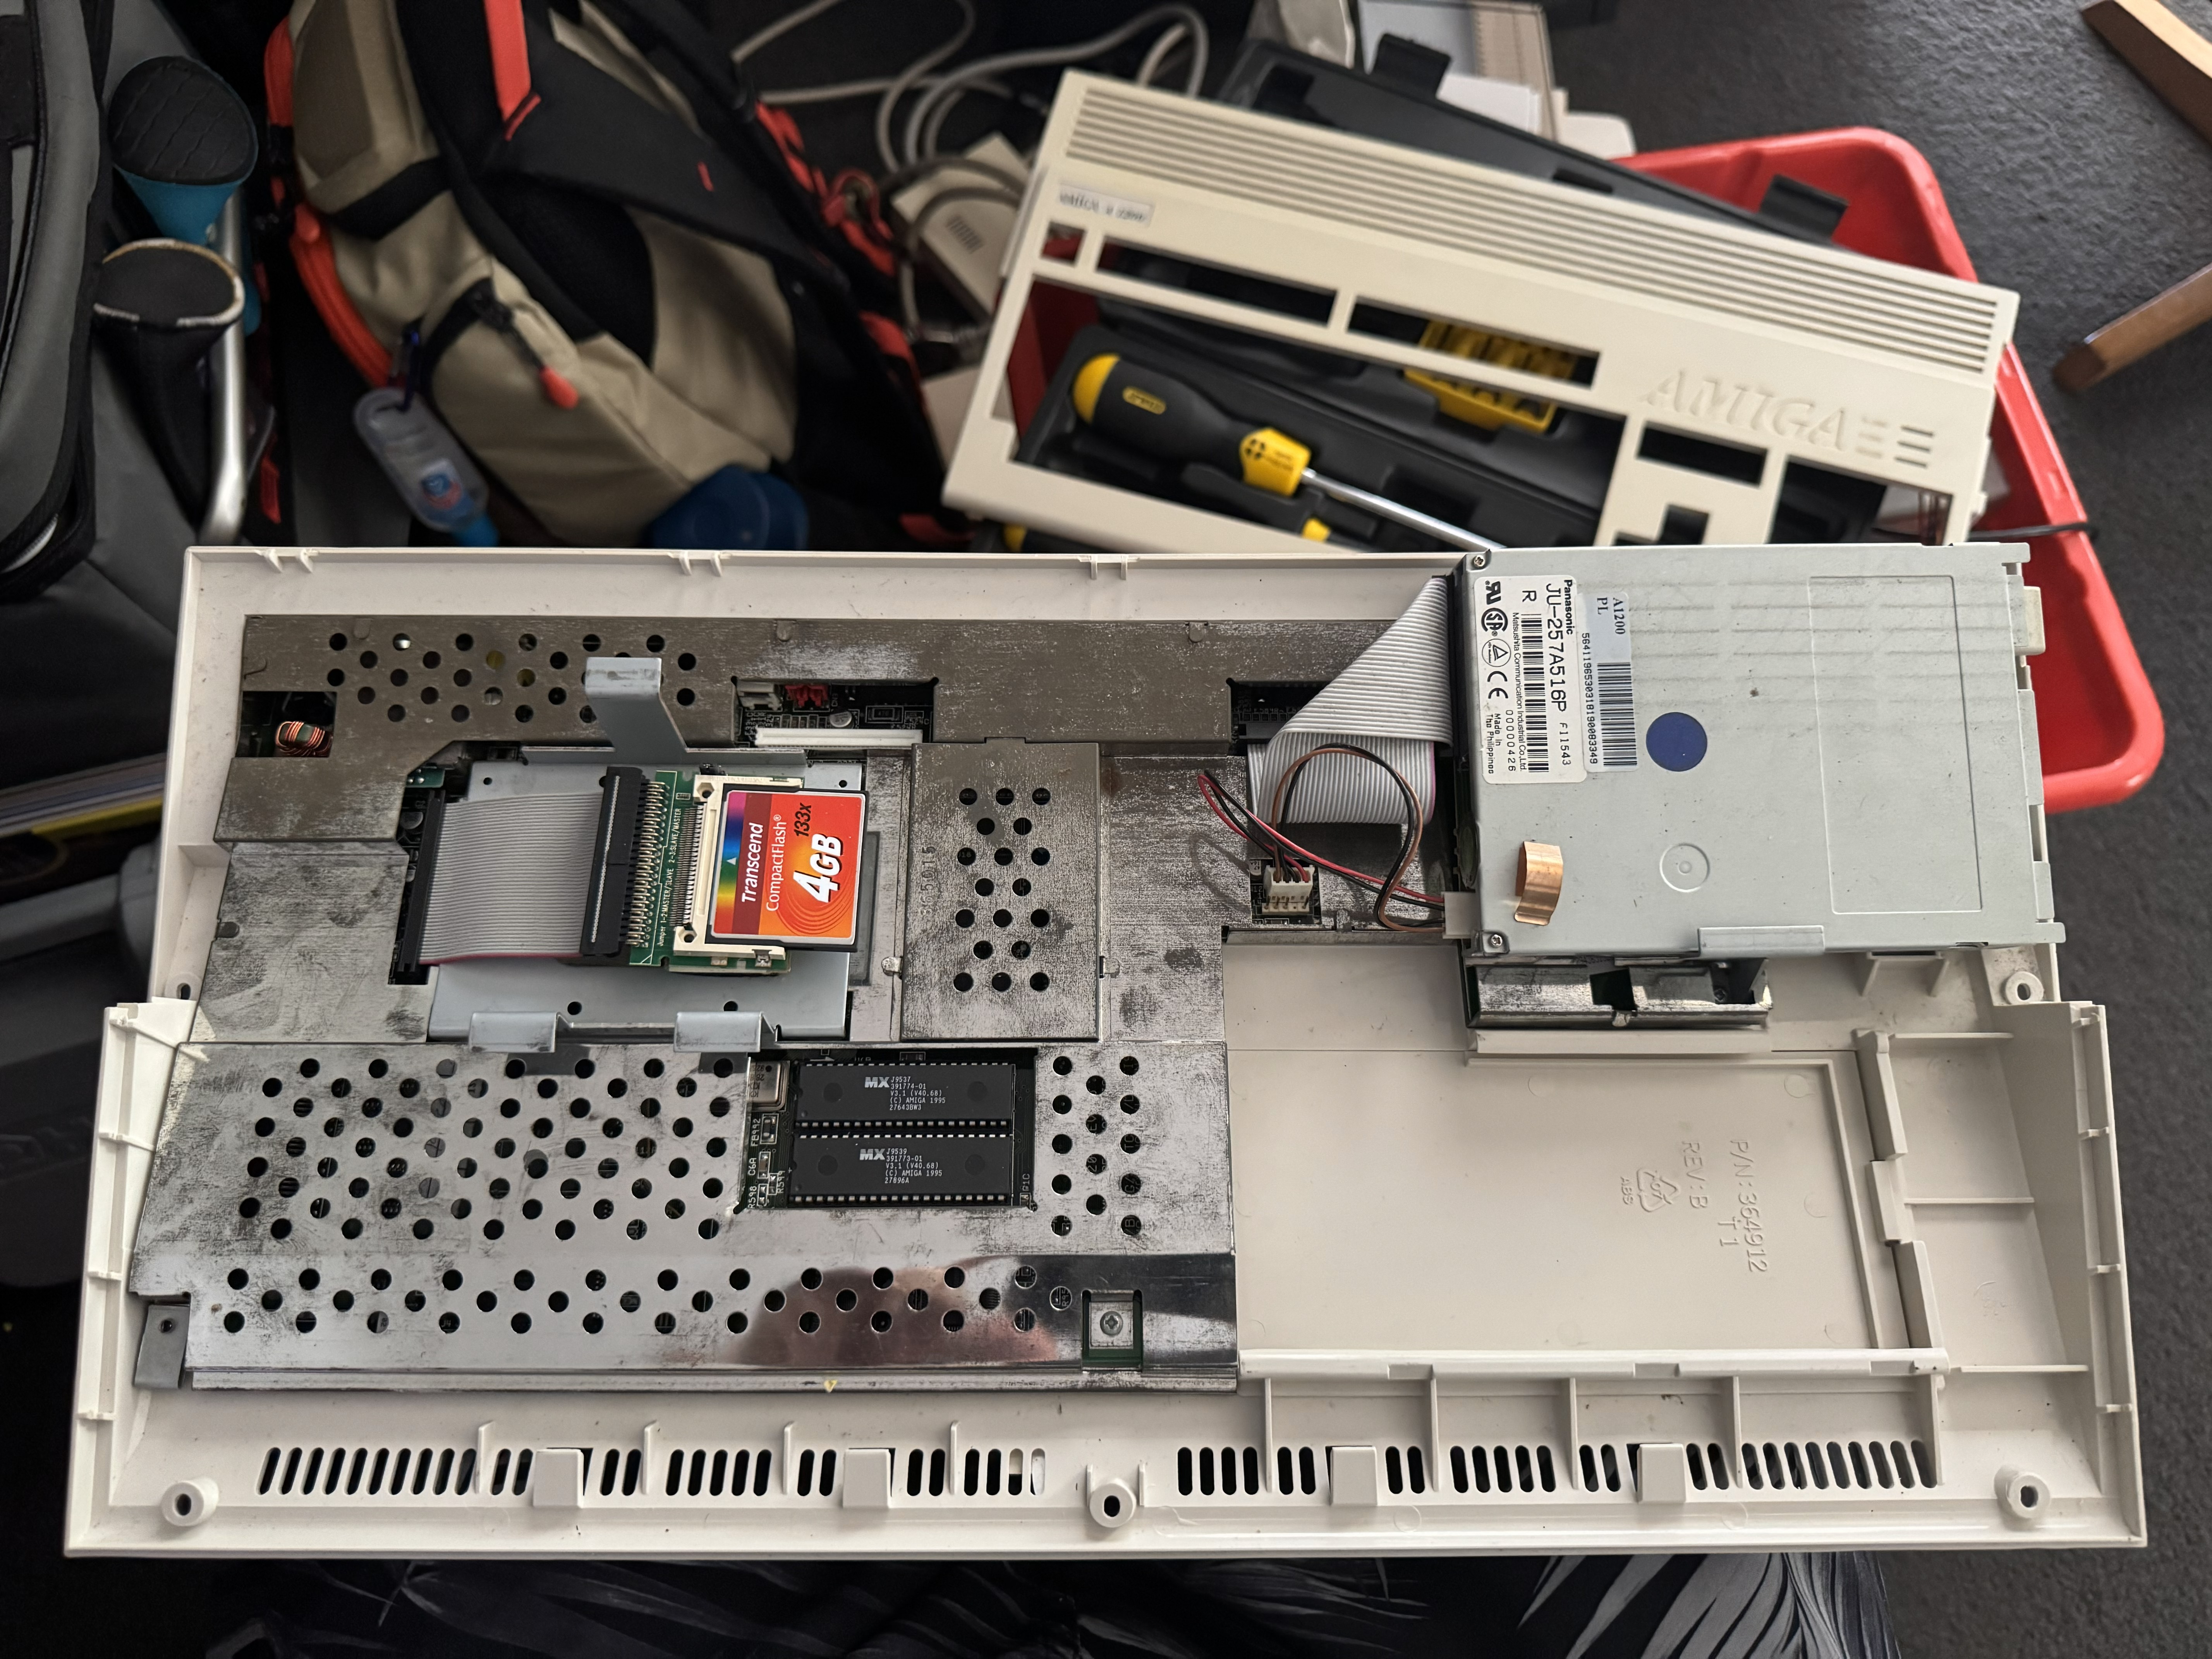
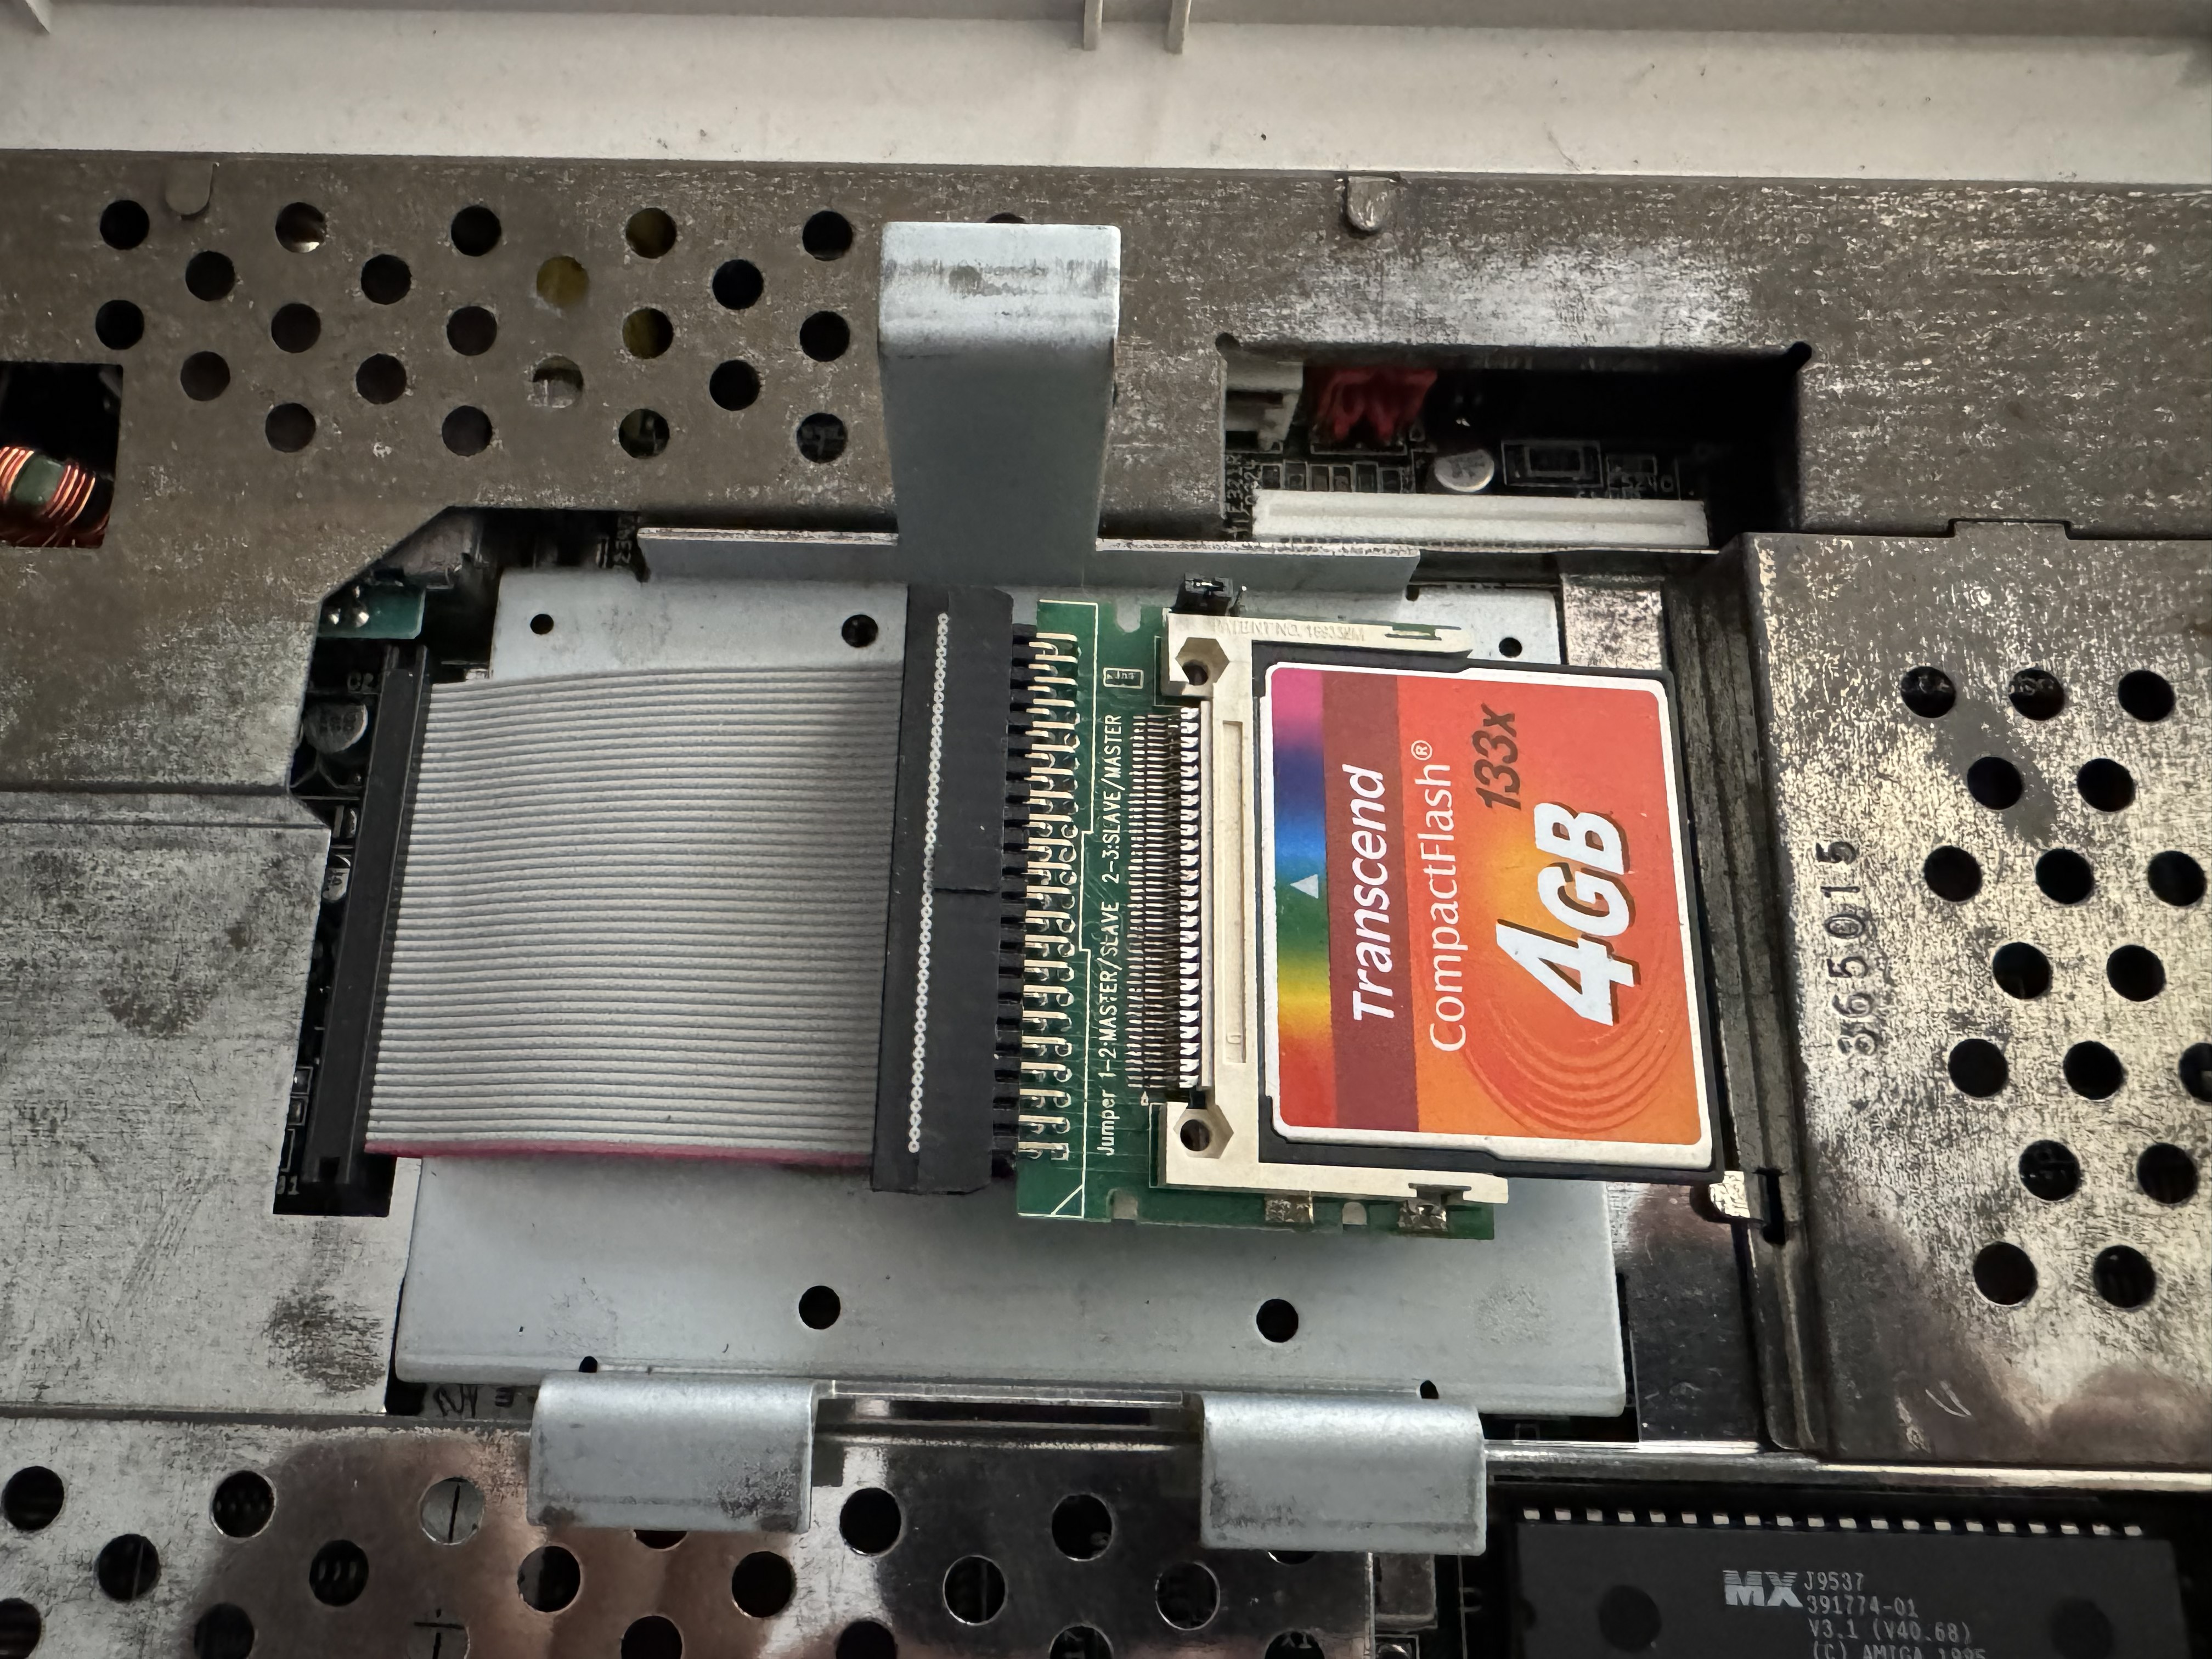
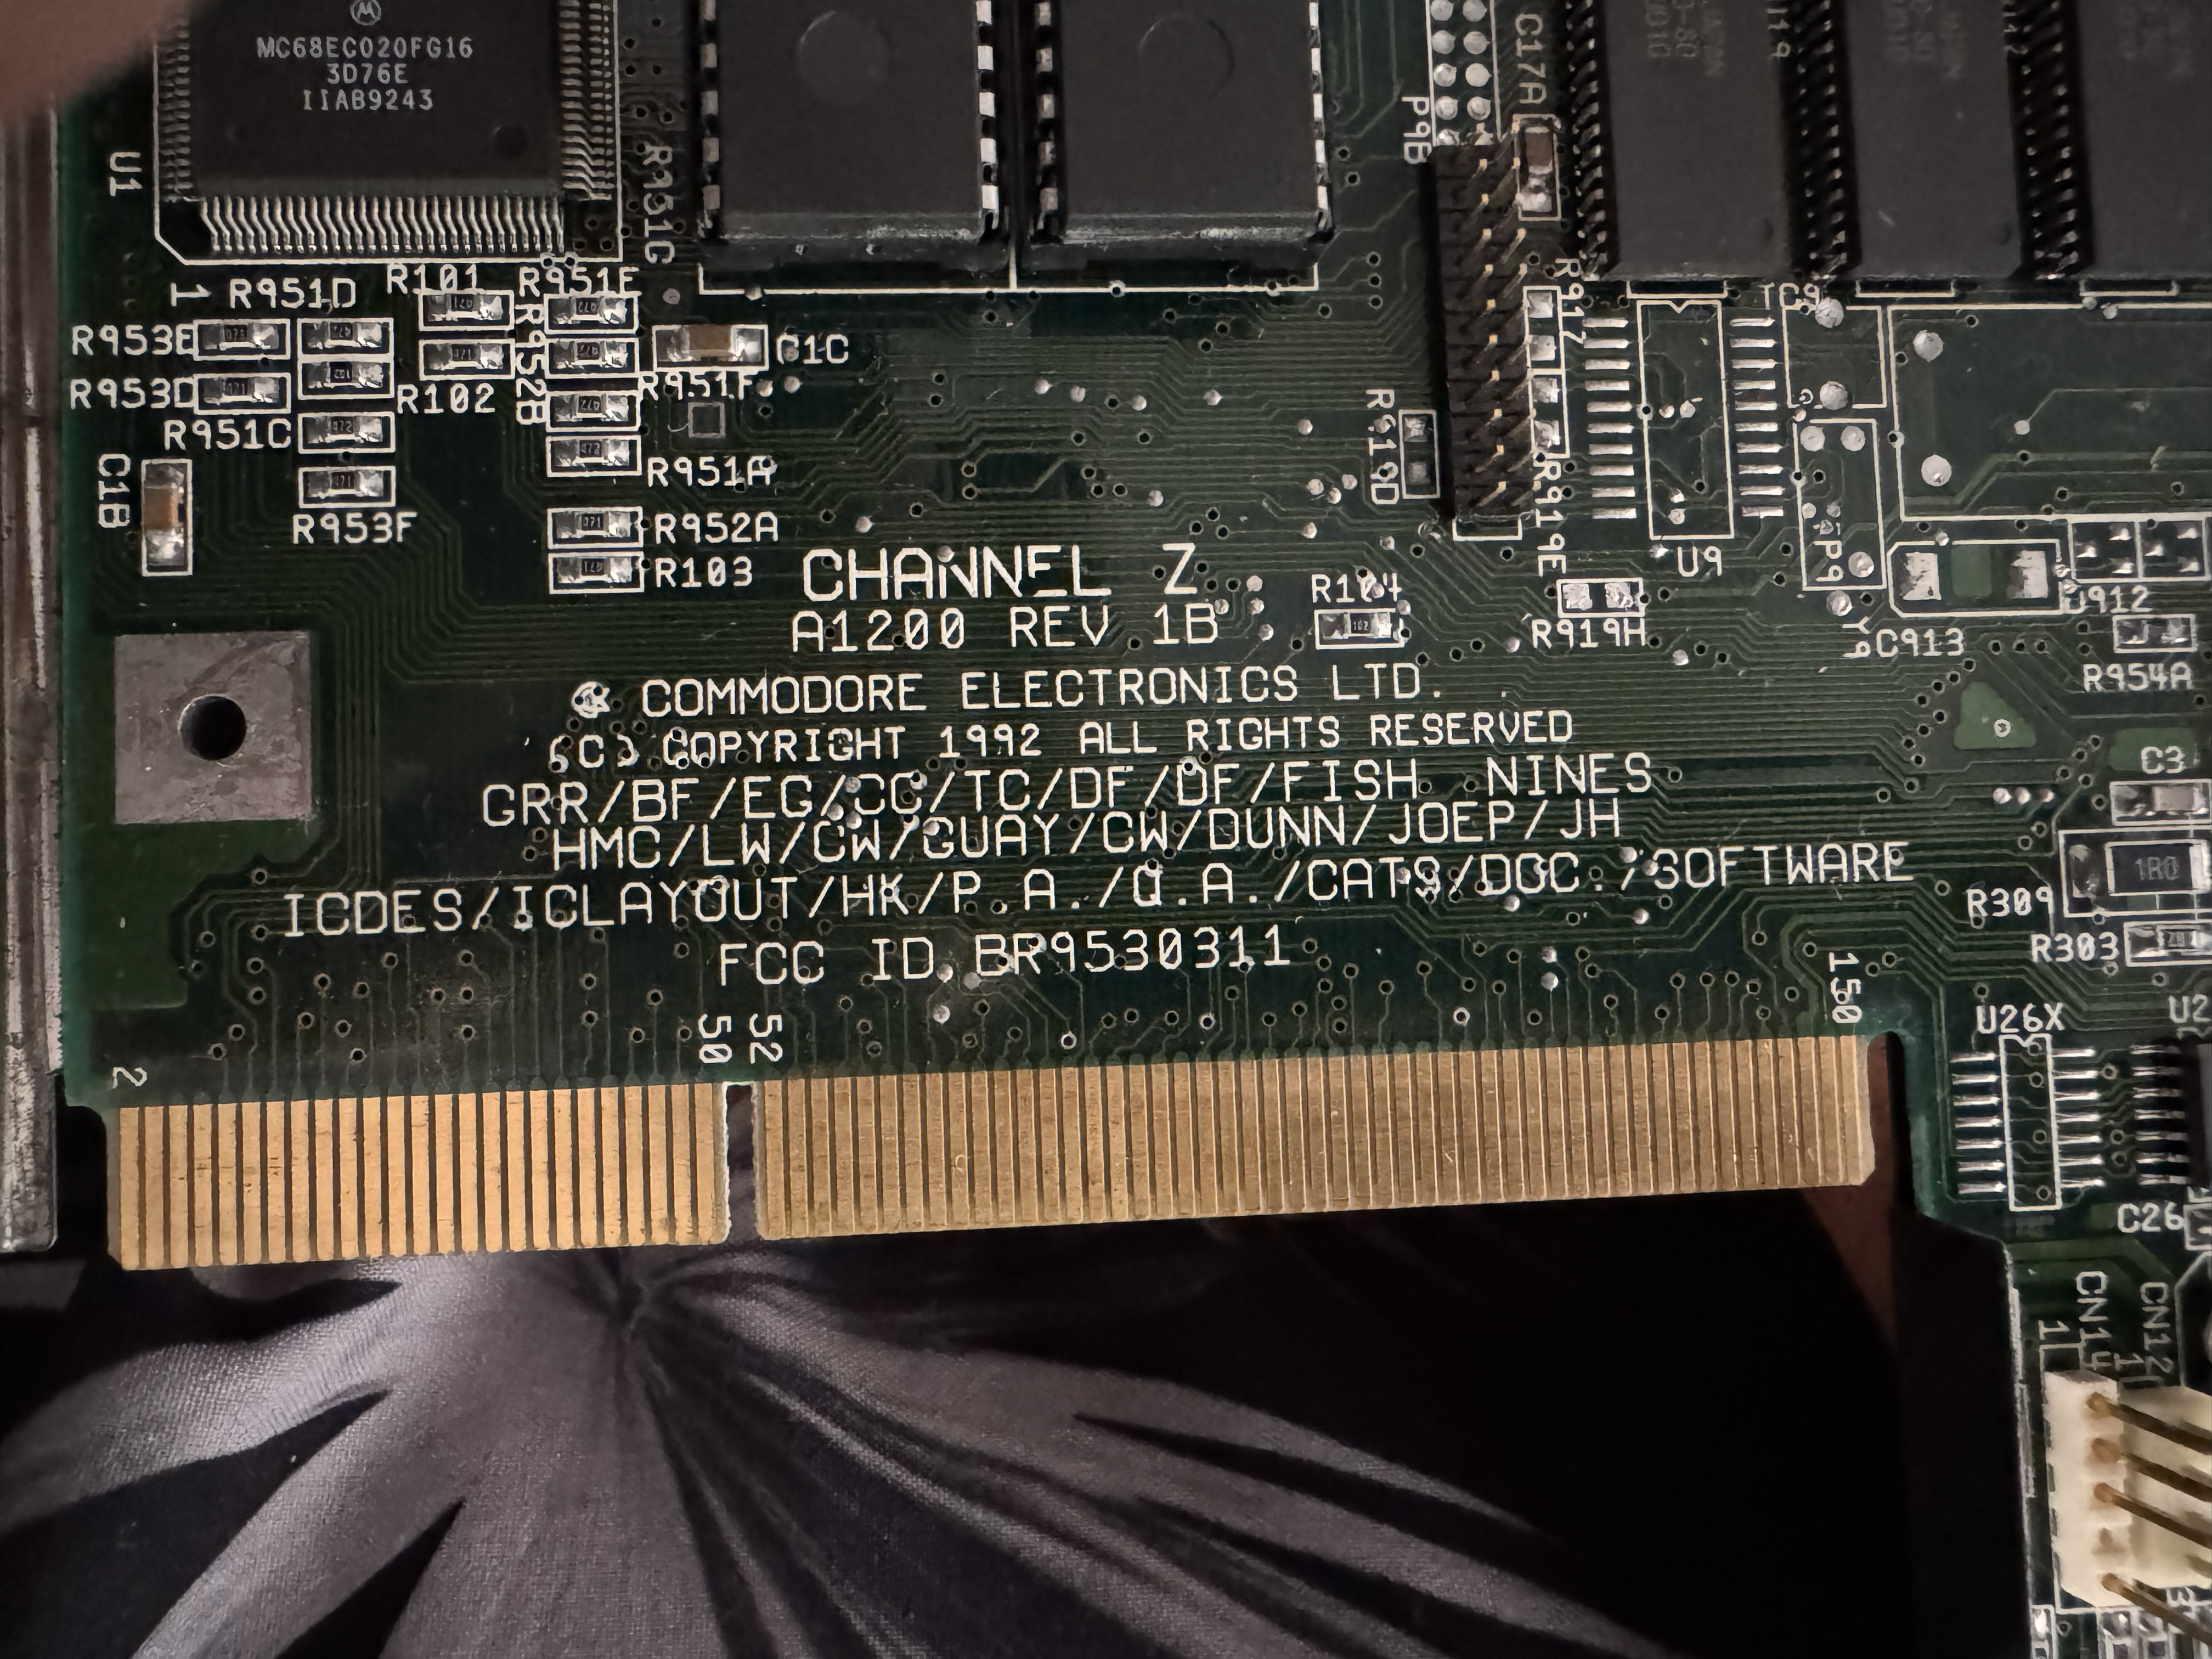
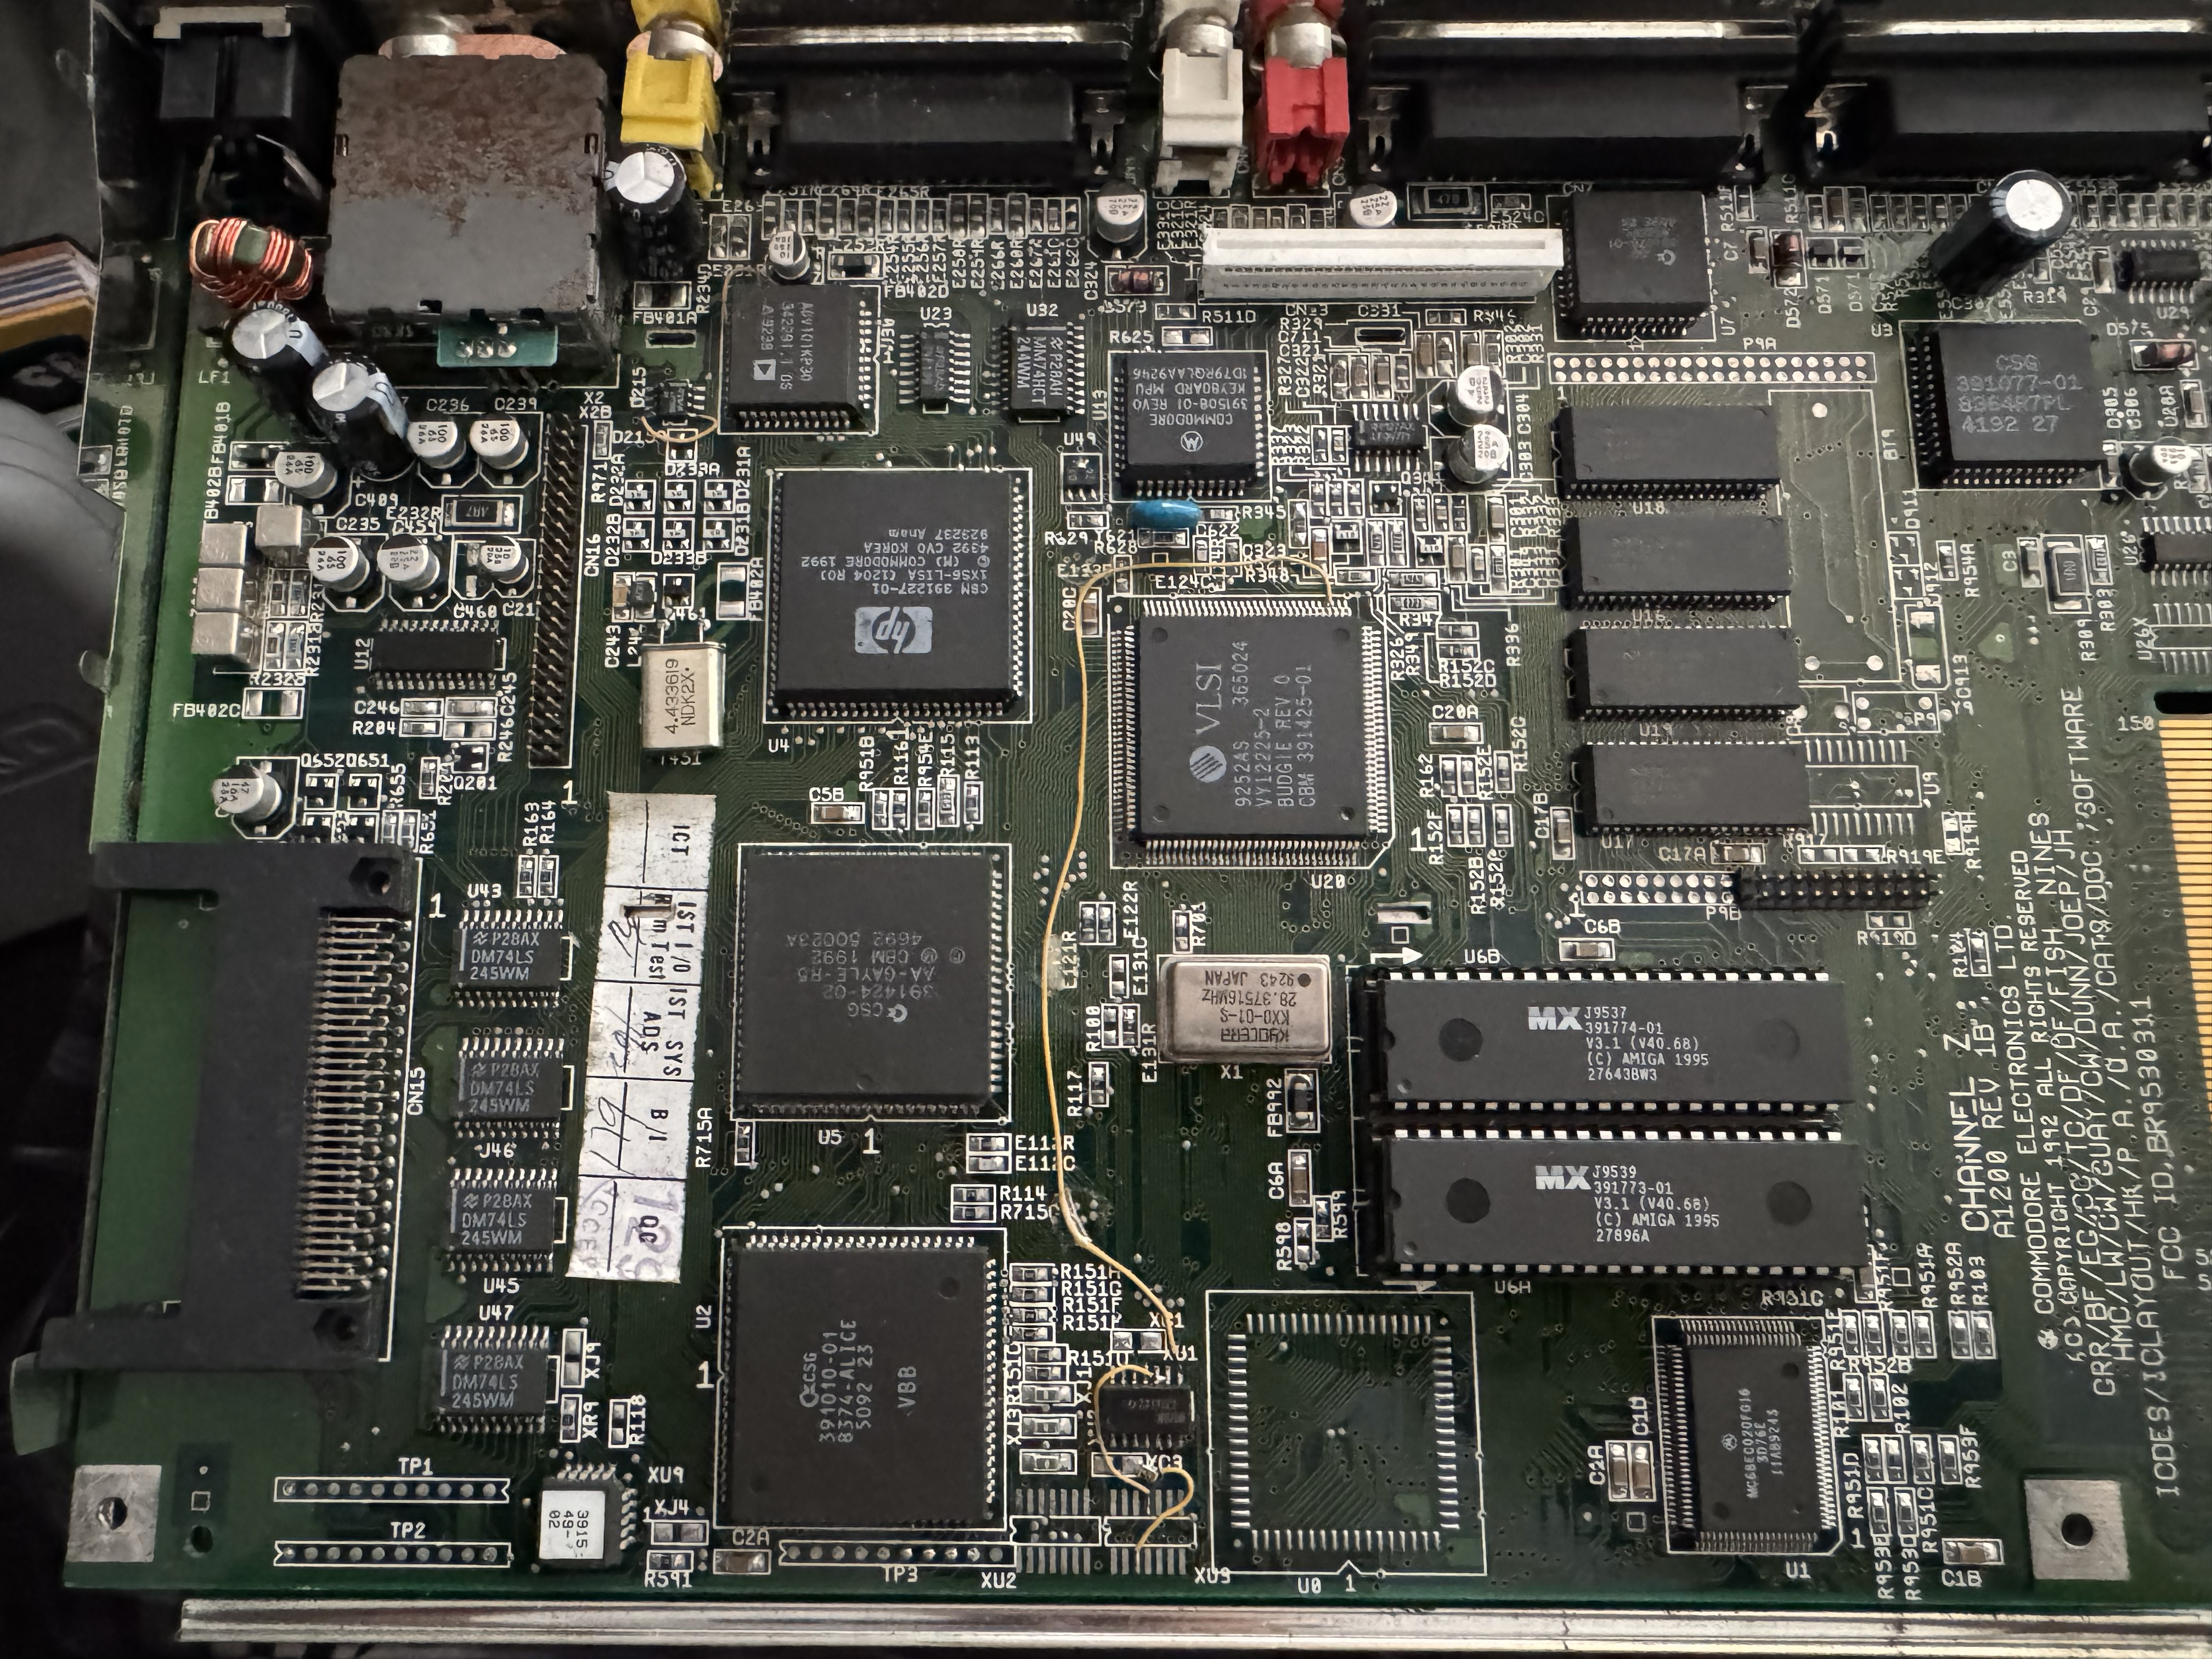
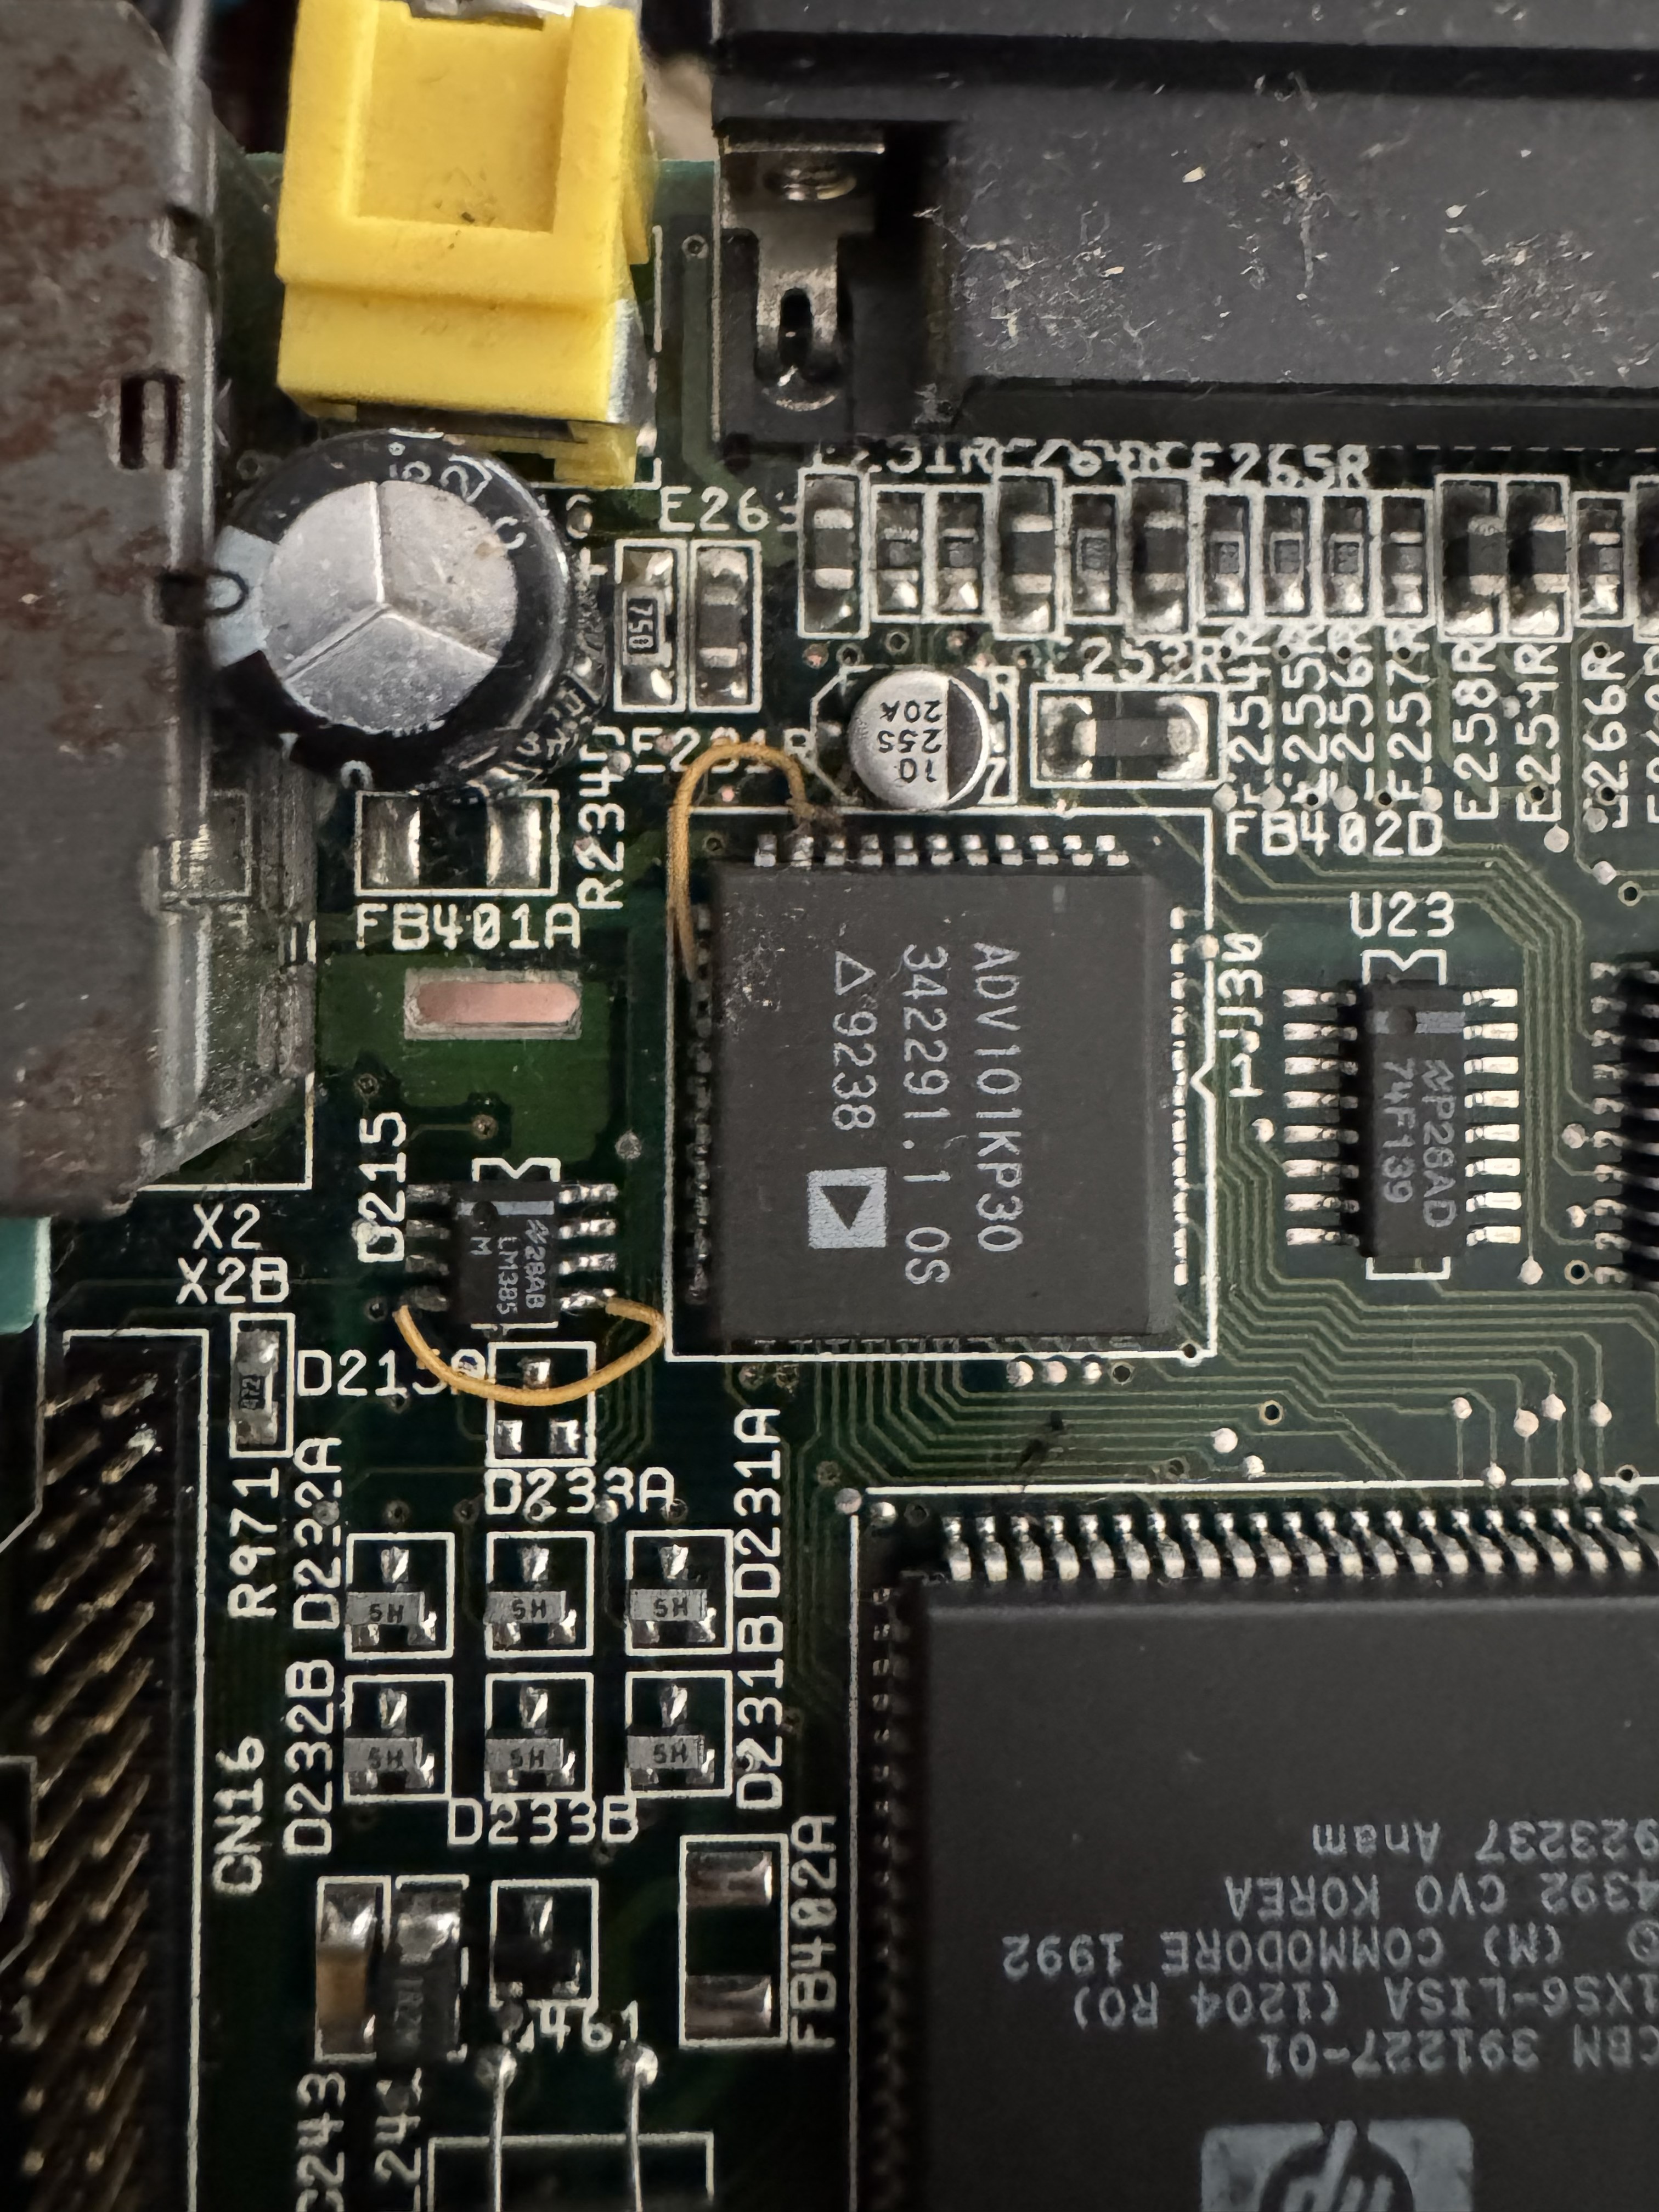
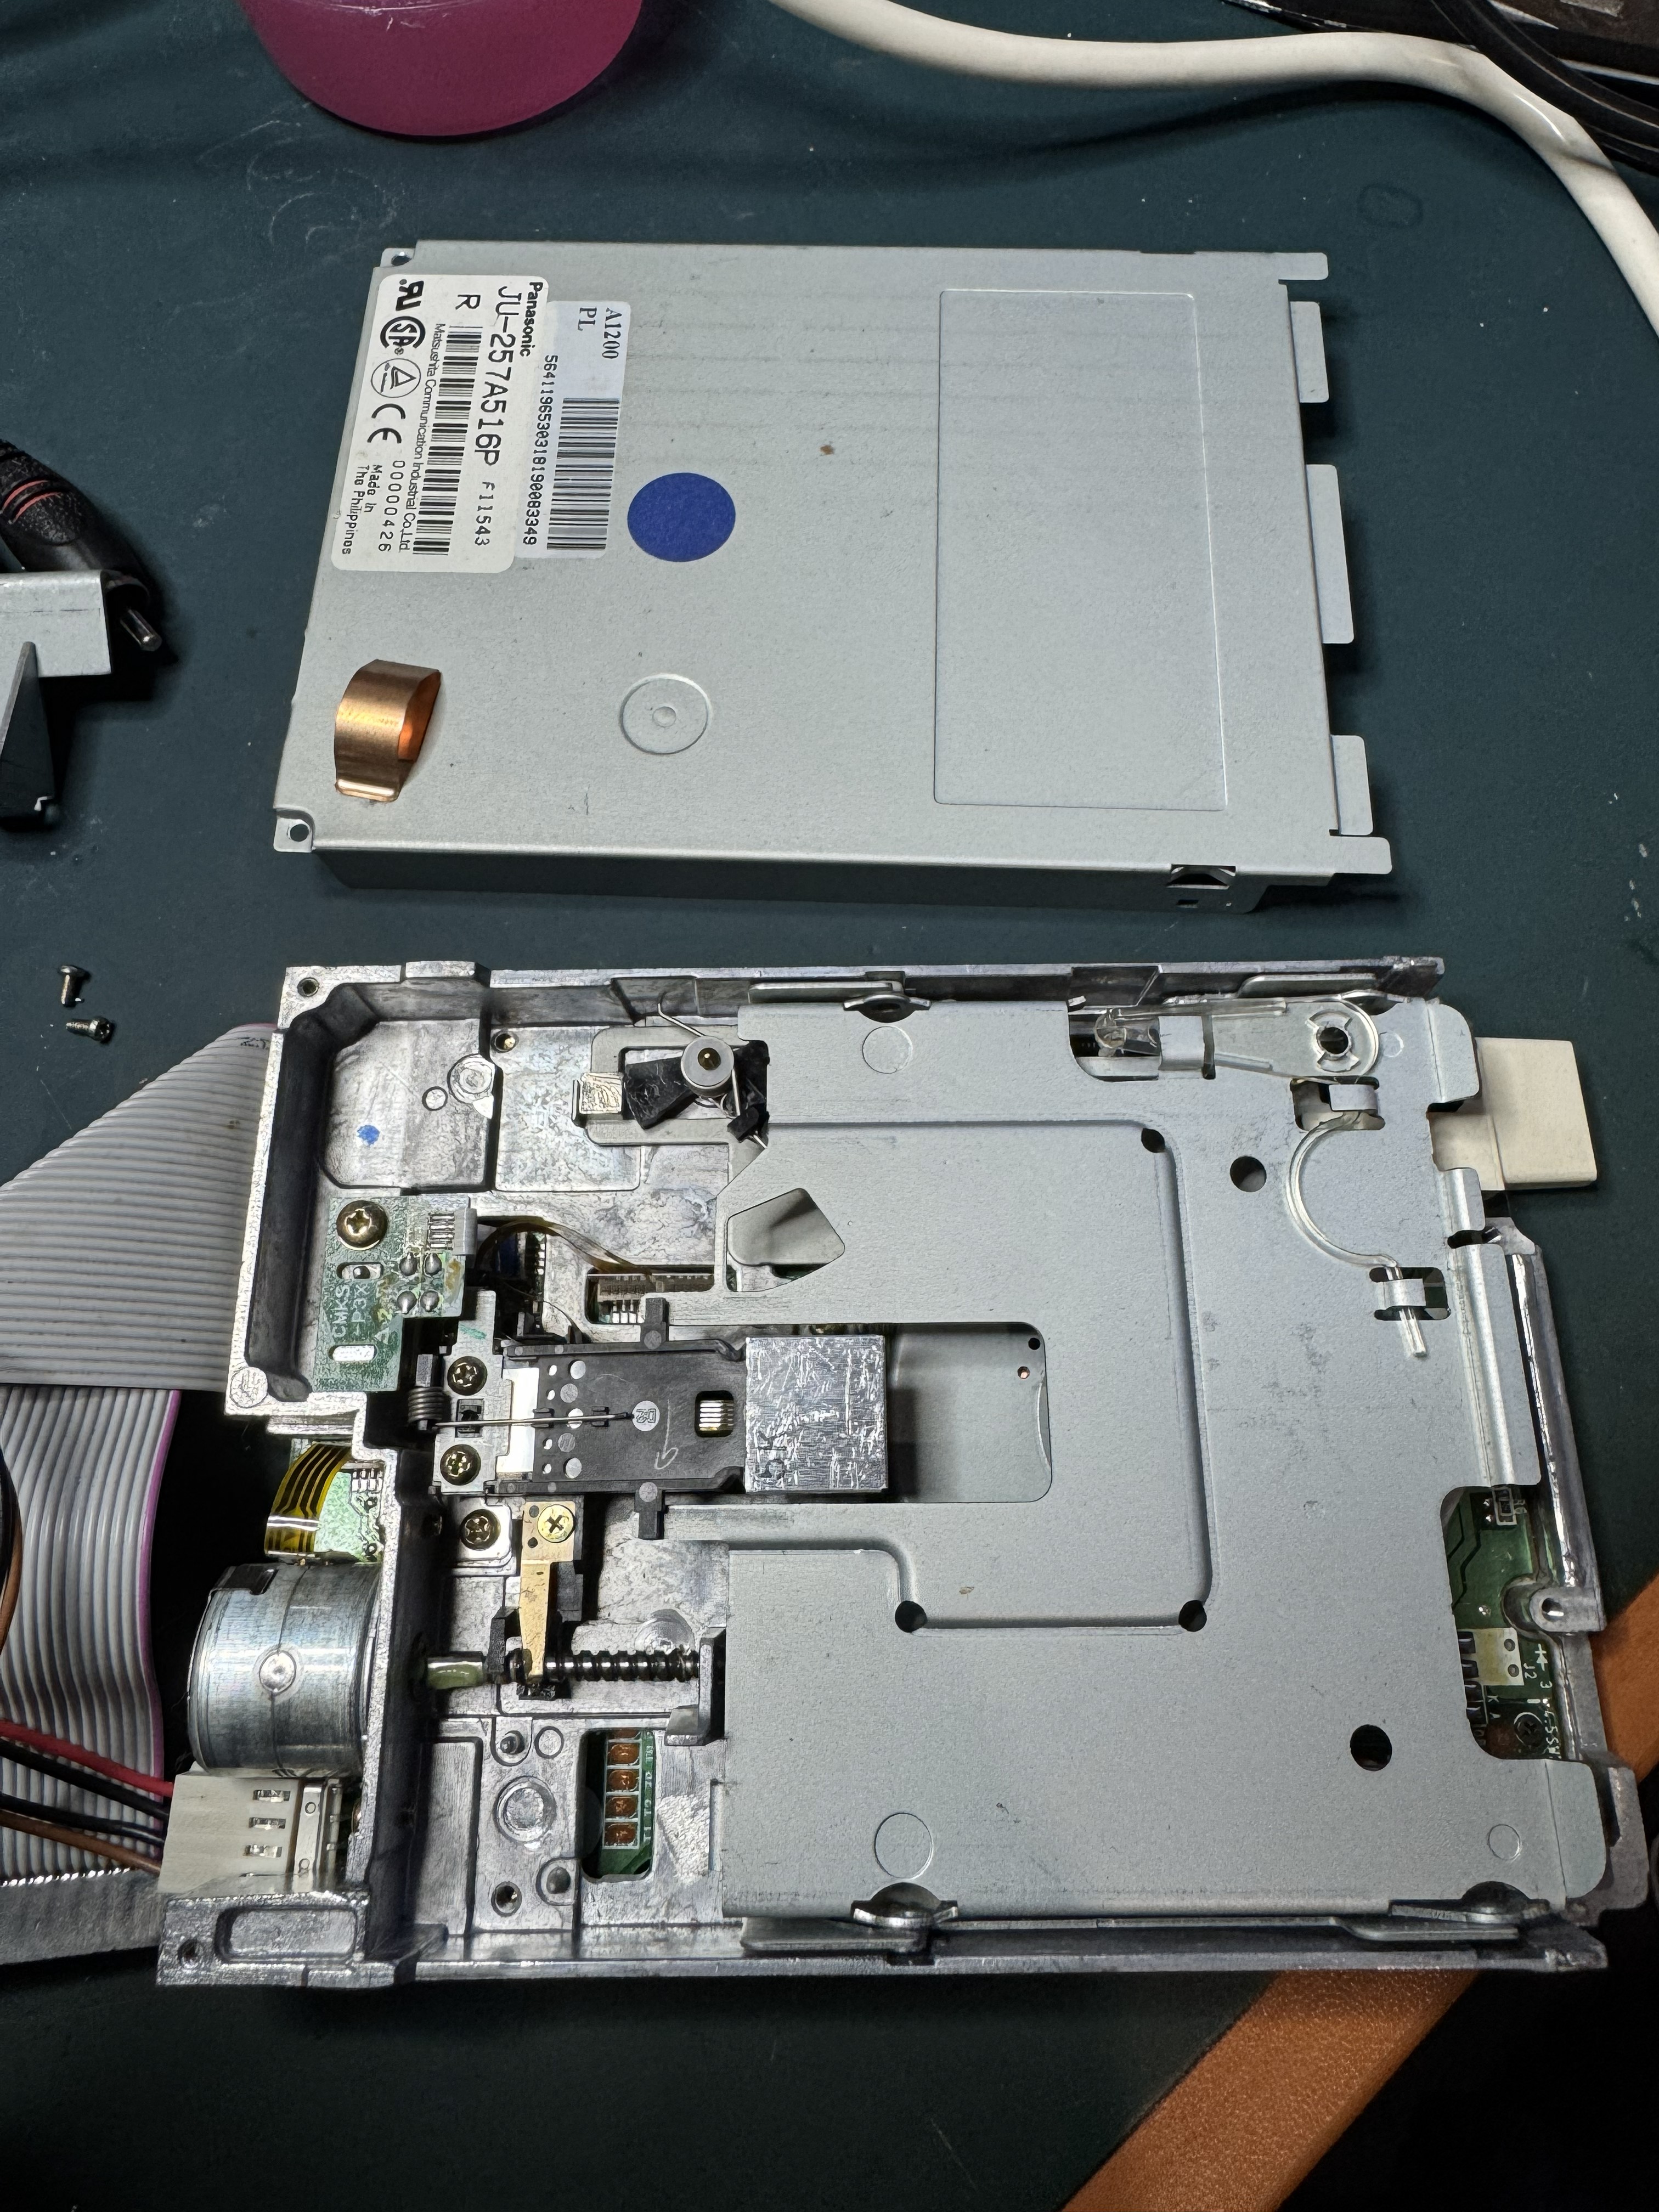
So knowing it was all working - it was time to pull it apart for a good look, clean and a bit of maintenance. Doing a bit of research its actually an Amiga 1200 from Escom post Commodore’s demise in 1994. The Escom A1200 was priced at £399, and came bundled with two games, seven applications and AmigaOS 3.1. It came with a modified Panasonic PC floppy disk drive that is incompatible with some Amiga software. This one has had a IDE-CF card upgrade with a 4GB CF card installed too, and overall was pretty clean and good looking inside, with no signs of capacitor leakage/damage:

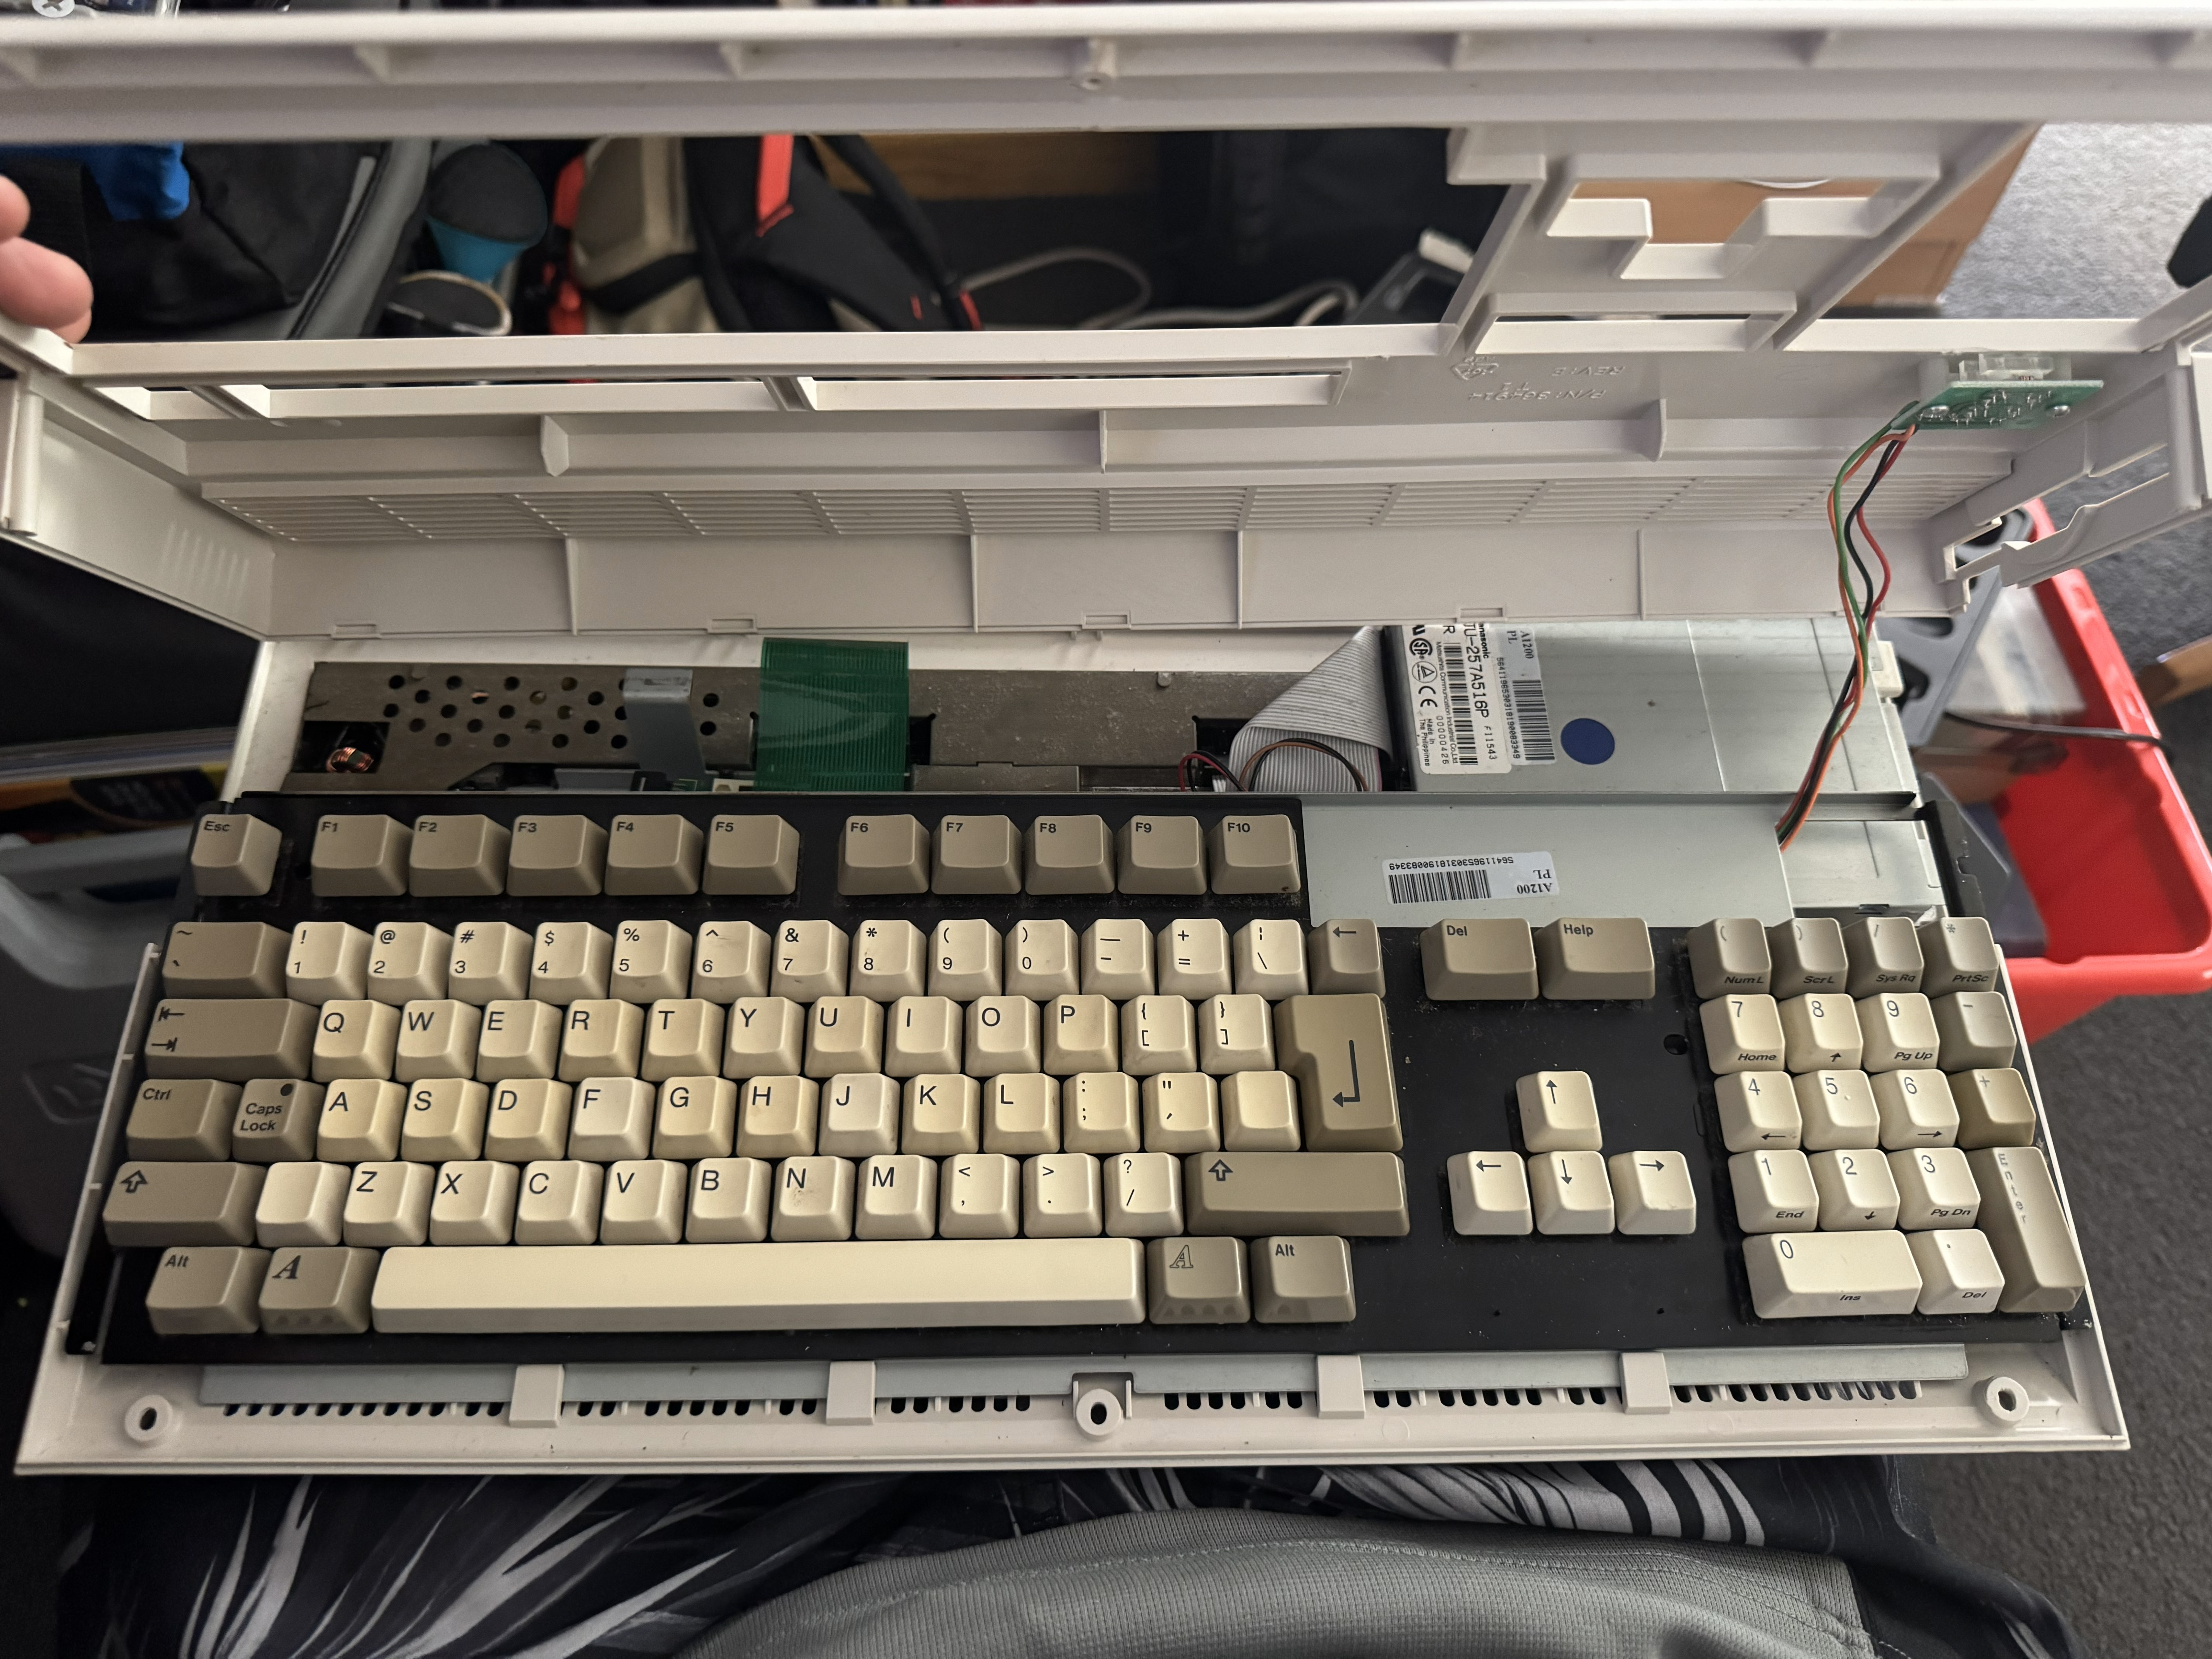
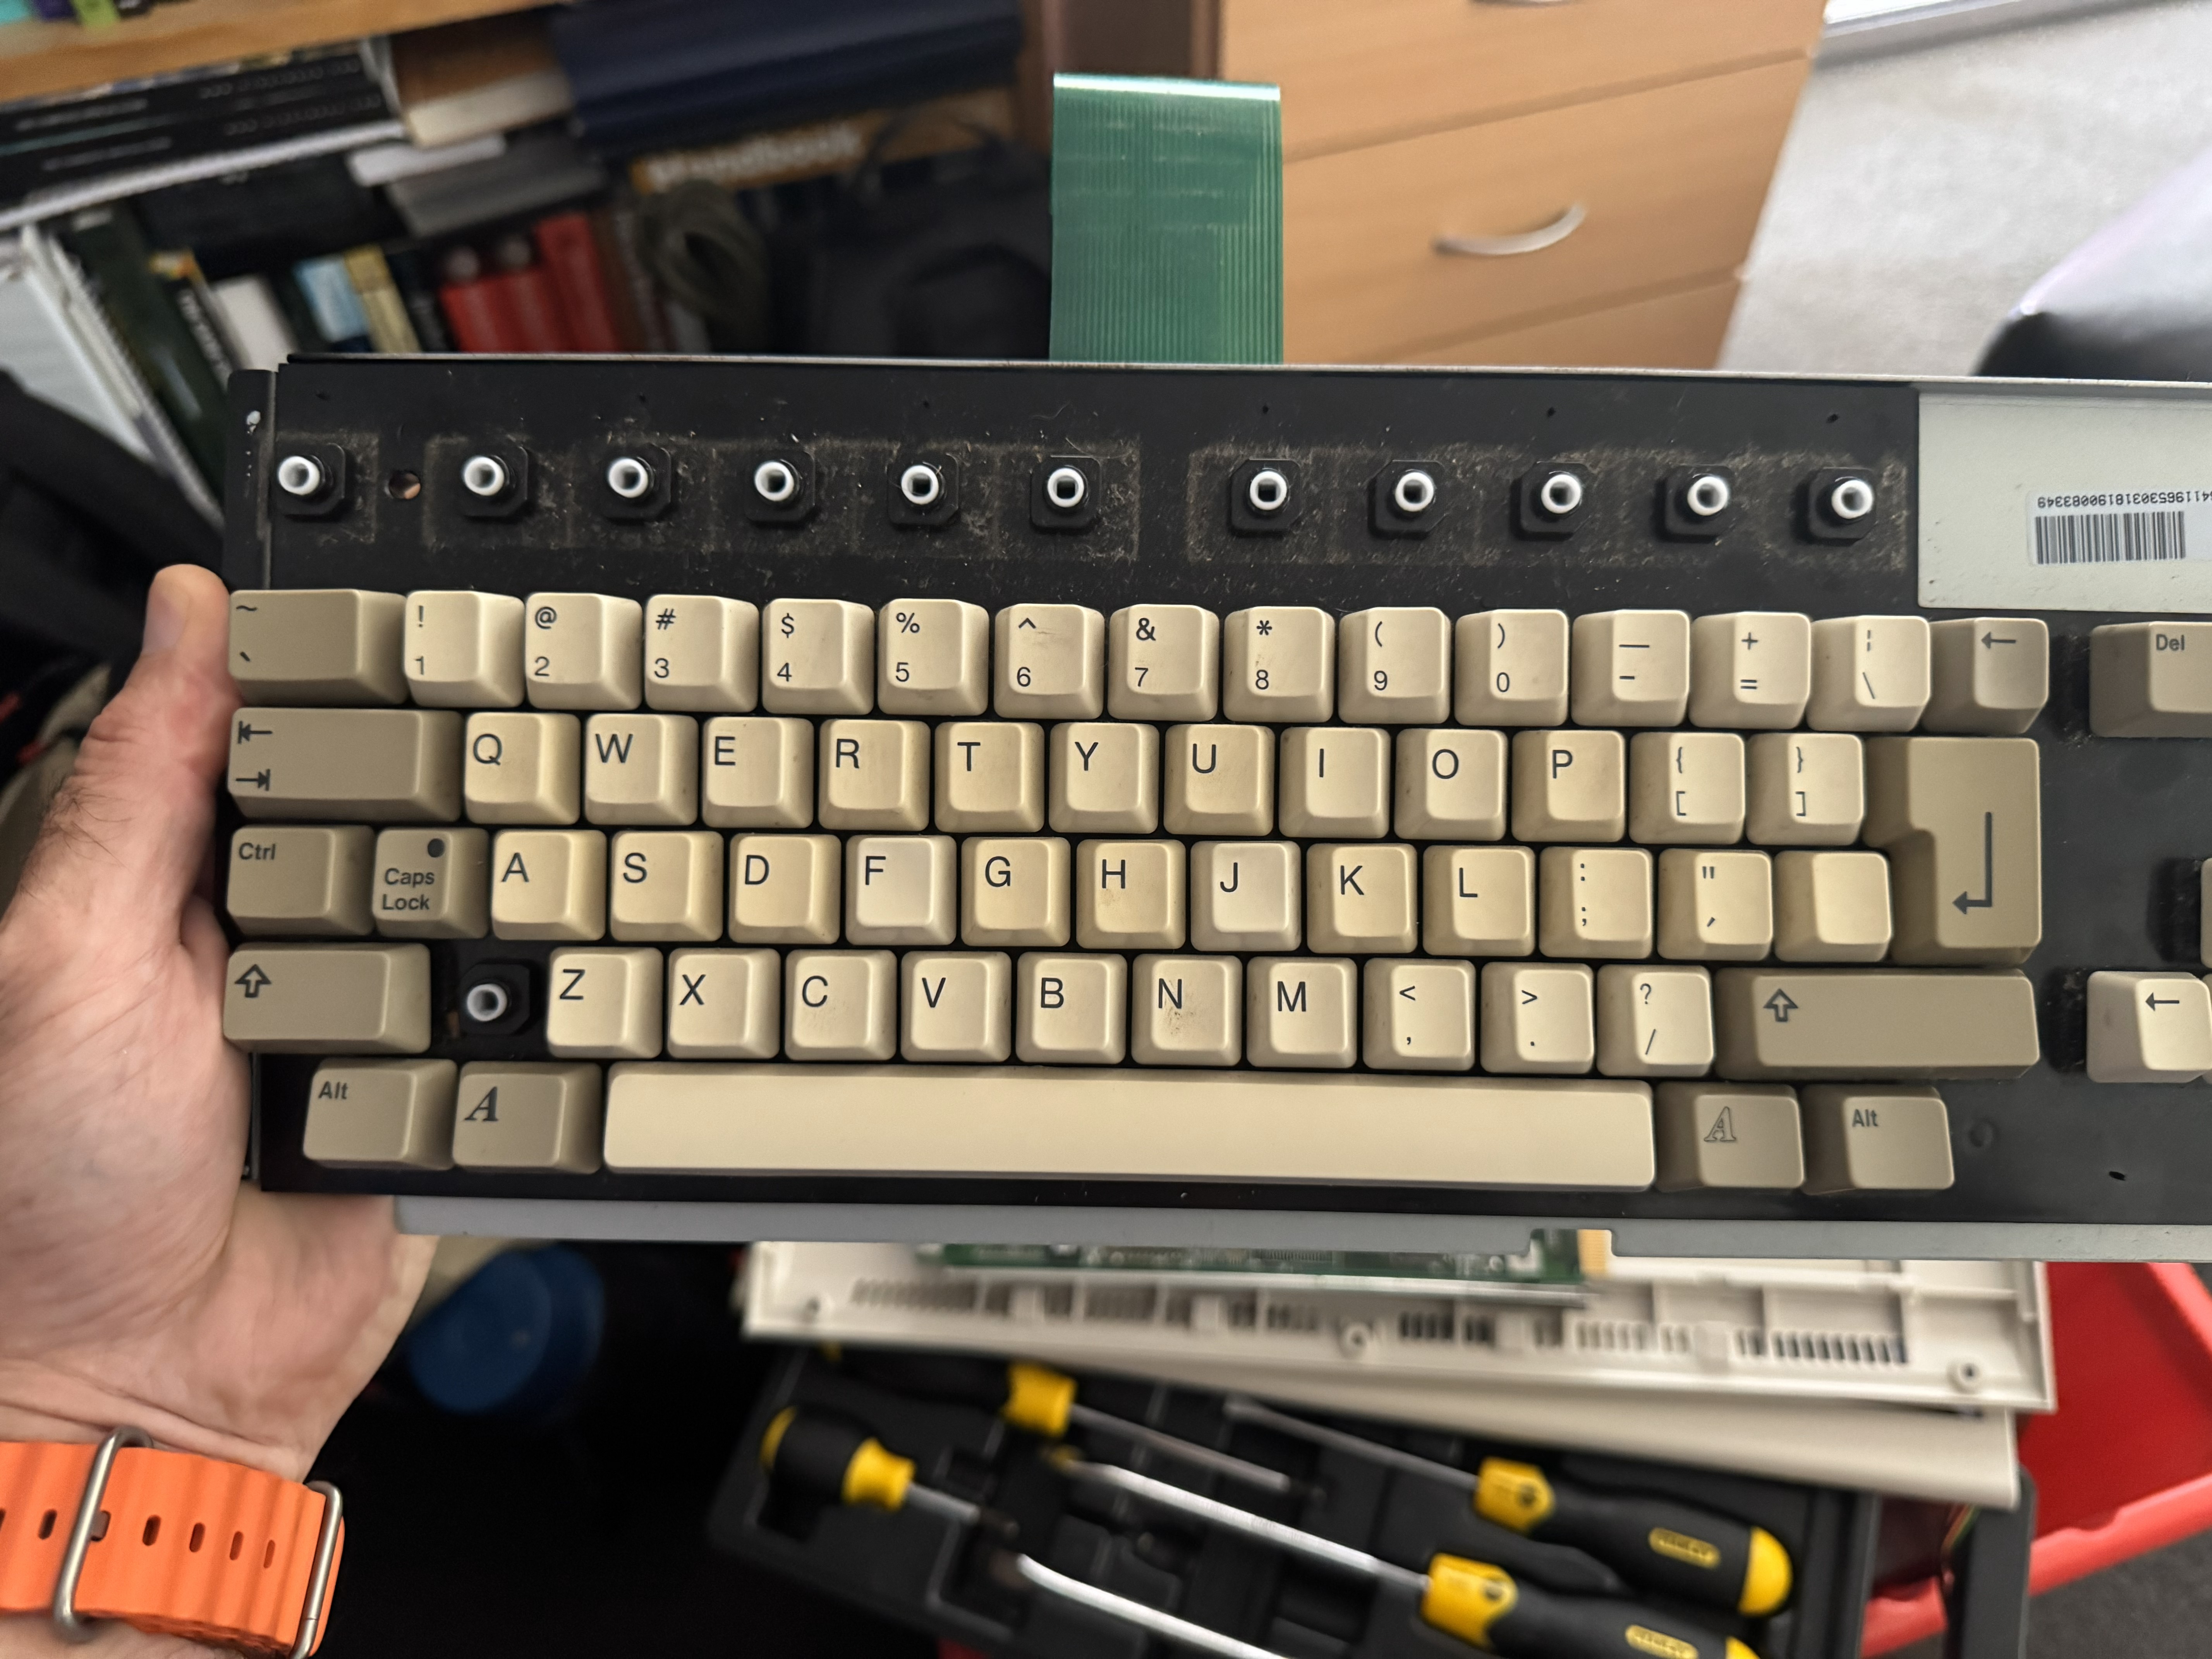
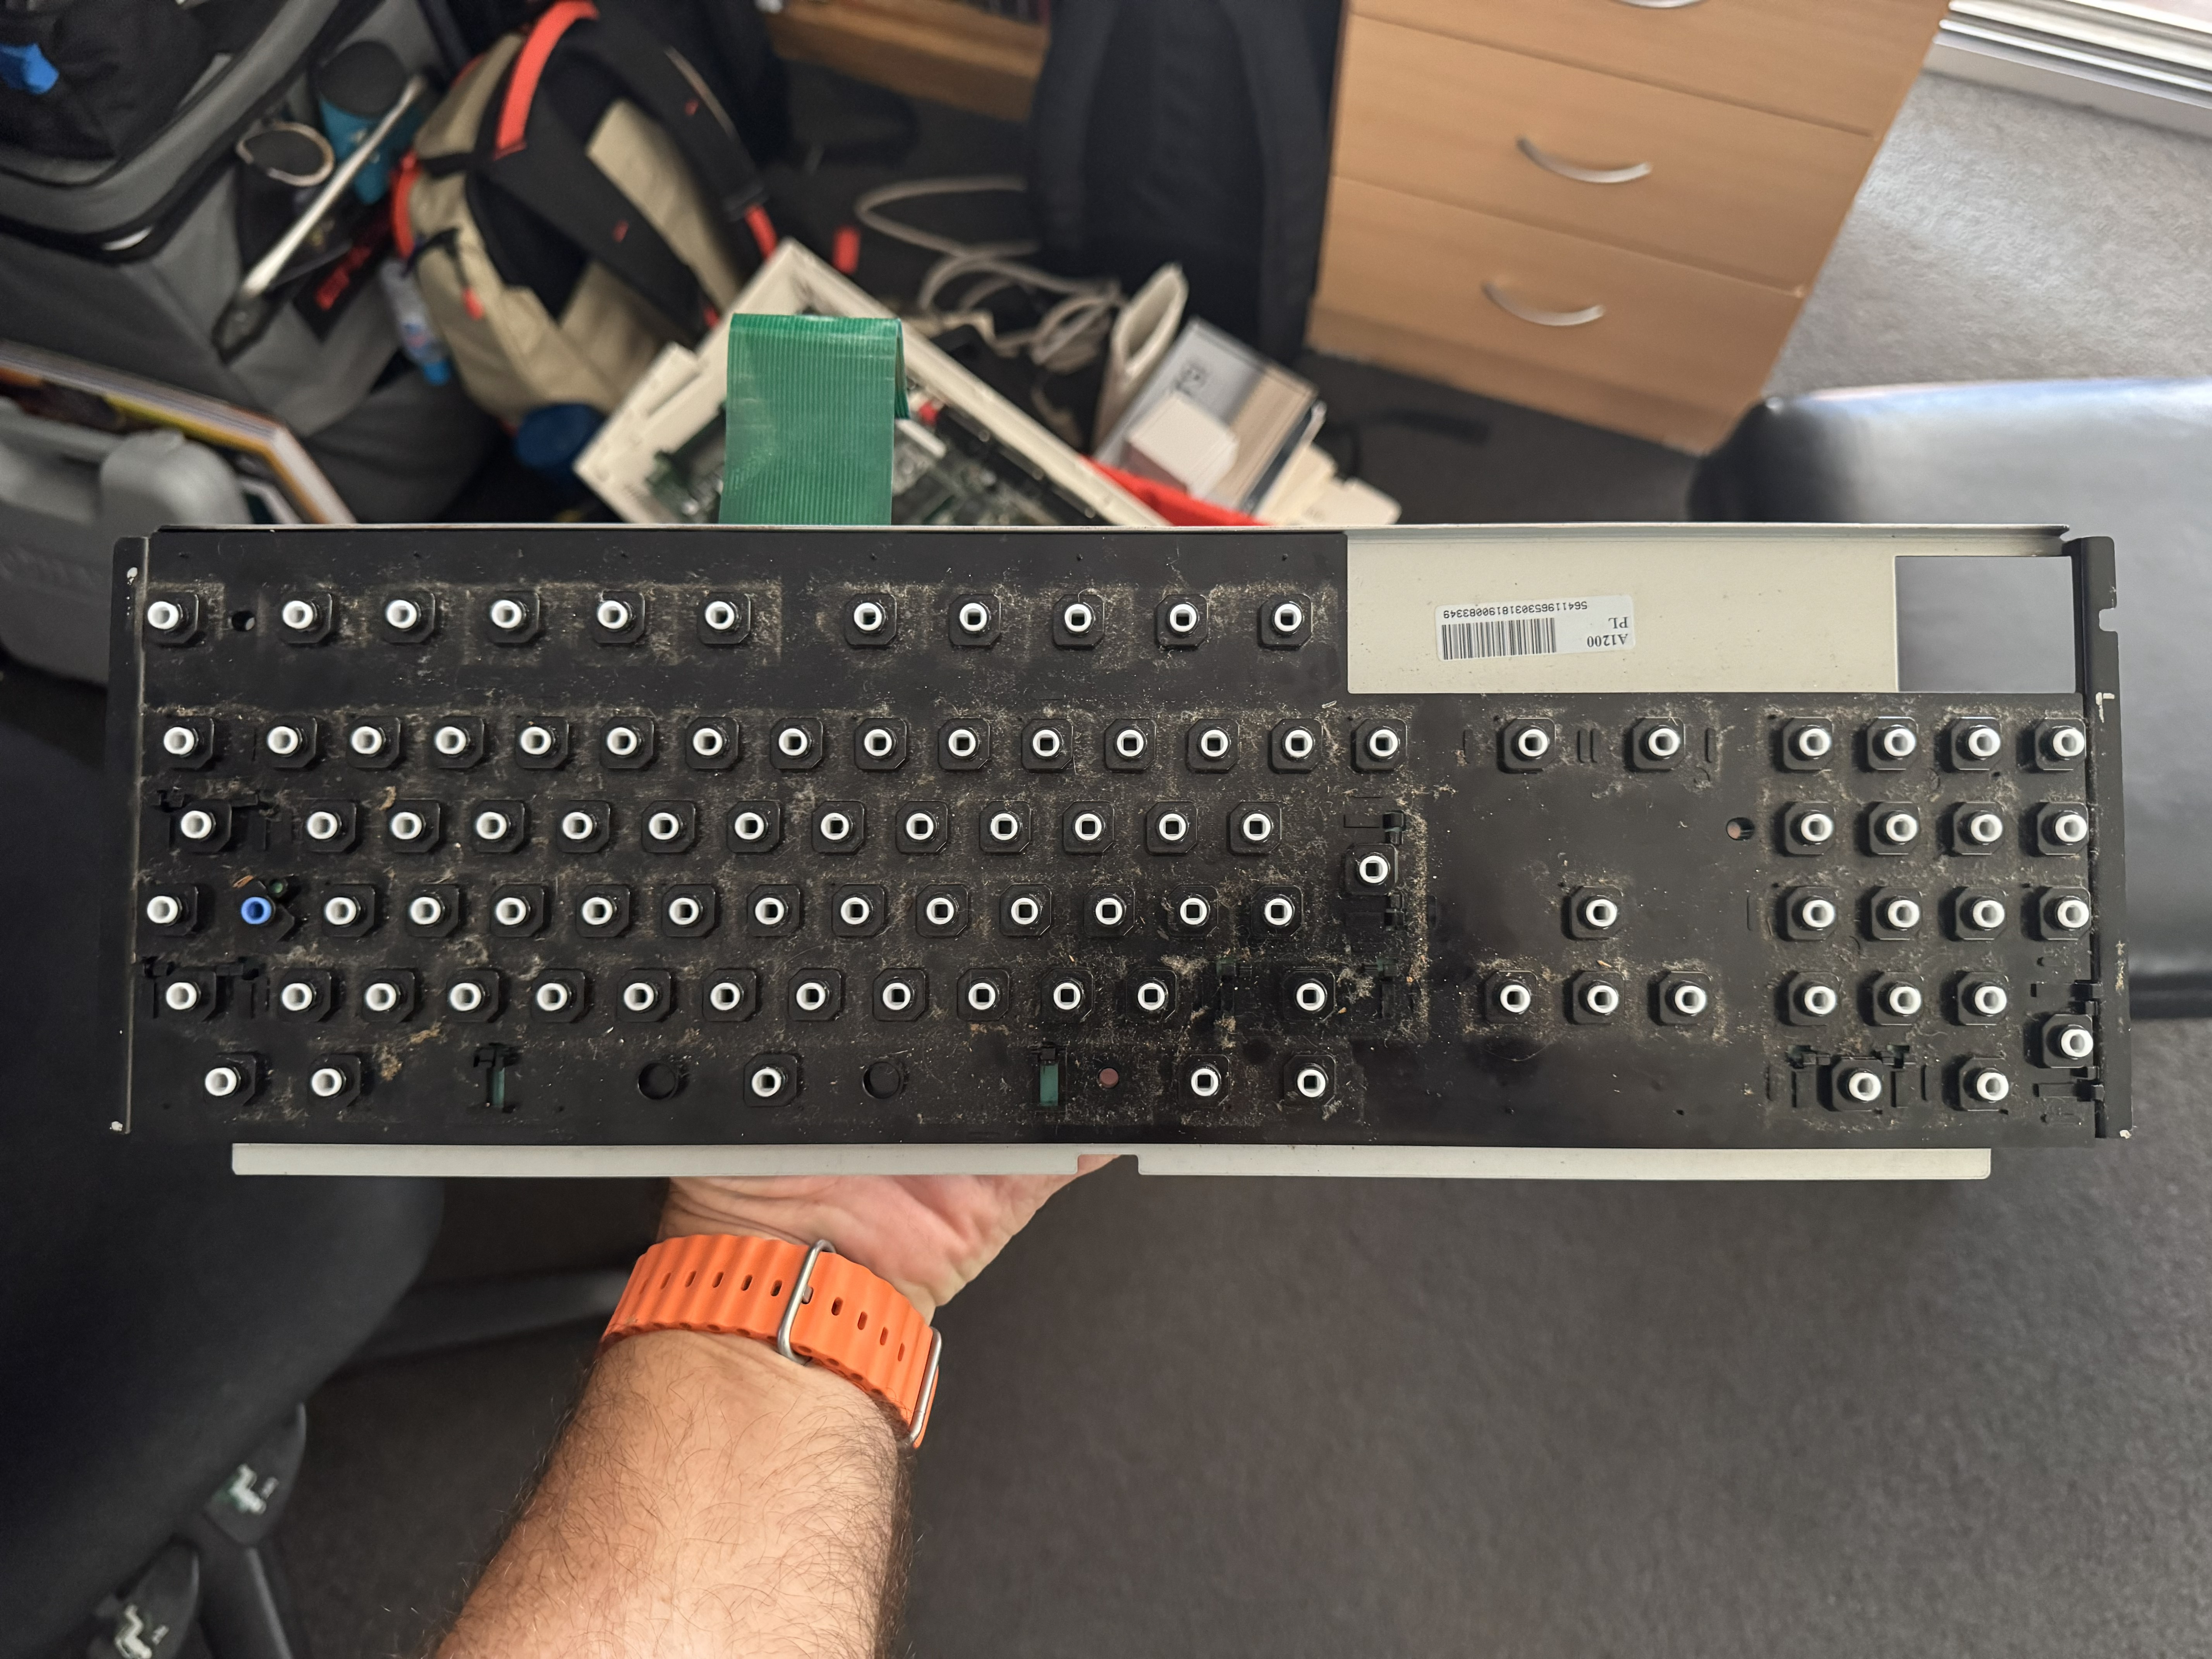
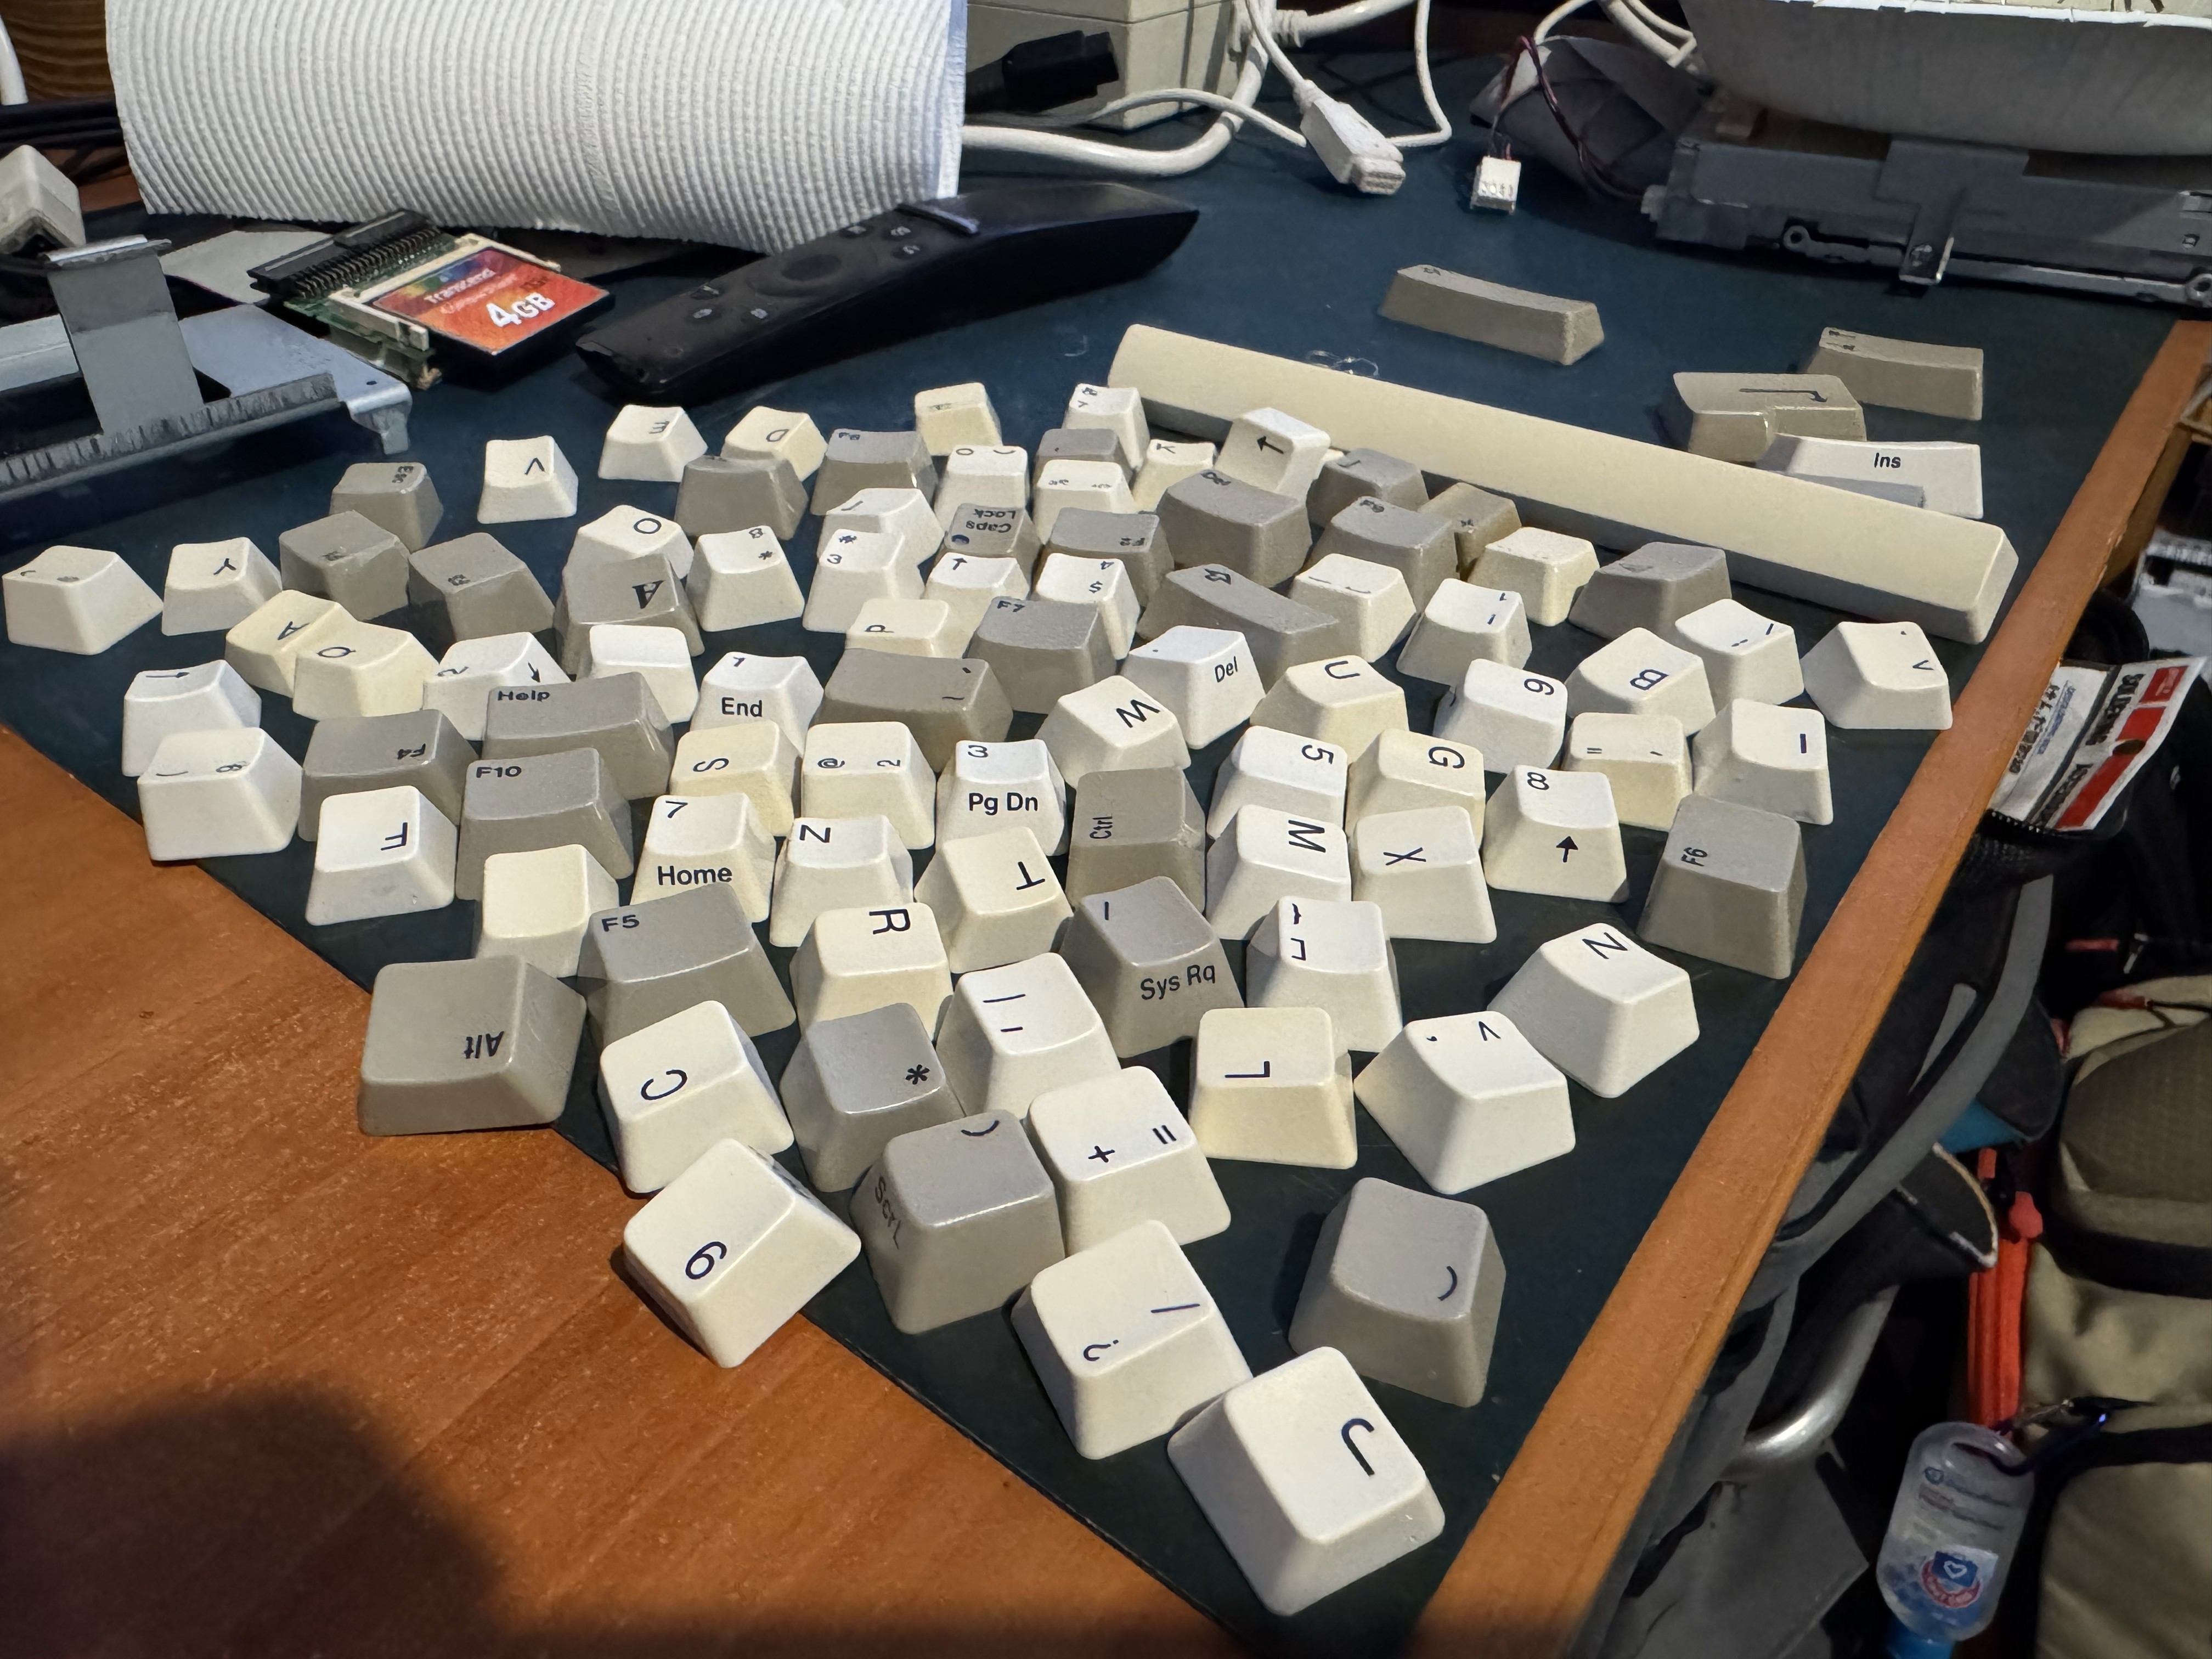
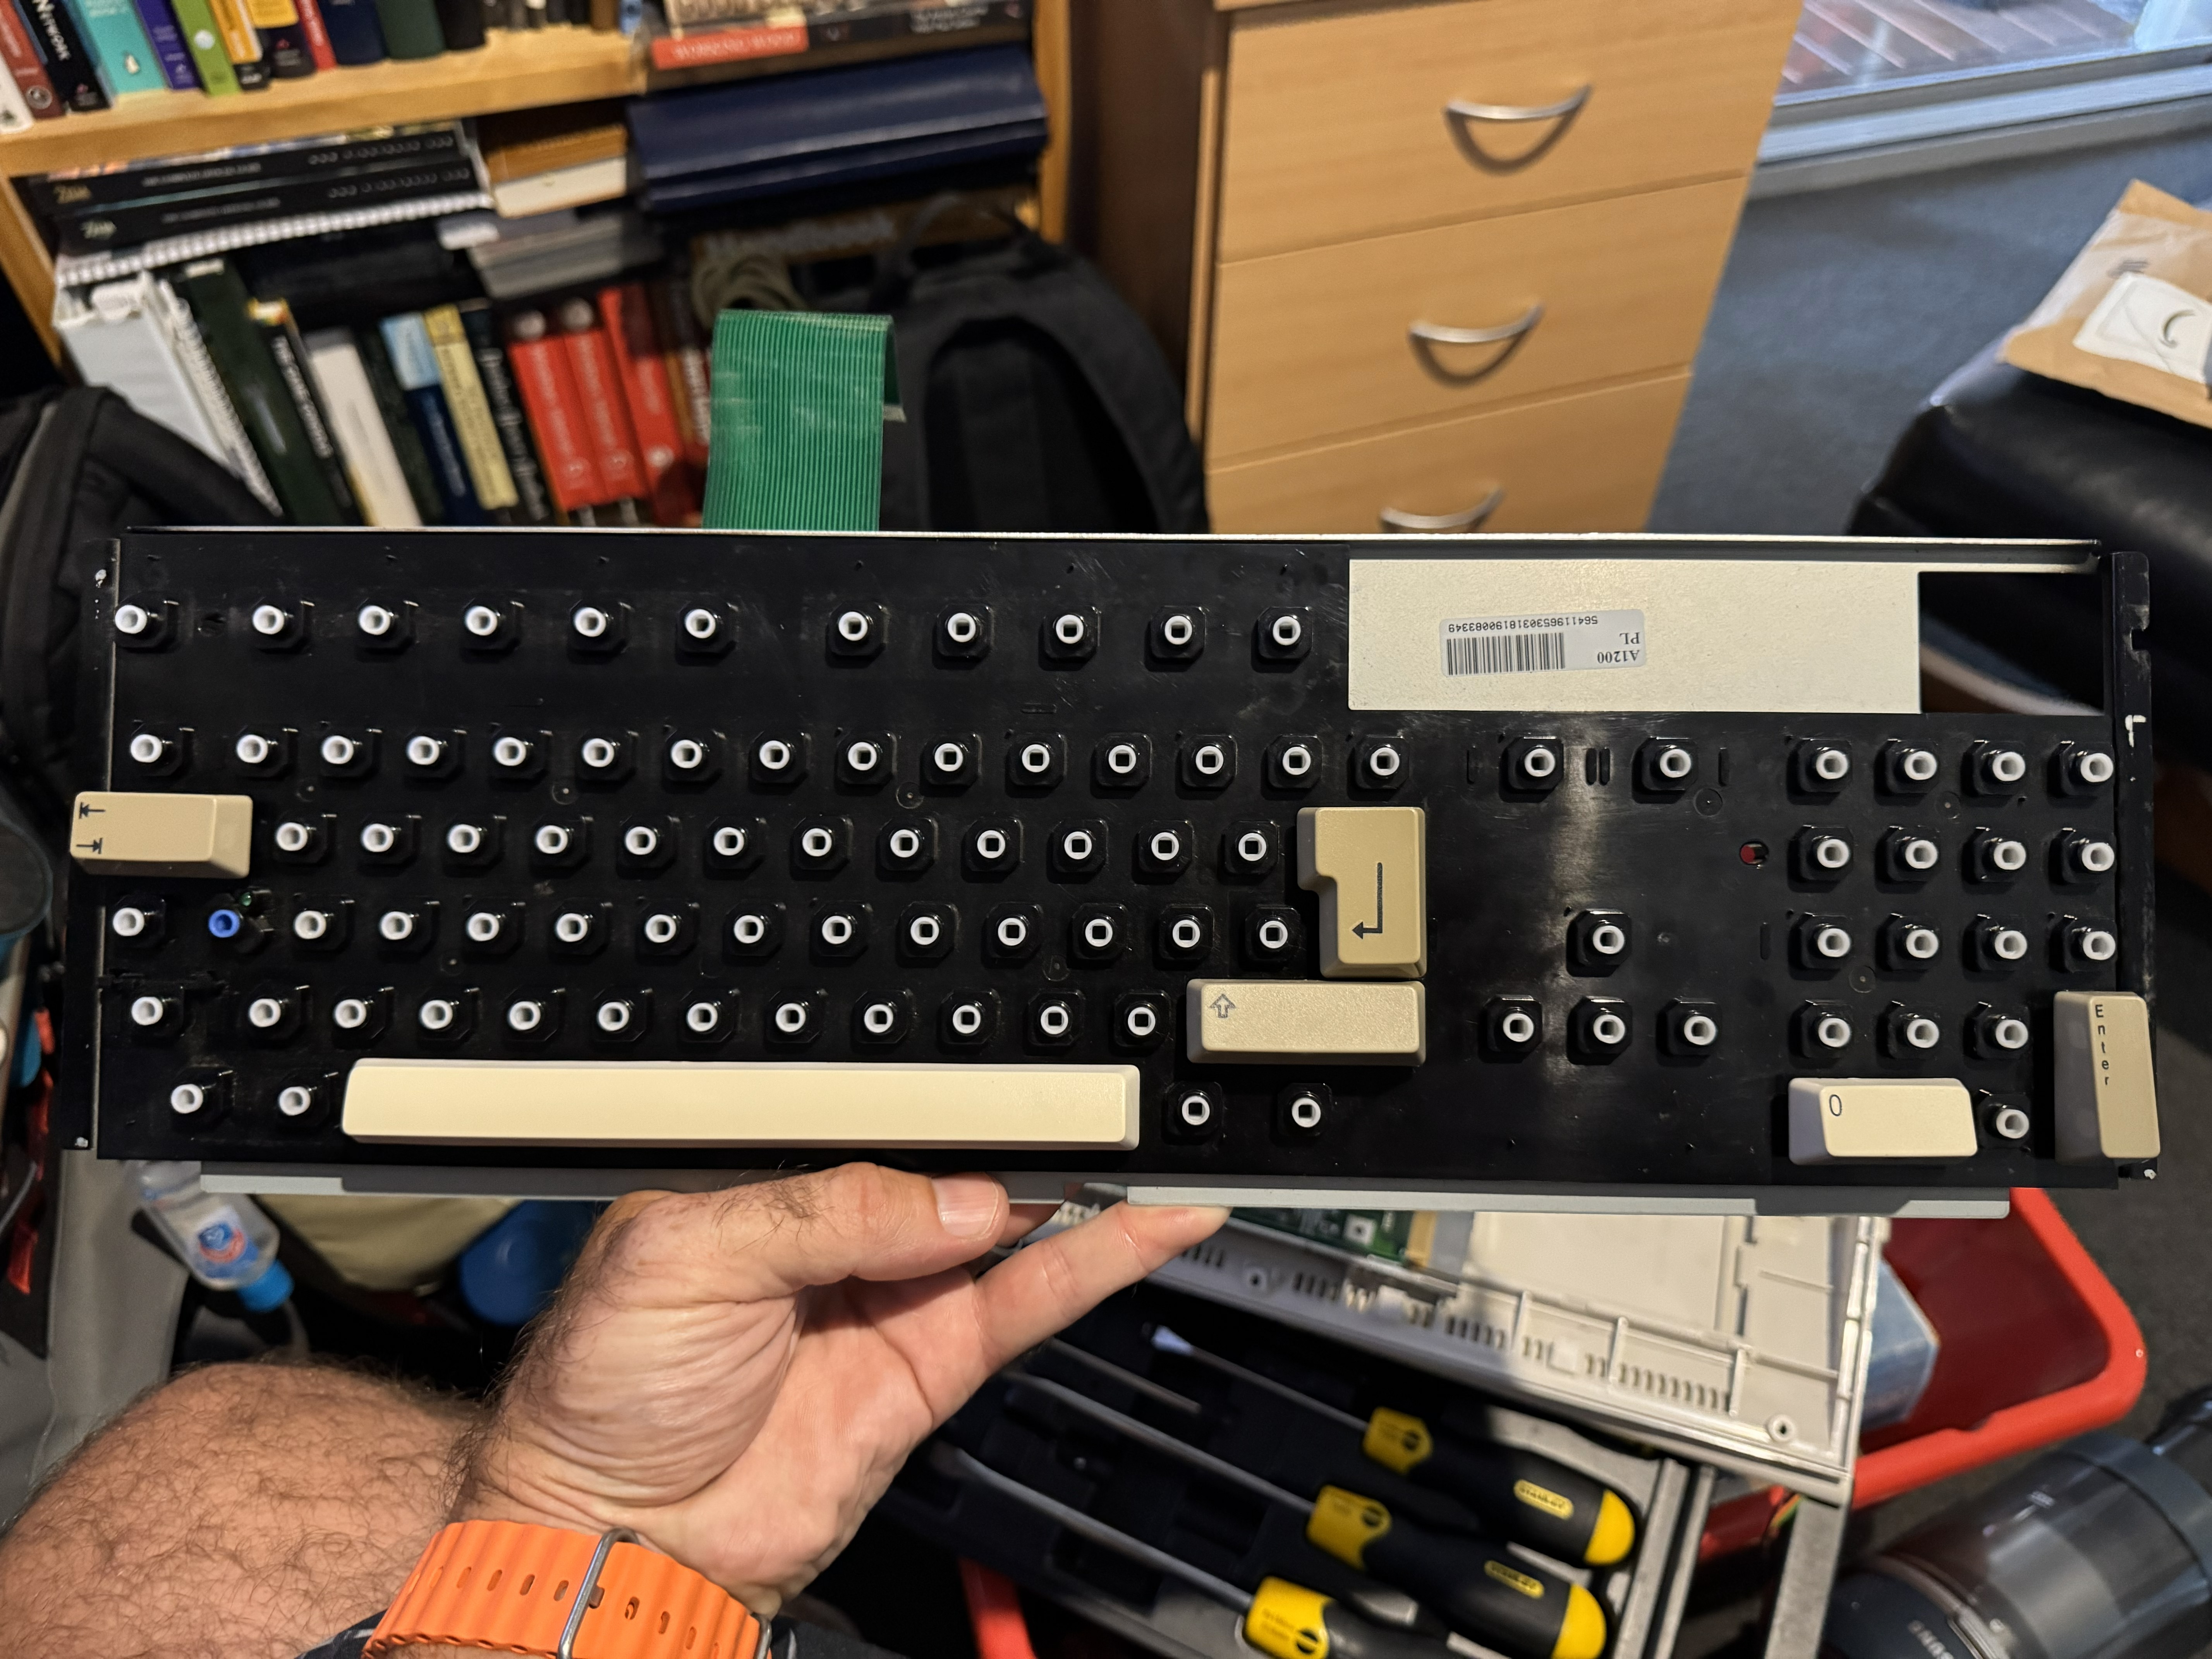
They keyboard seemed to work ok but I still wanted to give it a good clean. I pulled all of the keycaps off one at a time, gave the base of the keyboard and each individual key a clean and put it back together. It might look a little gross in the photos - but this is by far not the worse I have seen for something this age!
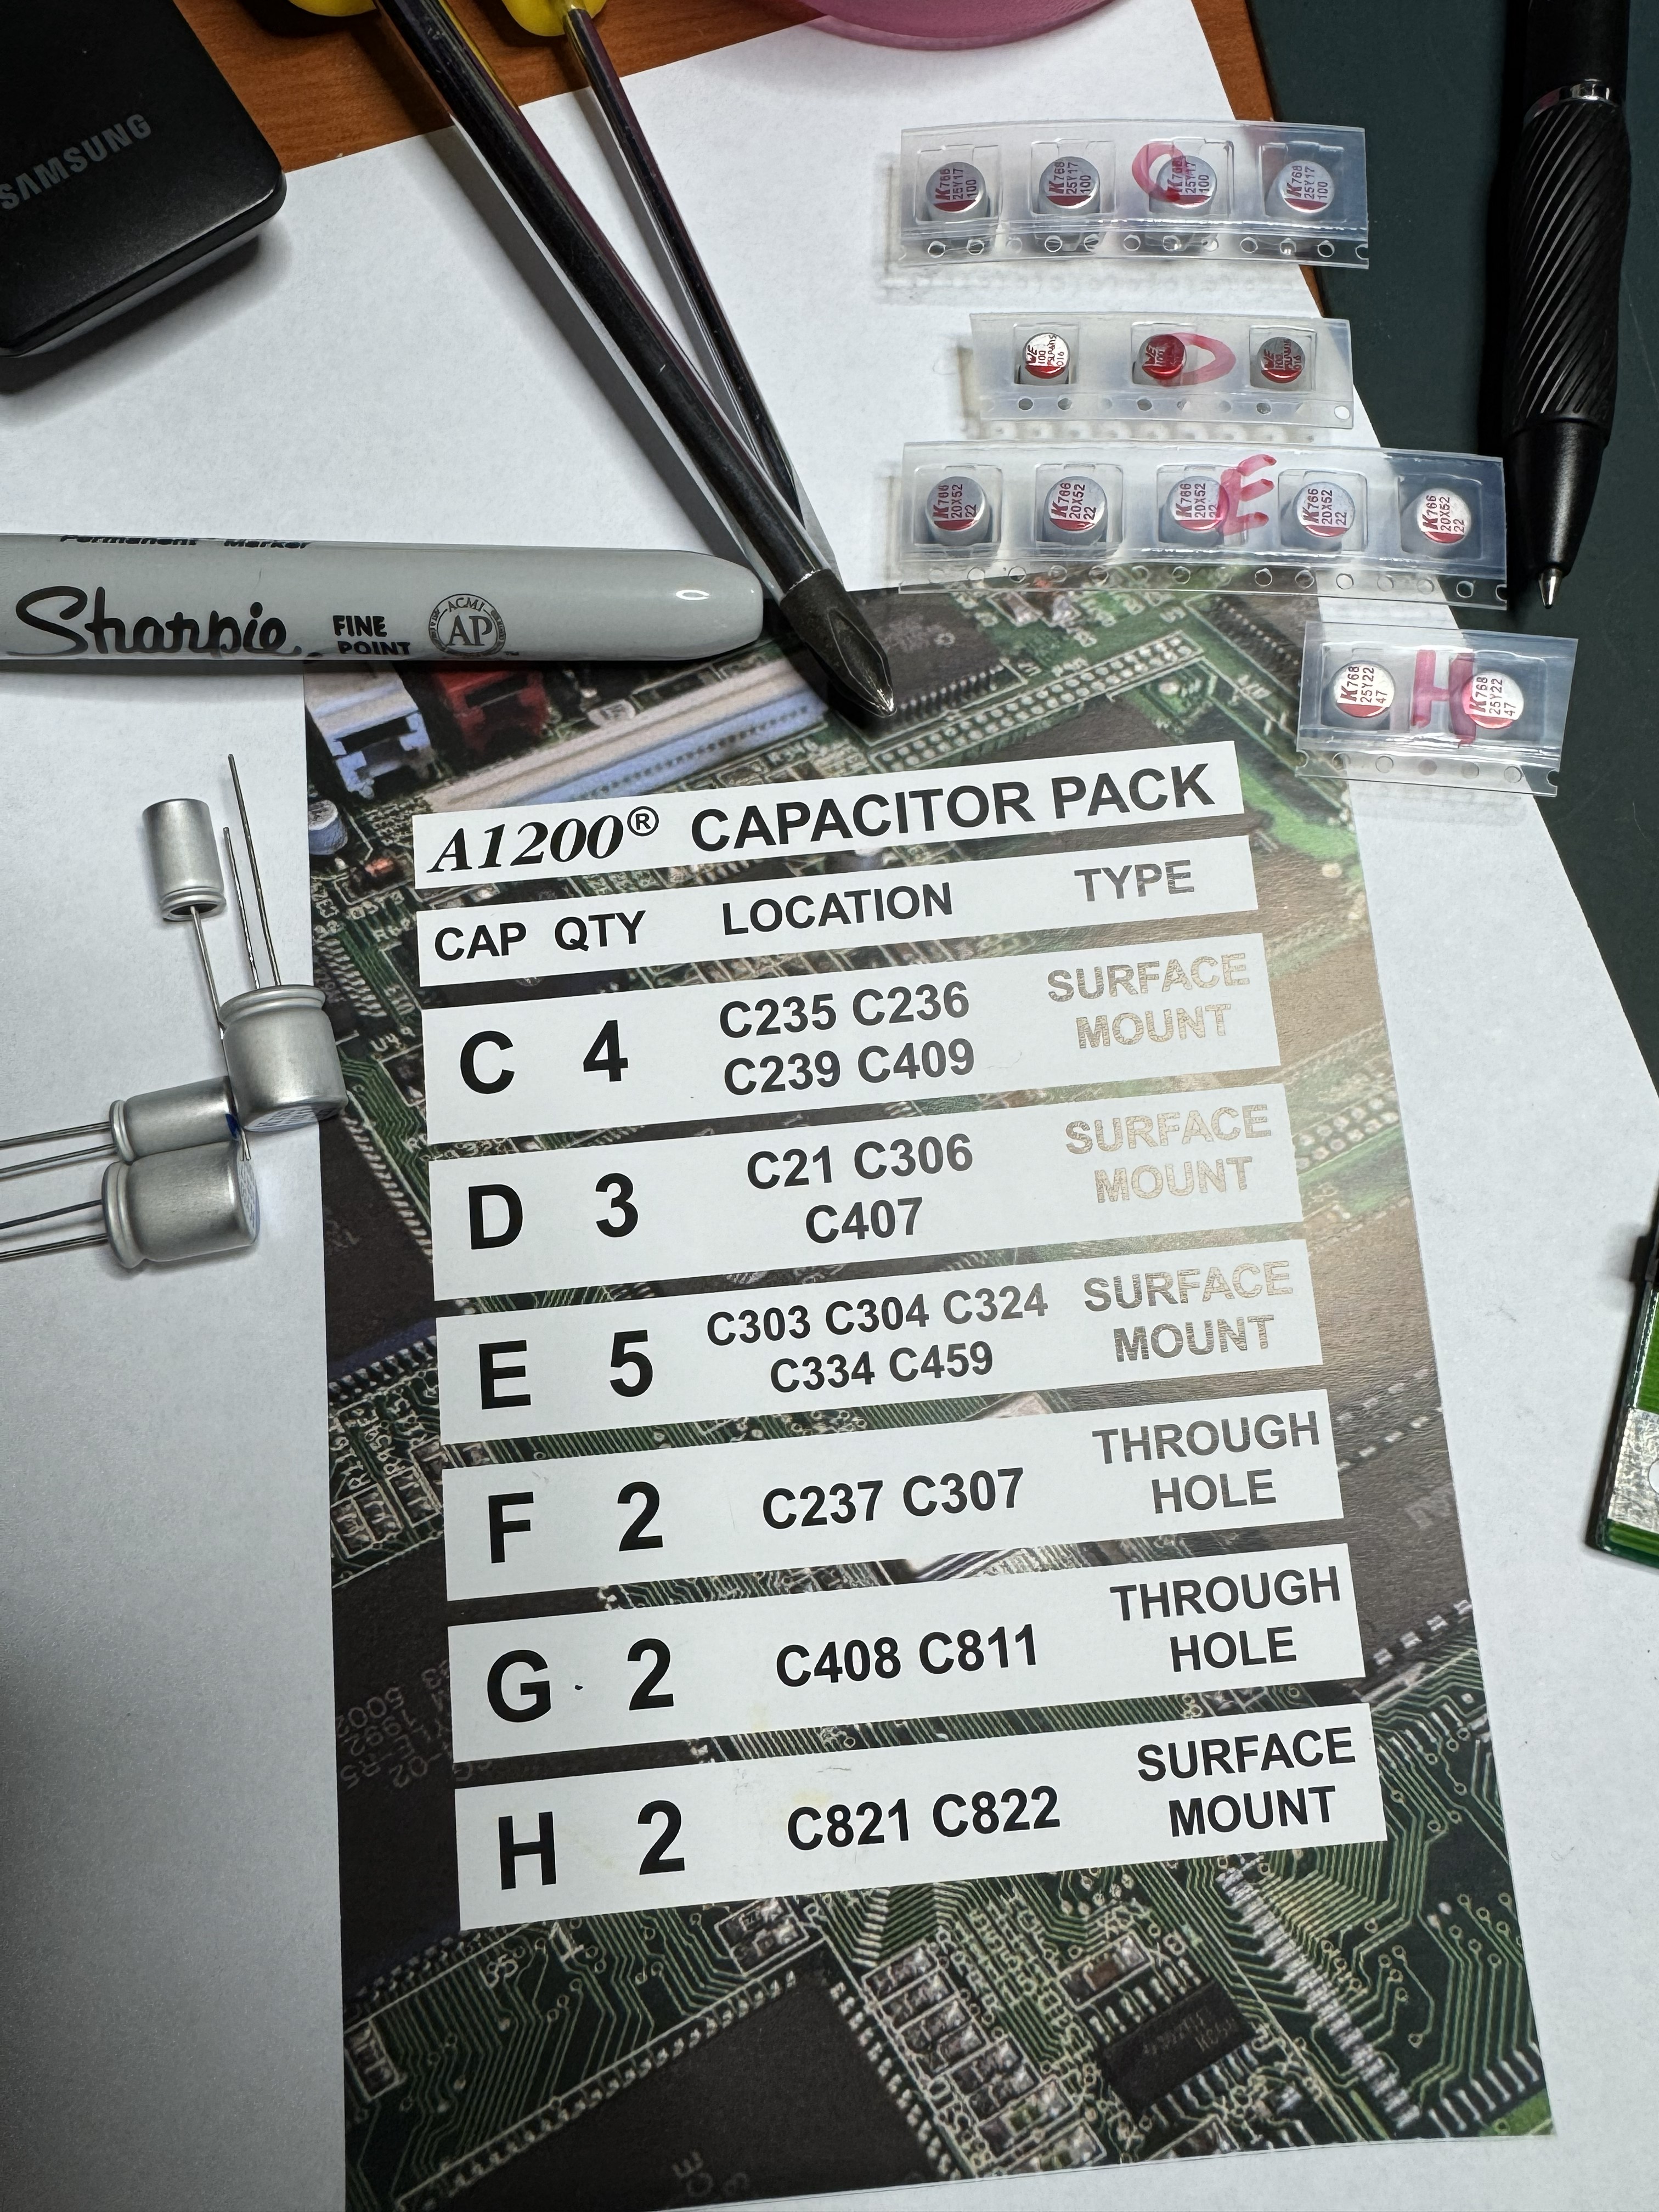
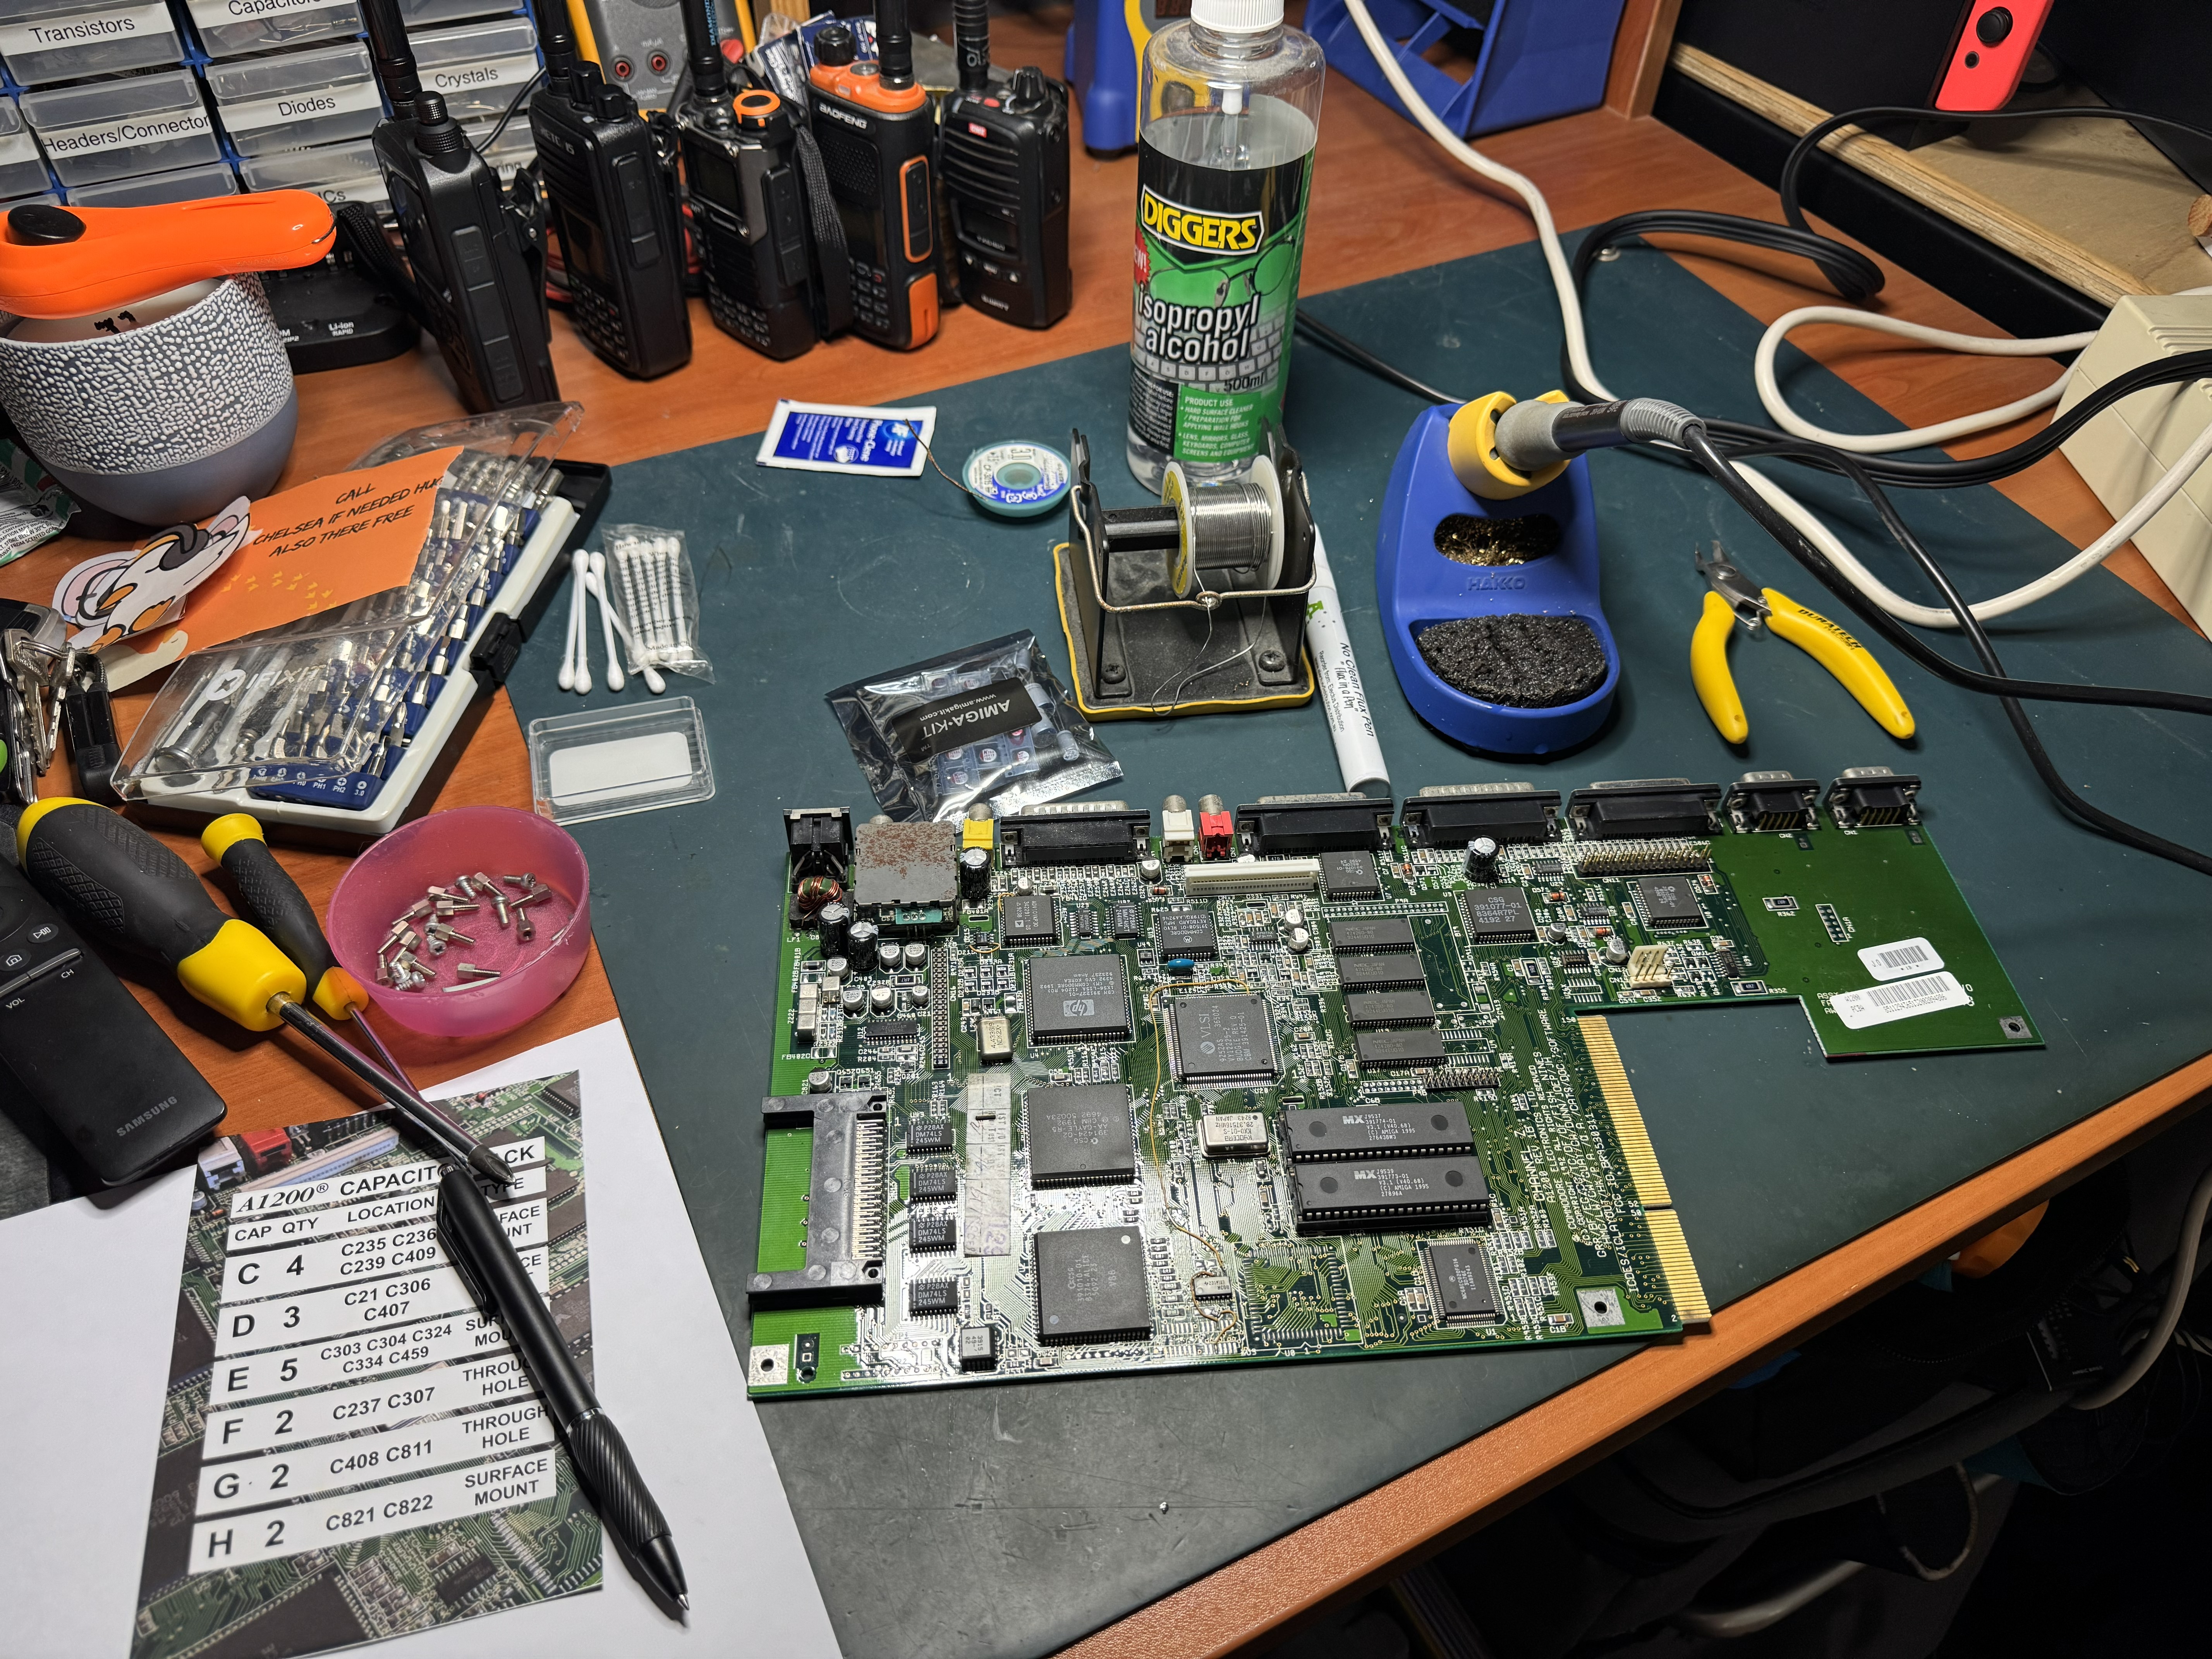
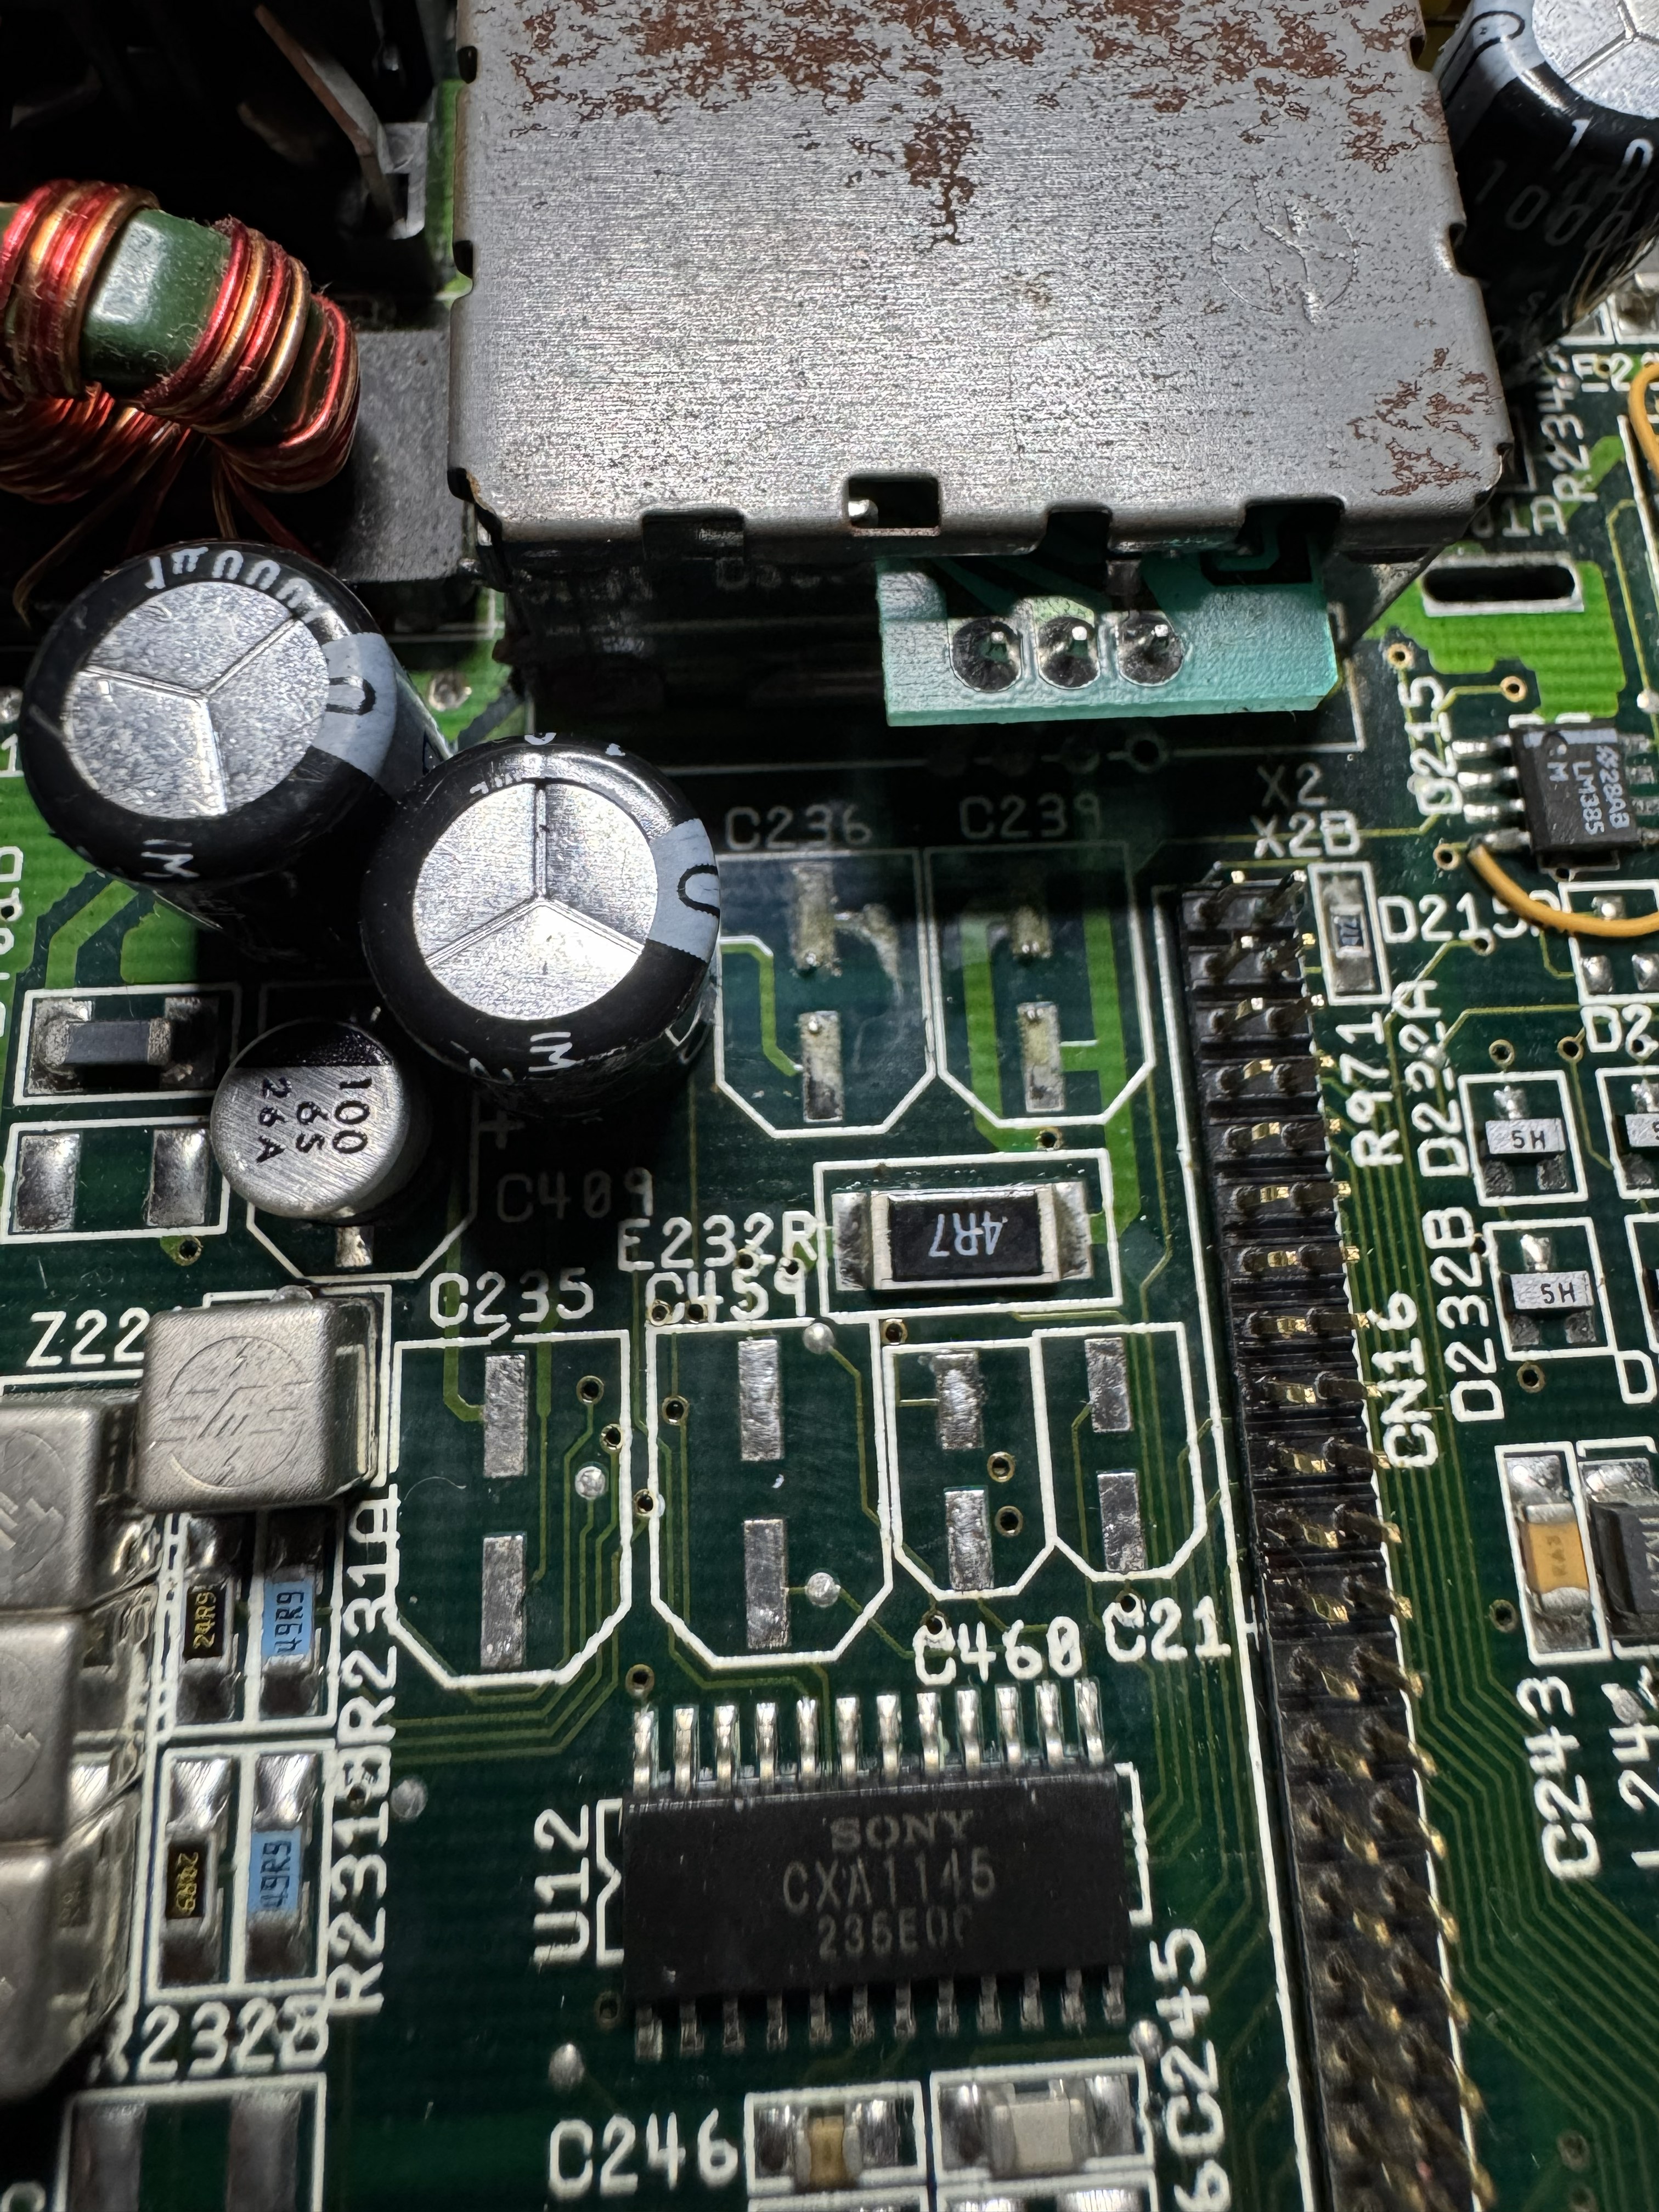
With the keyboard all done and the mainboard out of the case it was time for the big one - recapping. Everyone knows what damage can be caused to vintage electronics by leaking capacitors or batteries. Unlike the C64 however, the A1200 has 4 through hole capacitors and 14 surface mount capacitors. I am “ok” with surface mount, so I ordered a capacitor kit from amigakit and spent the extra few dollars for polymer caps. I made sure I had plenty of photos and all the gear I could possibly need before starting:

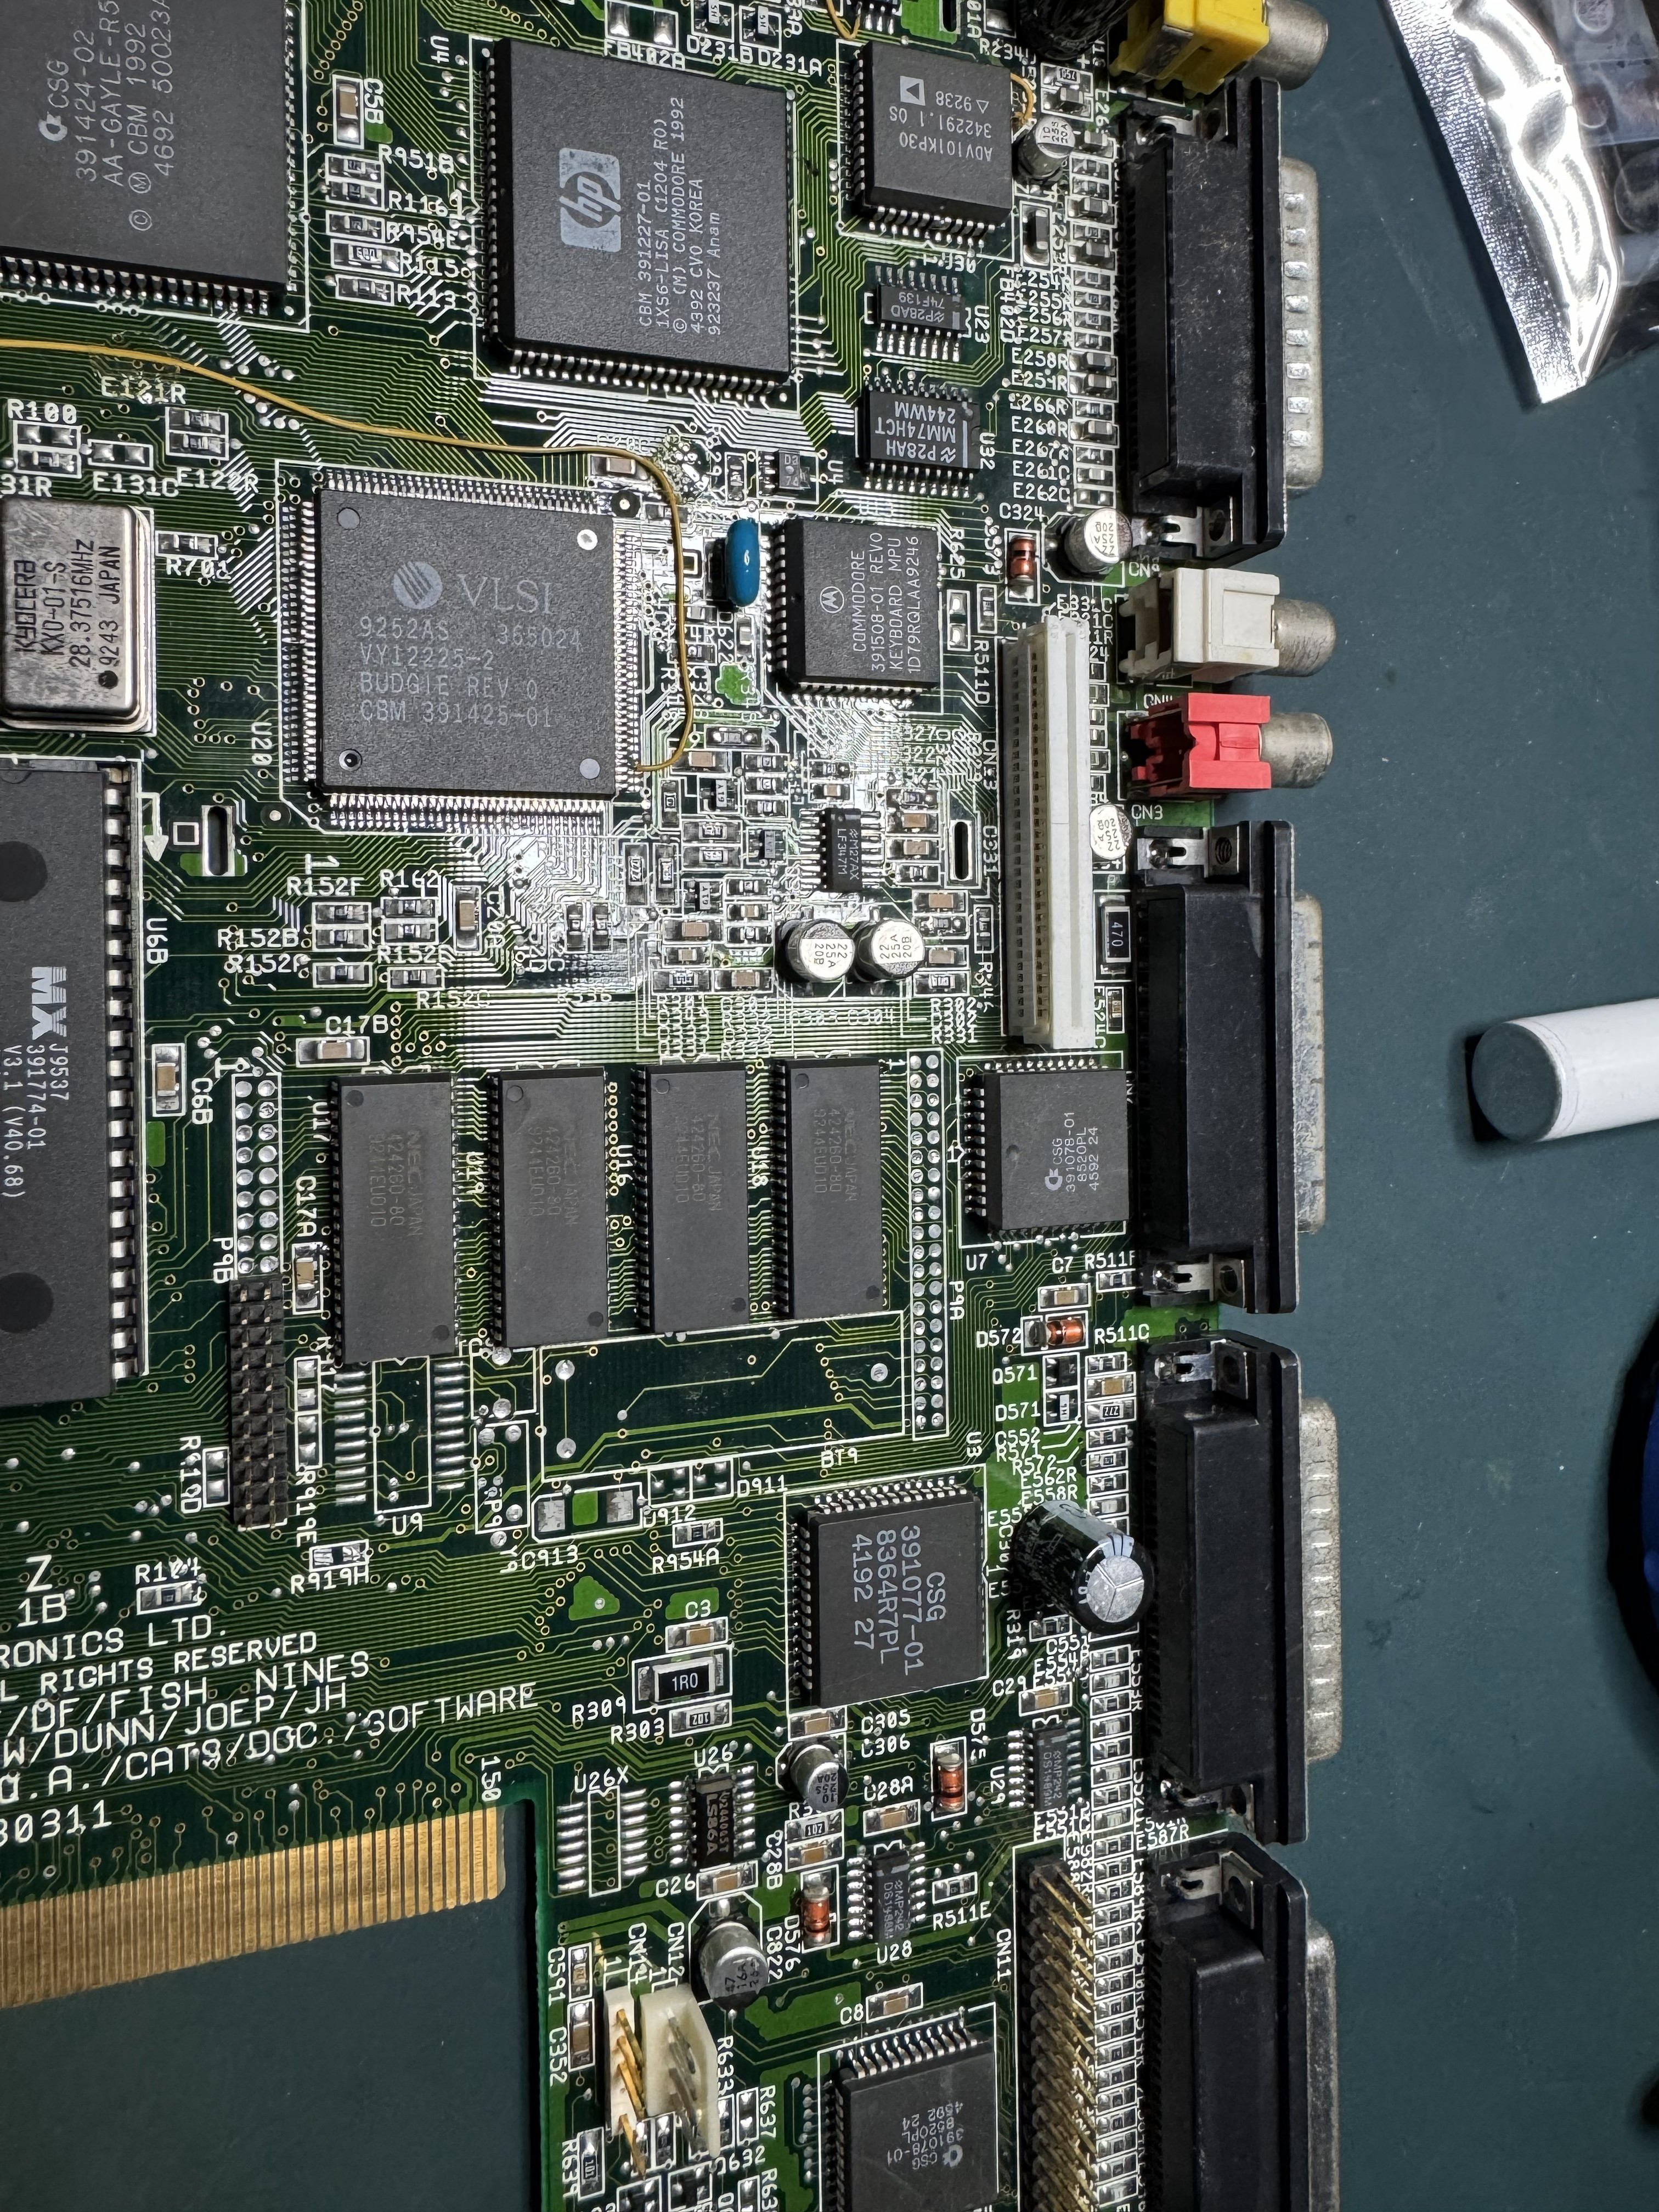
I then removed all the capacitors one at a time and cleaned and inspected underneath each one. Thankfully there was no damage, however there was some early signs of corrision under a few of them so the timing seemed pretty spot on.
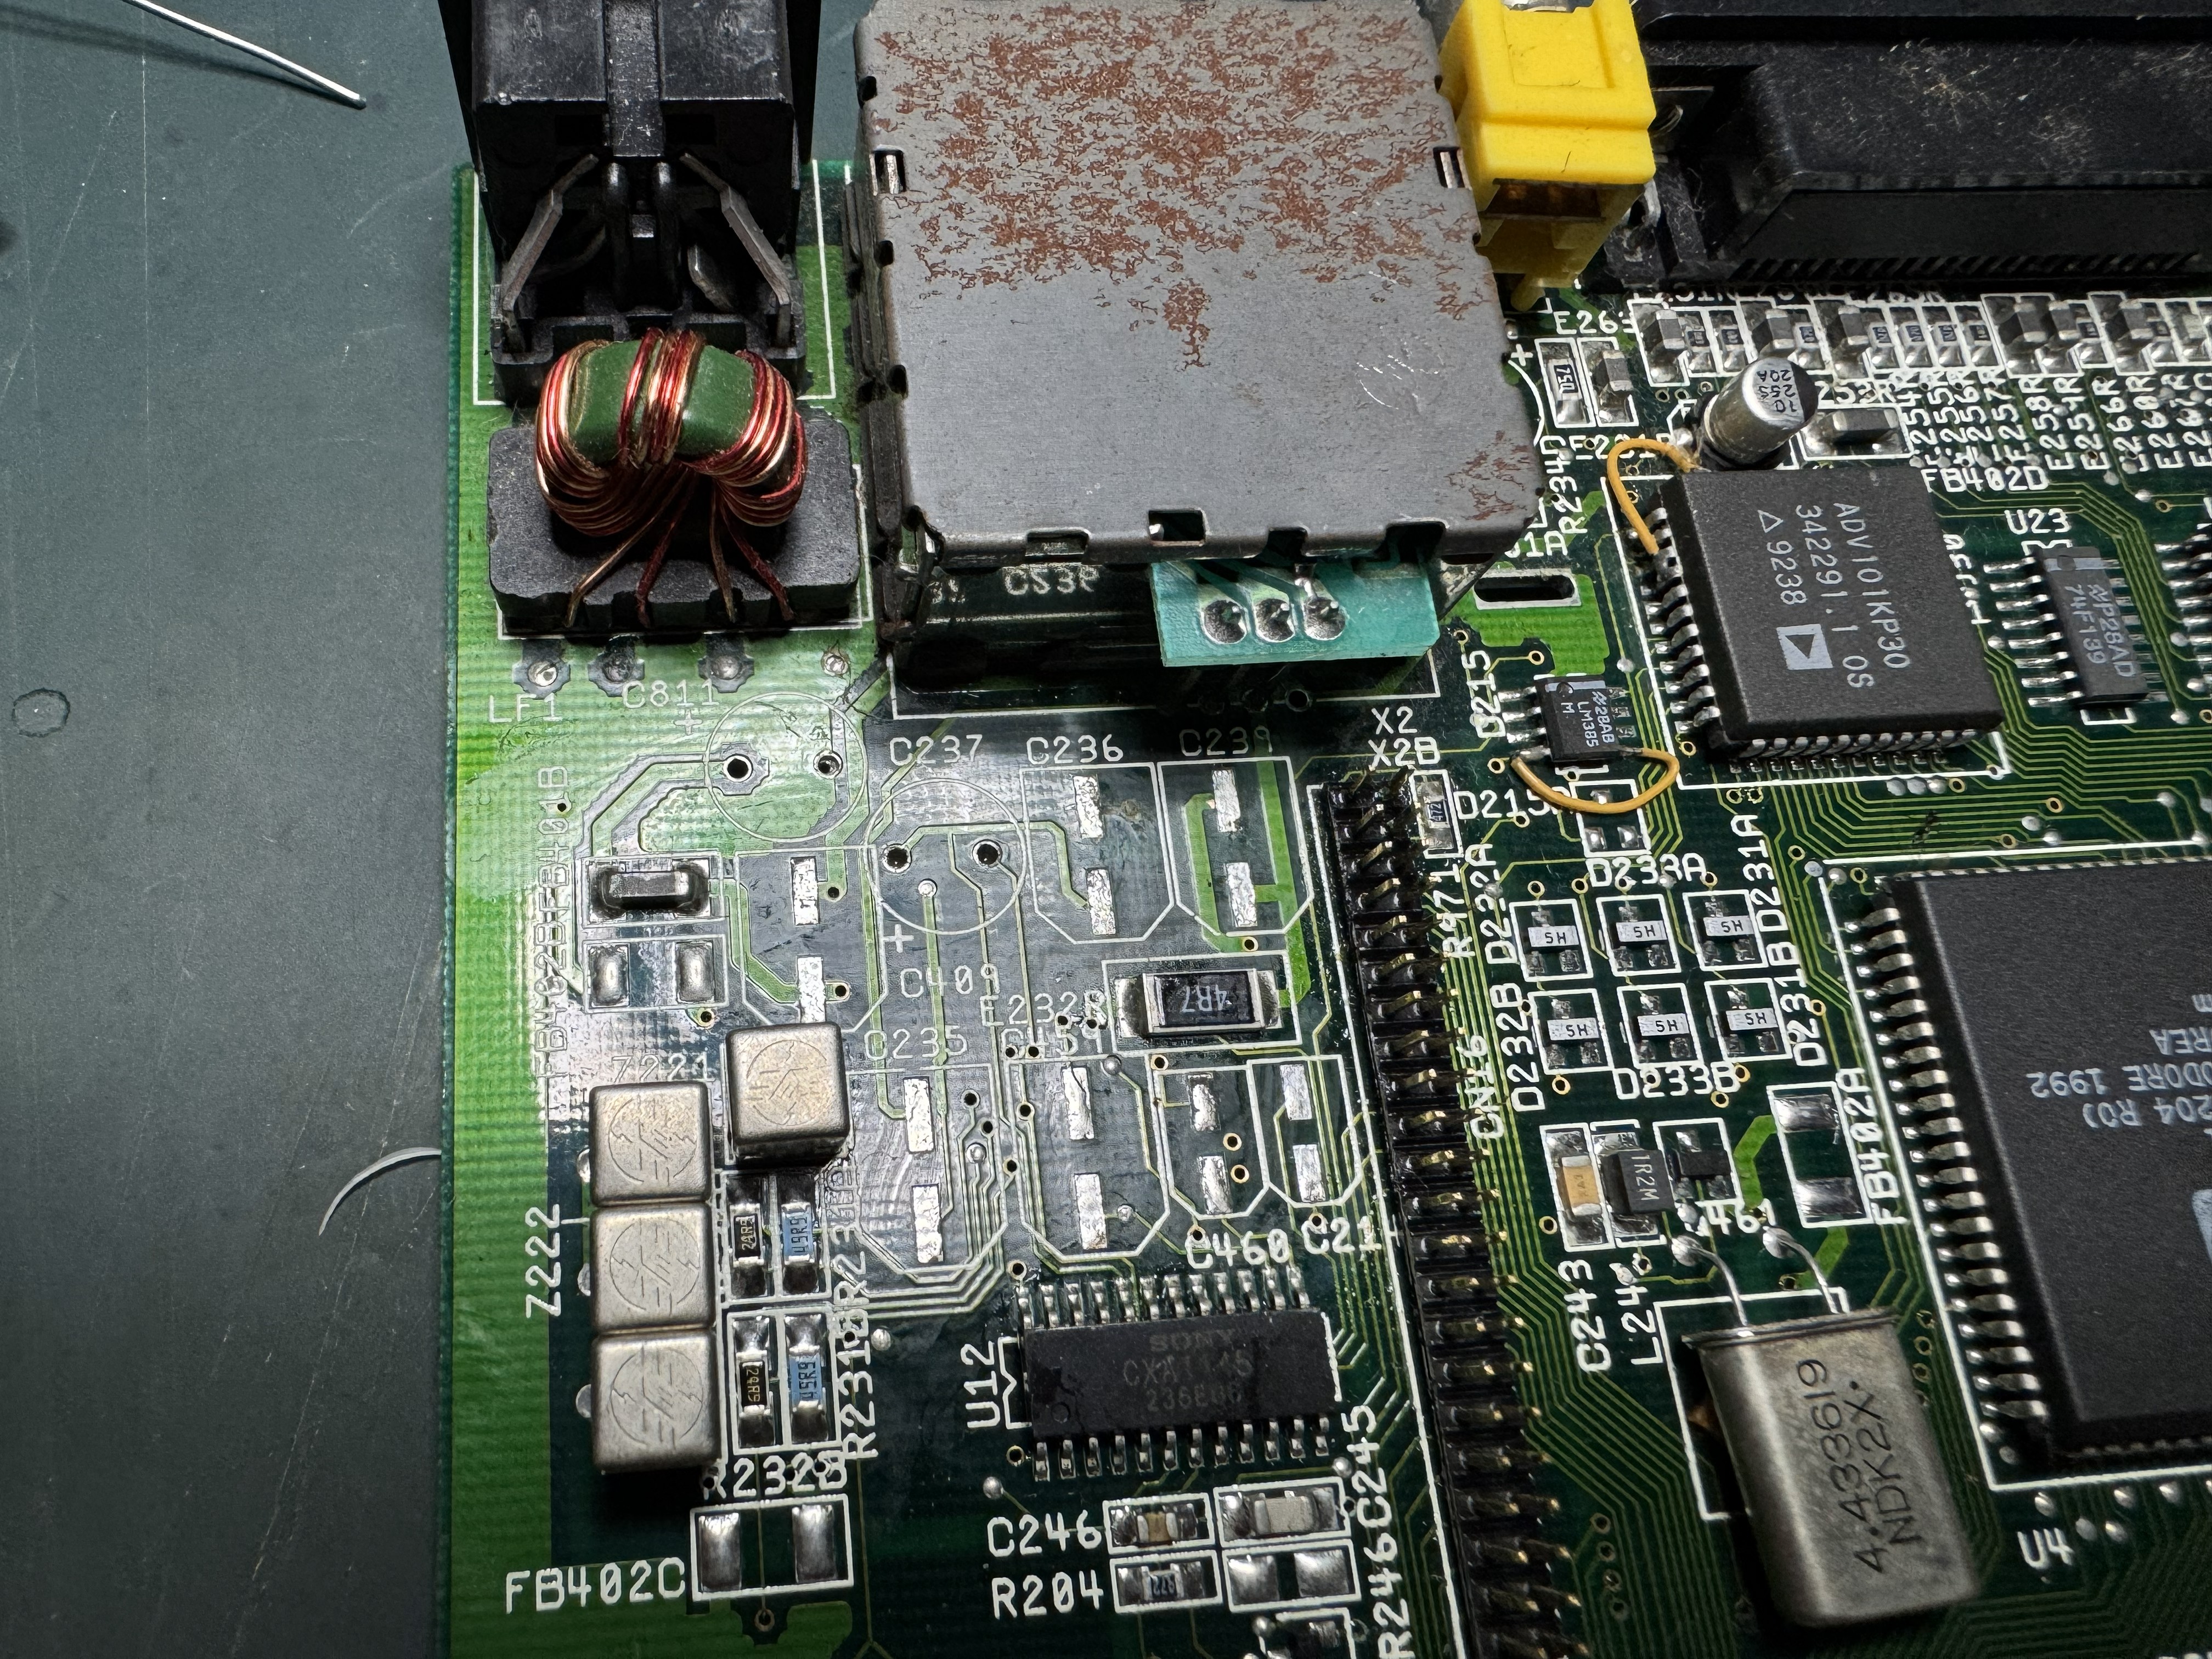
Once they were all removed and everything was cleaned I installed each capacitor, making sure to take my time. As most articles and videos point out, C334 right behind the keyboard connector can be quite tricky to get to without damaging the keyboard connector or anything else. I used a very fine tip and took my time and managed to get it done without any damage. My A1200 was now fully recapped:

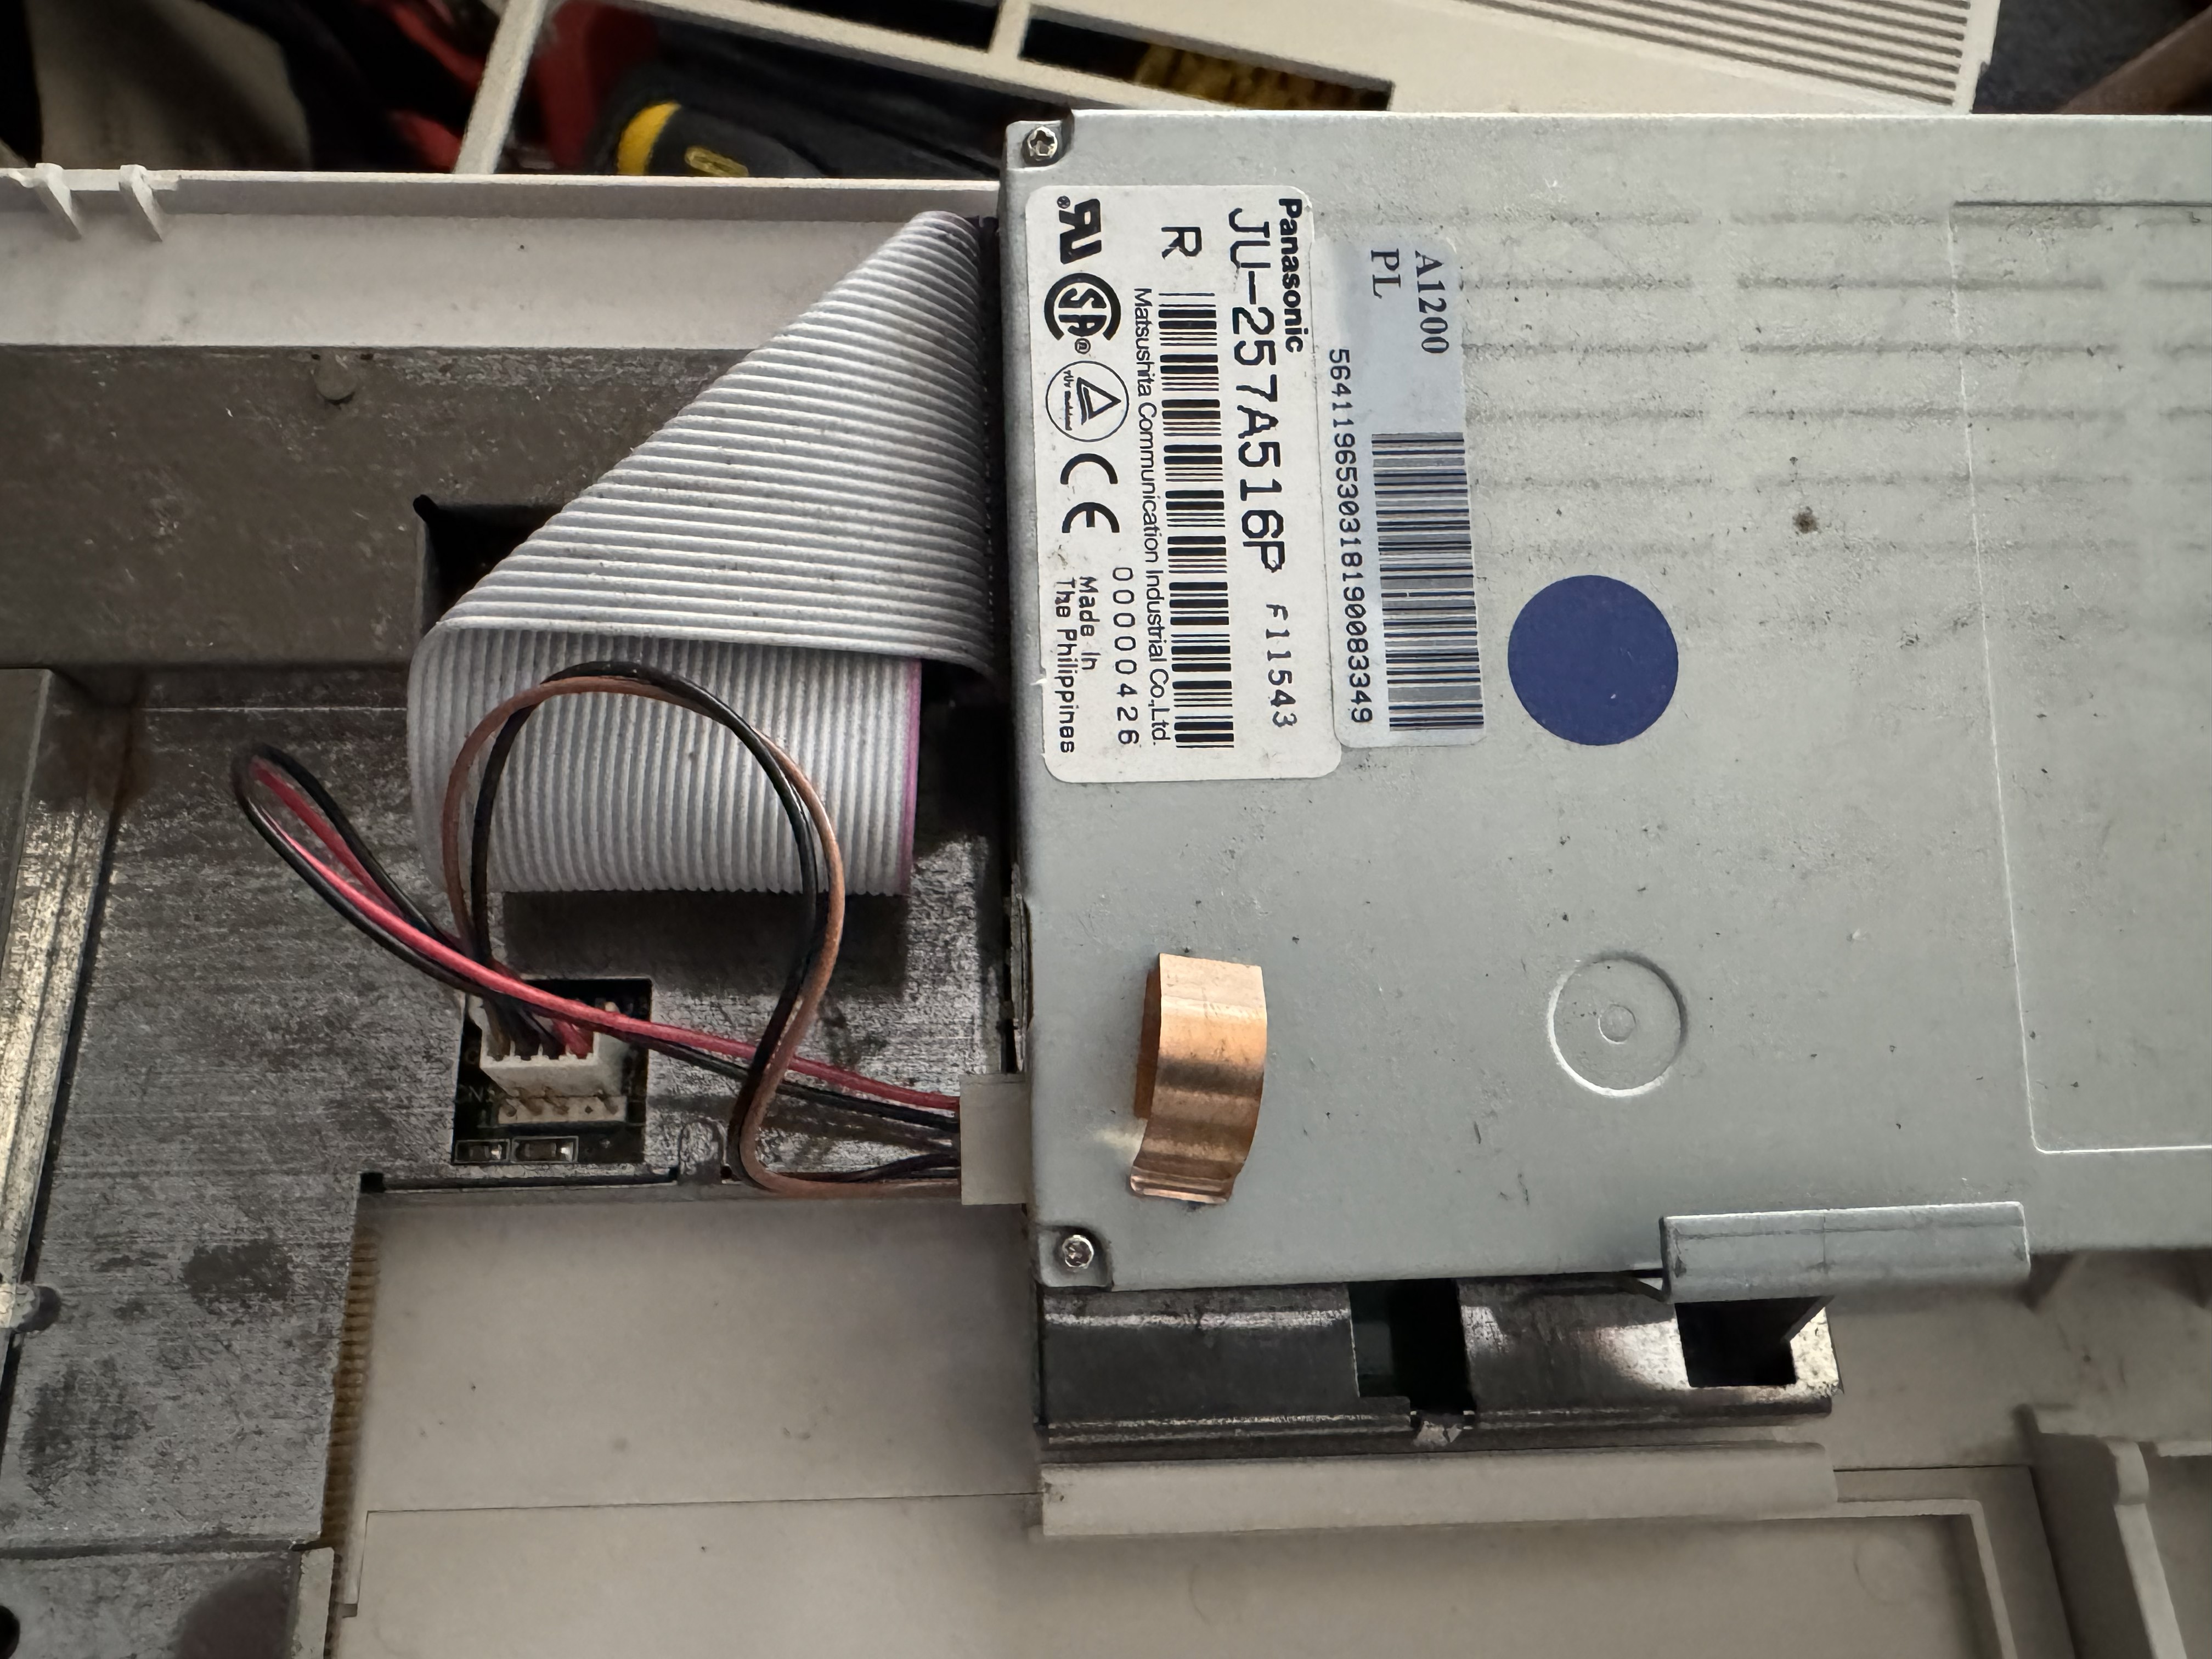
The floppy drive was also working without issue, but while I had things apart I took the lid off and gave the heads a clean with some isopropyl alcohol, and a little fresh grease on the worm drive:
With that done all of the maintenance and cleaning was complete. I put things back together enough to see if the A1200 still worked - and it did first go!
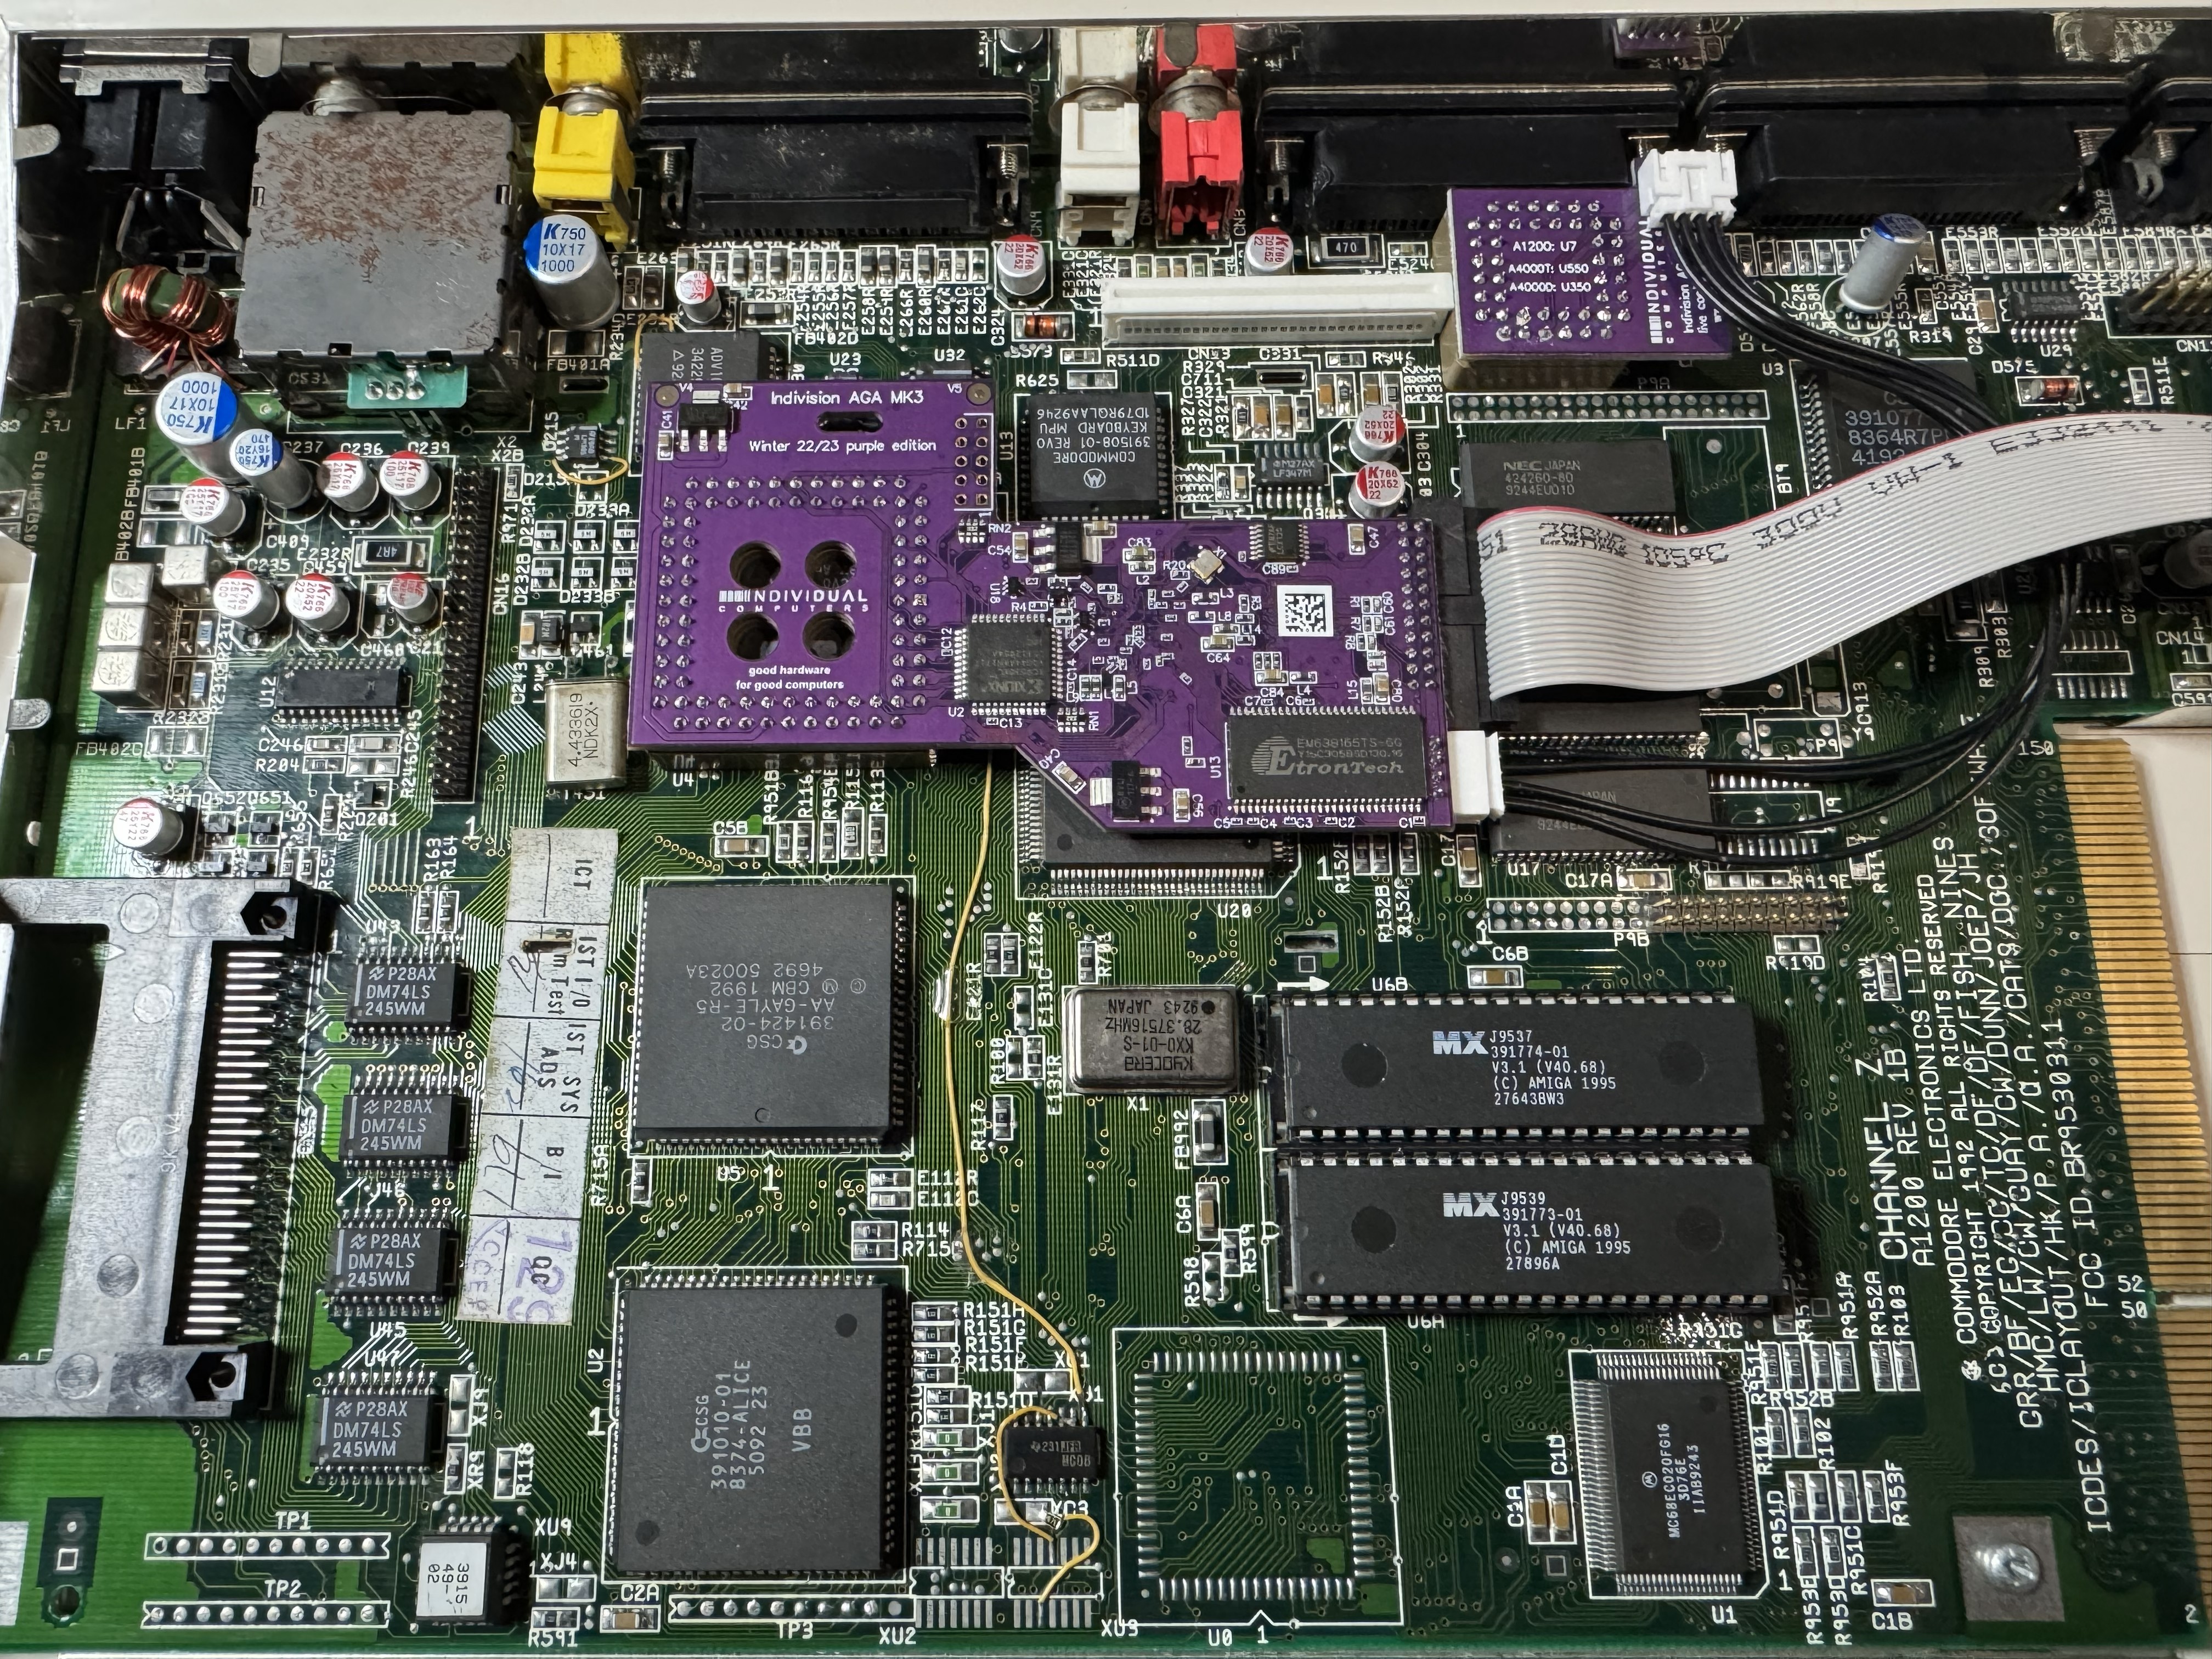
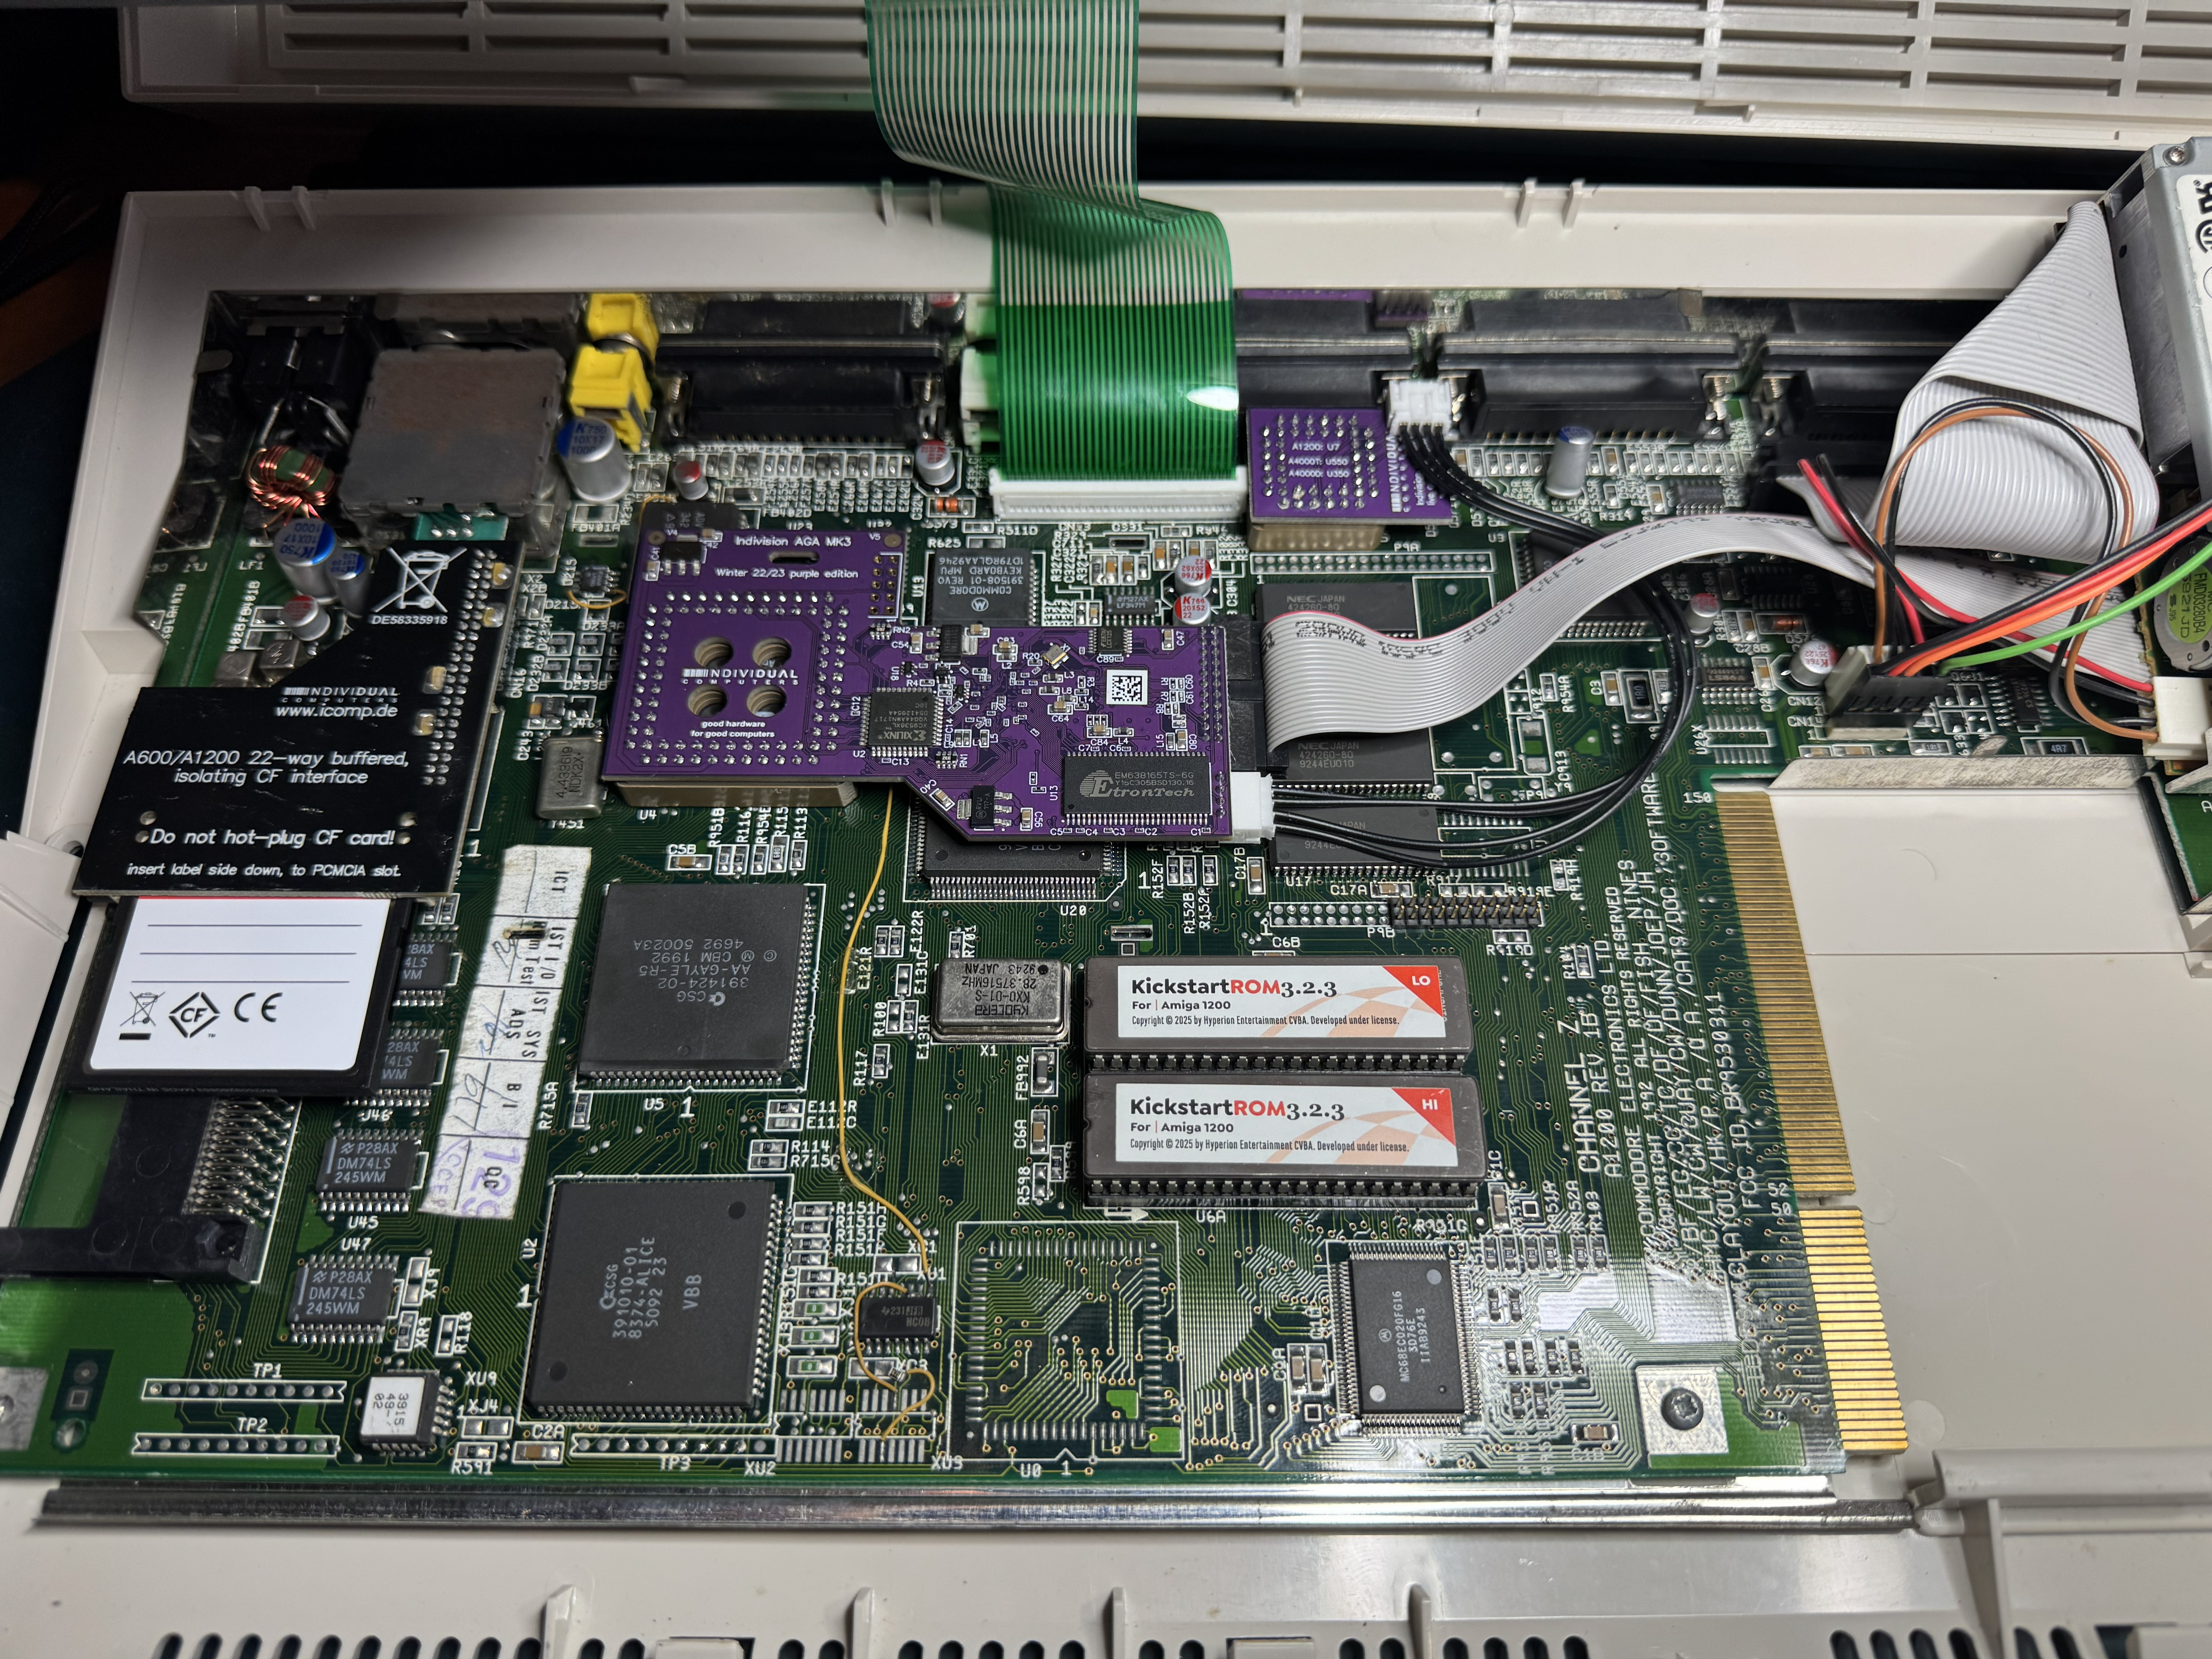
It was now time for some upgrades! I did not intend to stick with RCA out - but was also not looking to get a compatible CRT (I just don’t have the space unfortunatley). After some research into the myriad of different options available in 2026 I settled on an Individual Computers Indivision AGA MK3. While not cheap its a clip on upgrade that gives some amazing video out options. It shipped incredibly quickly from the EU and was dead easy to install:
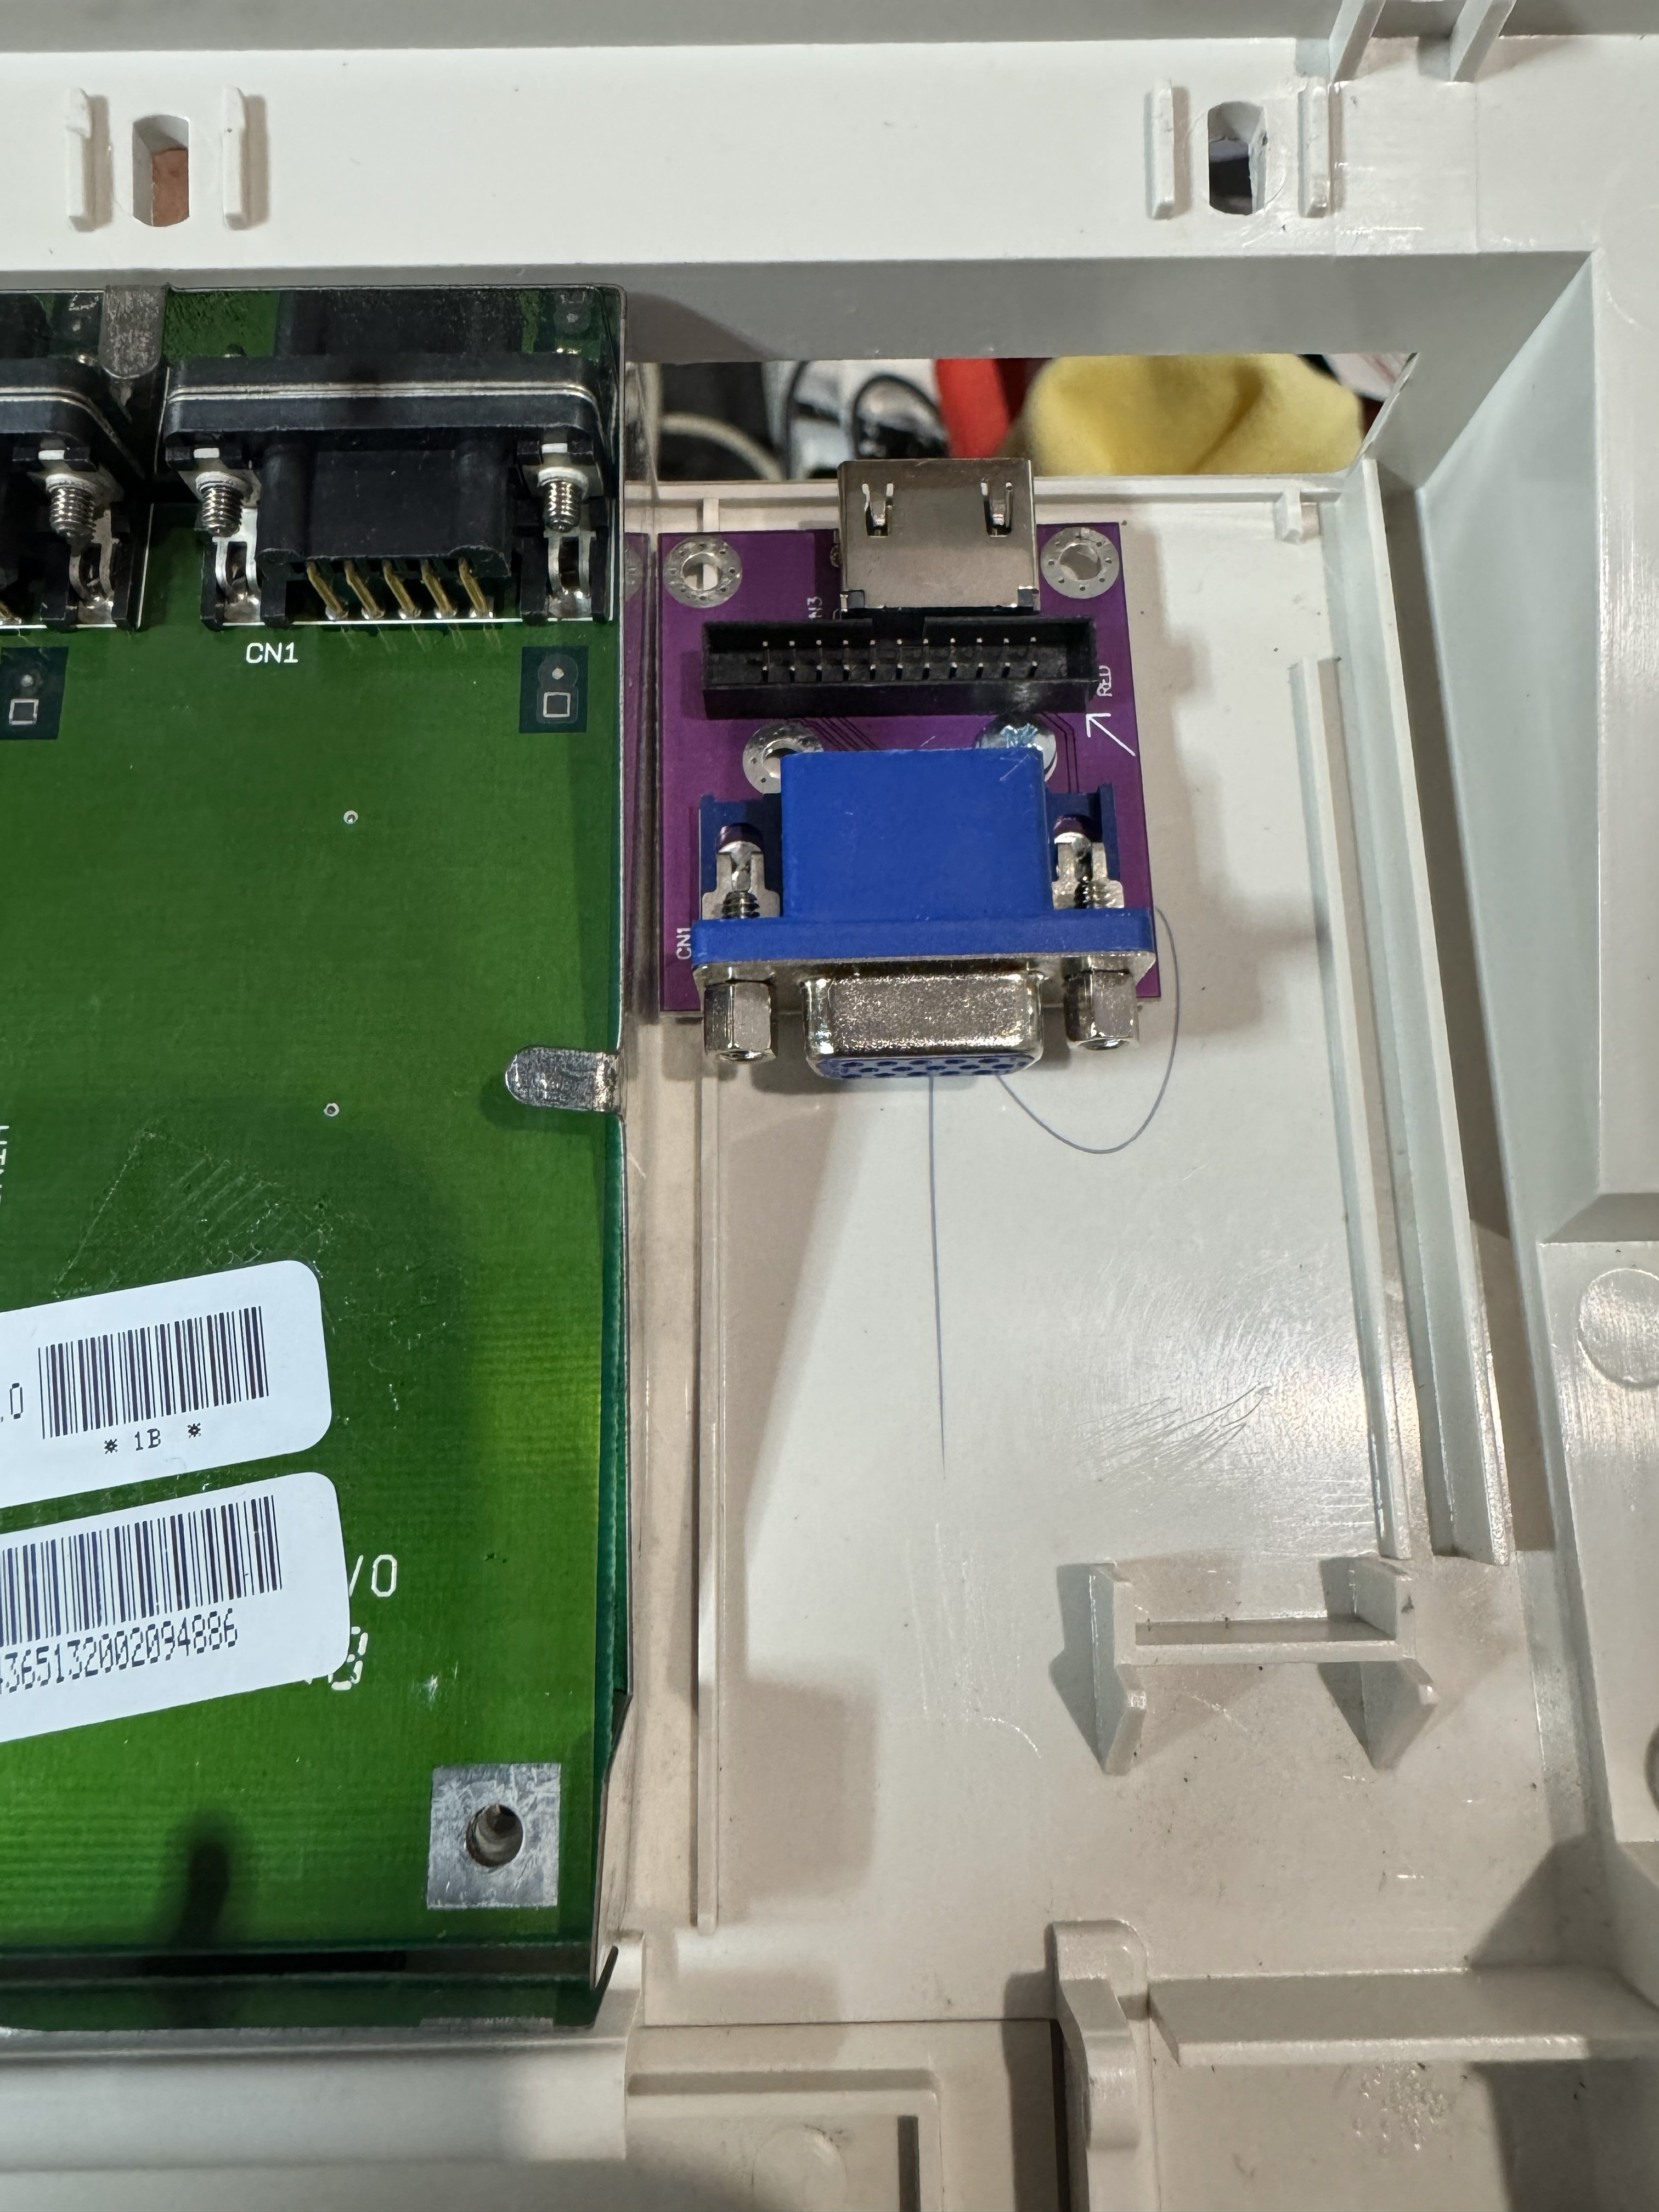
I also ordered a CF Interface at the same time because it’s a much neater solution and puts the CF card in a better spot than the current more common adapater that was already in there:

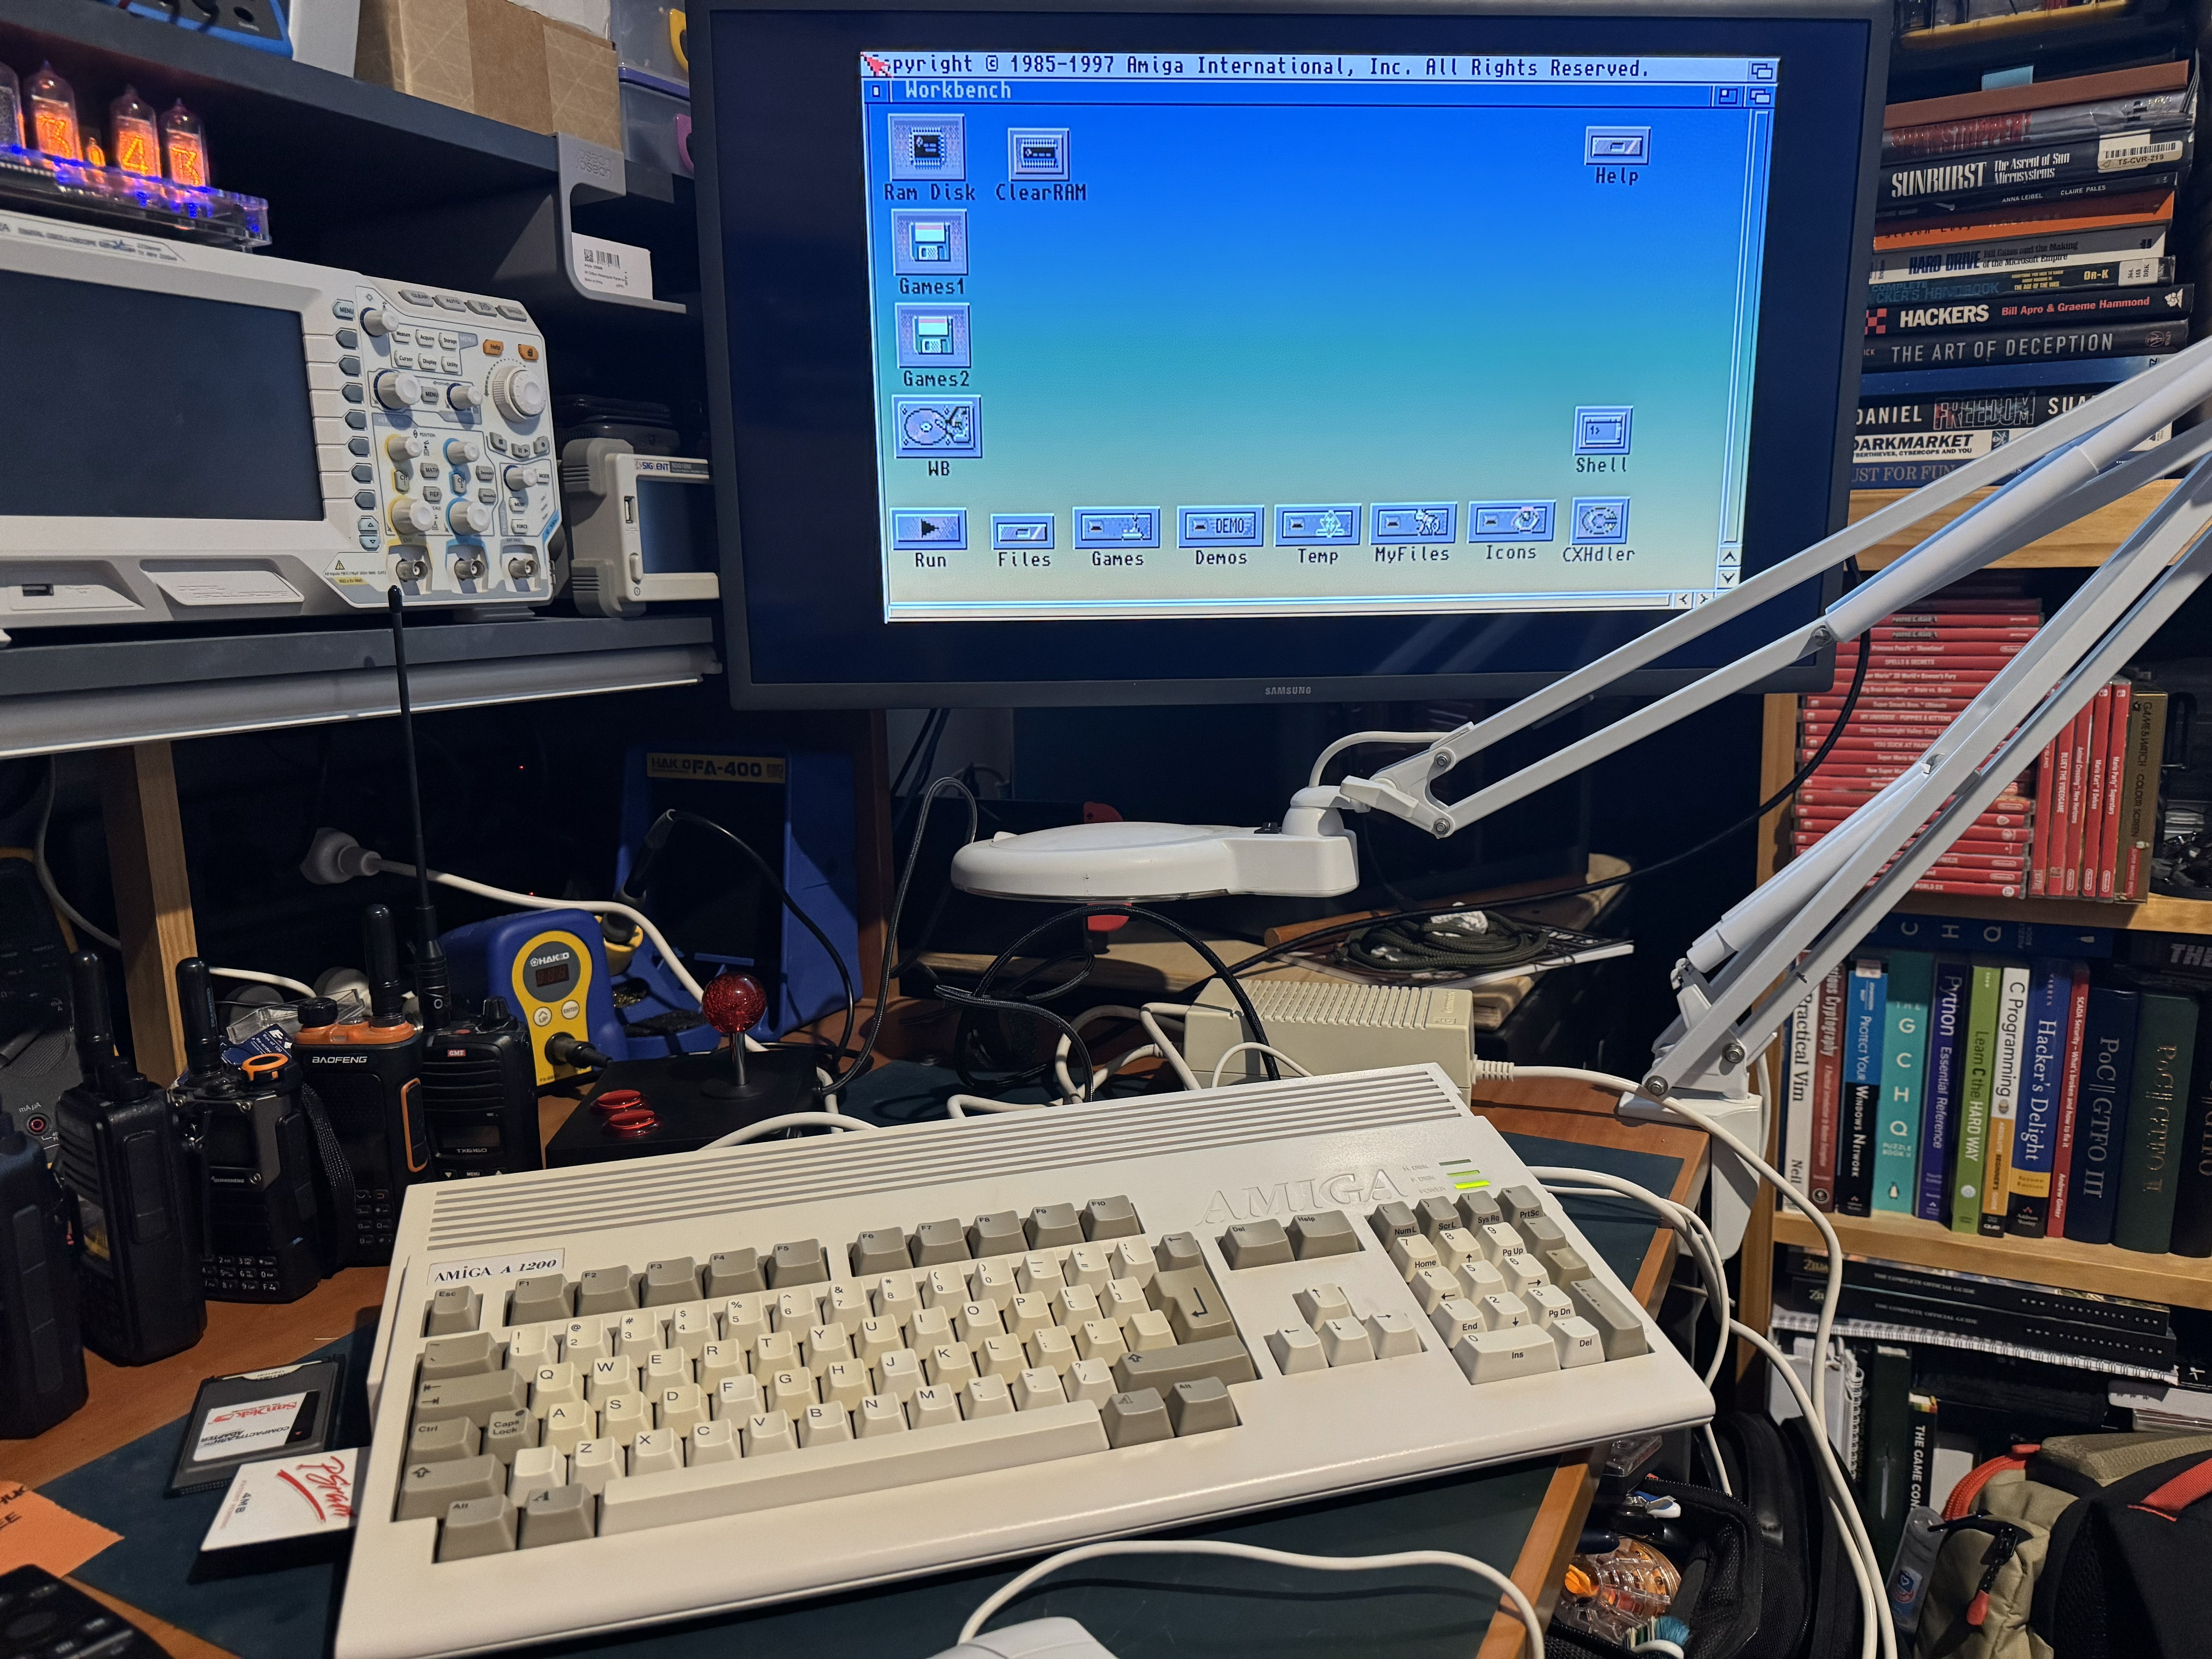
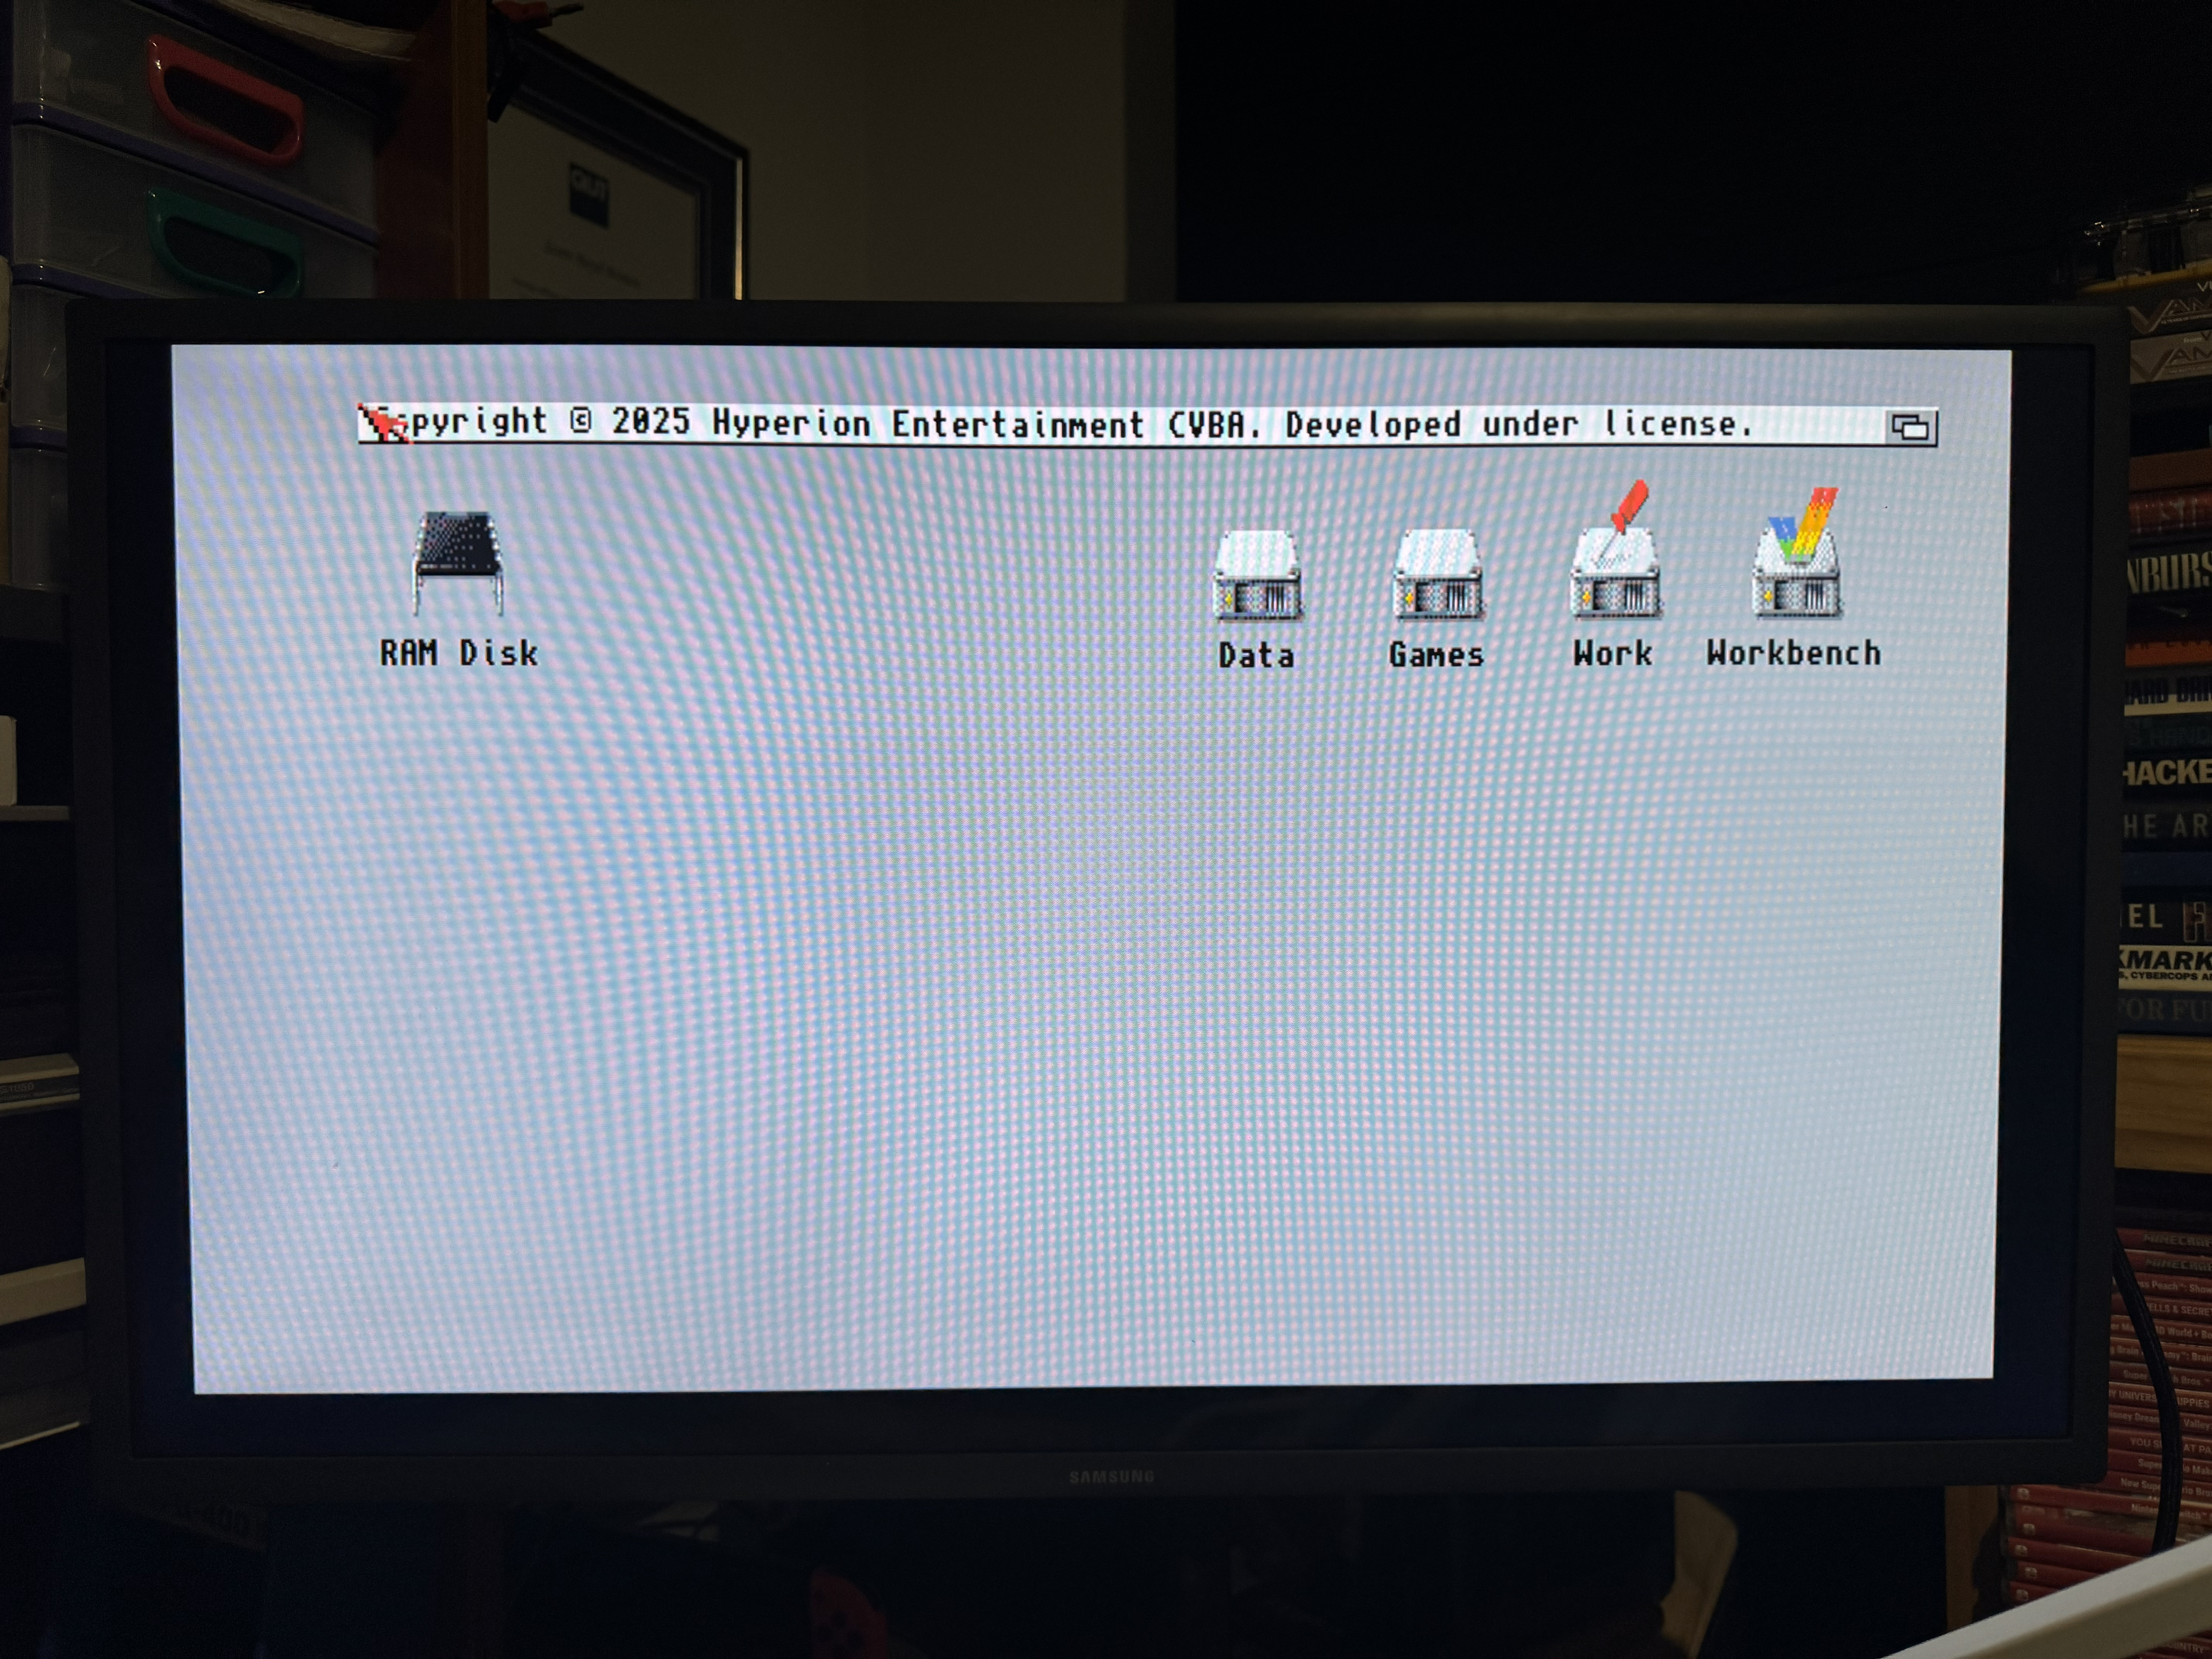
I connected my TV via HDMI and powered the A1200 on and the first time I got nothing! I wondered what I had done wrong and very quickly realised I had the wrong HDMI input selected. Switching over gave me a very sharp workbench image:
Once up and running you can install the configuration utility that has quite a lot of options - one being to send sound over the HDMI connection which is fantastic.
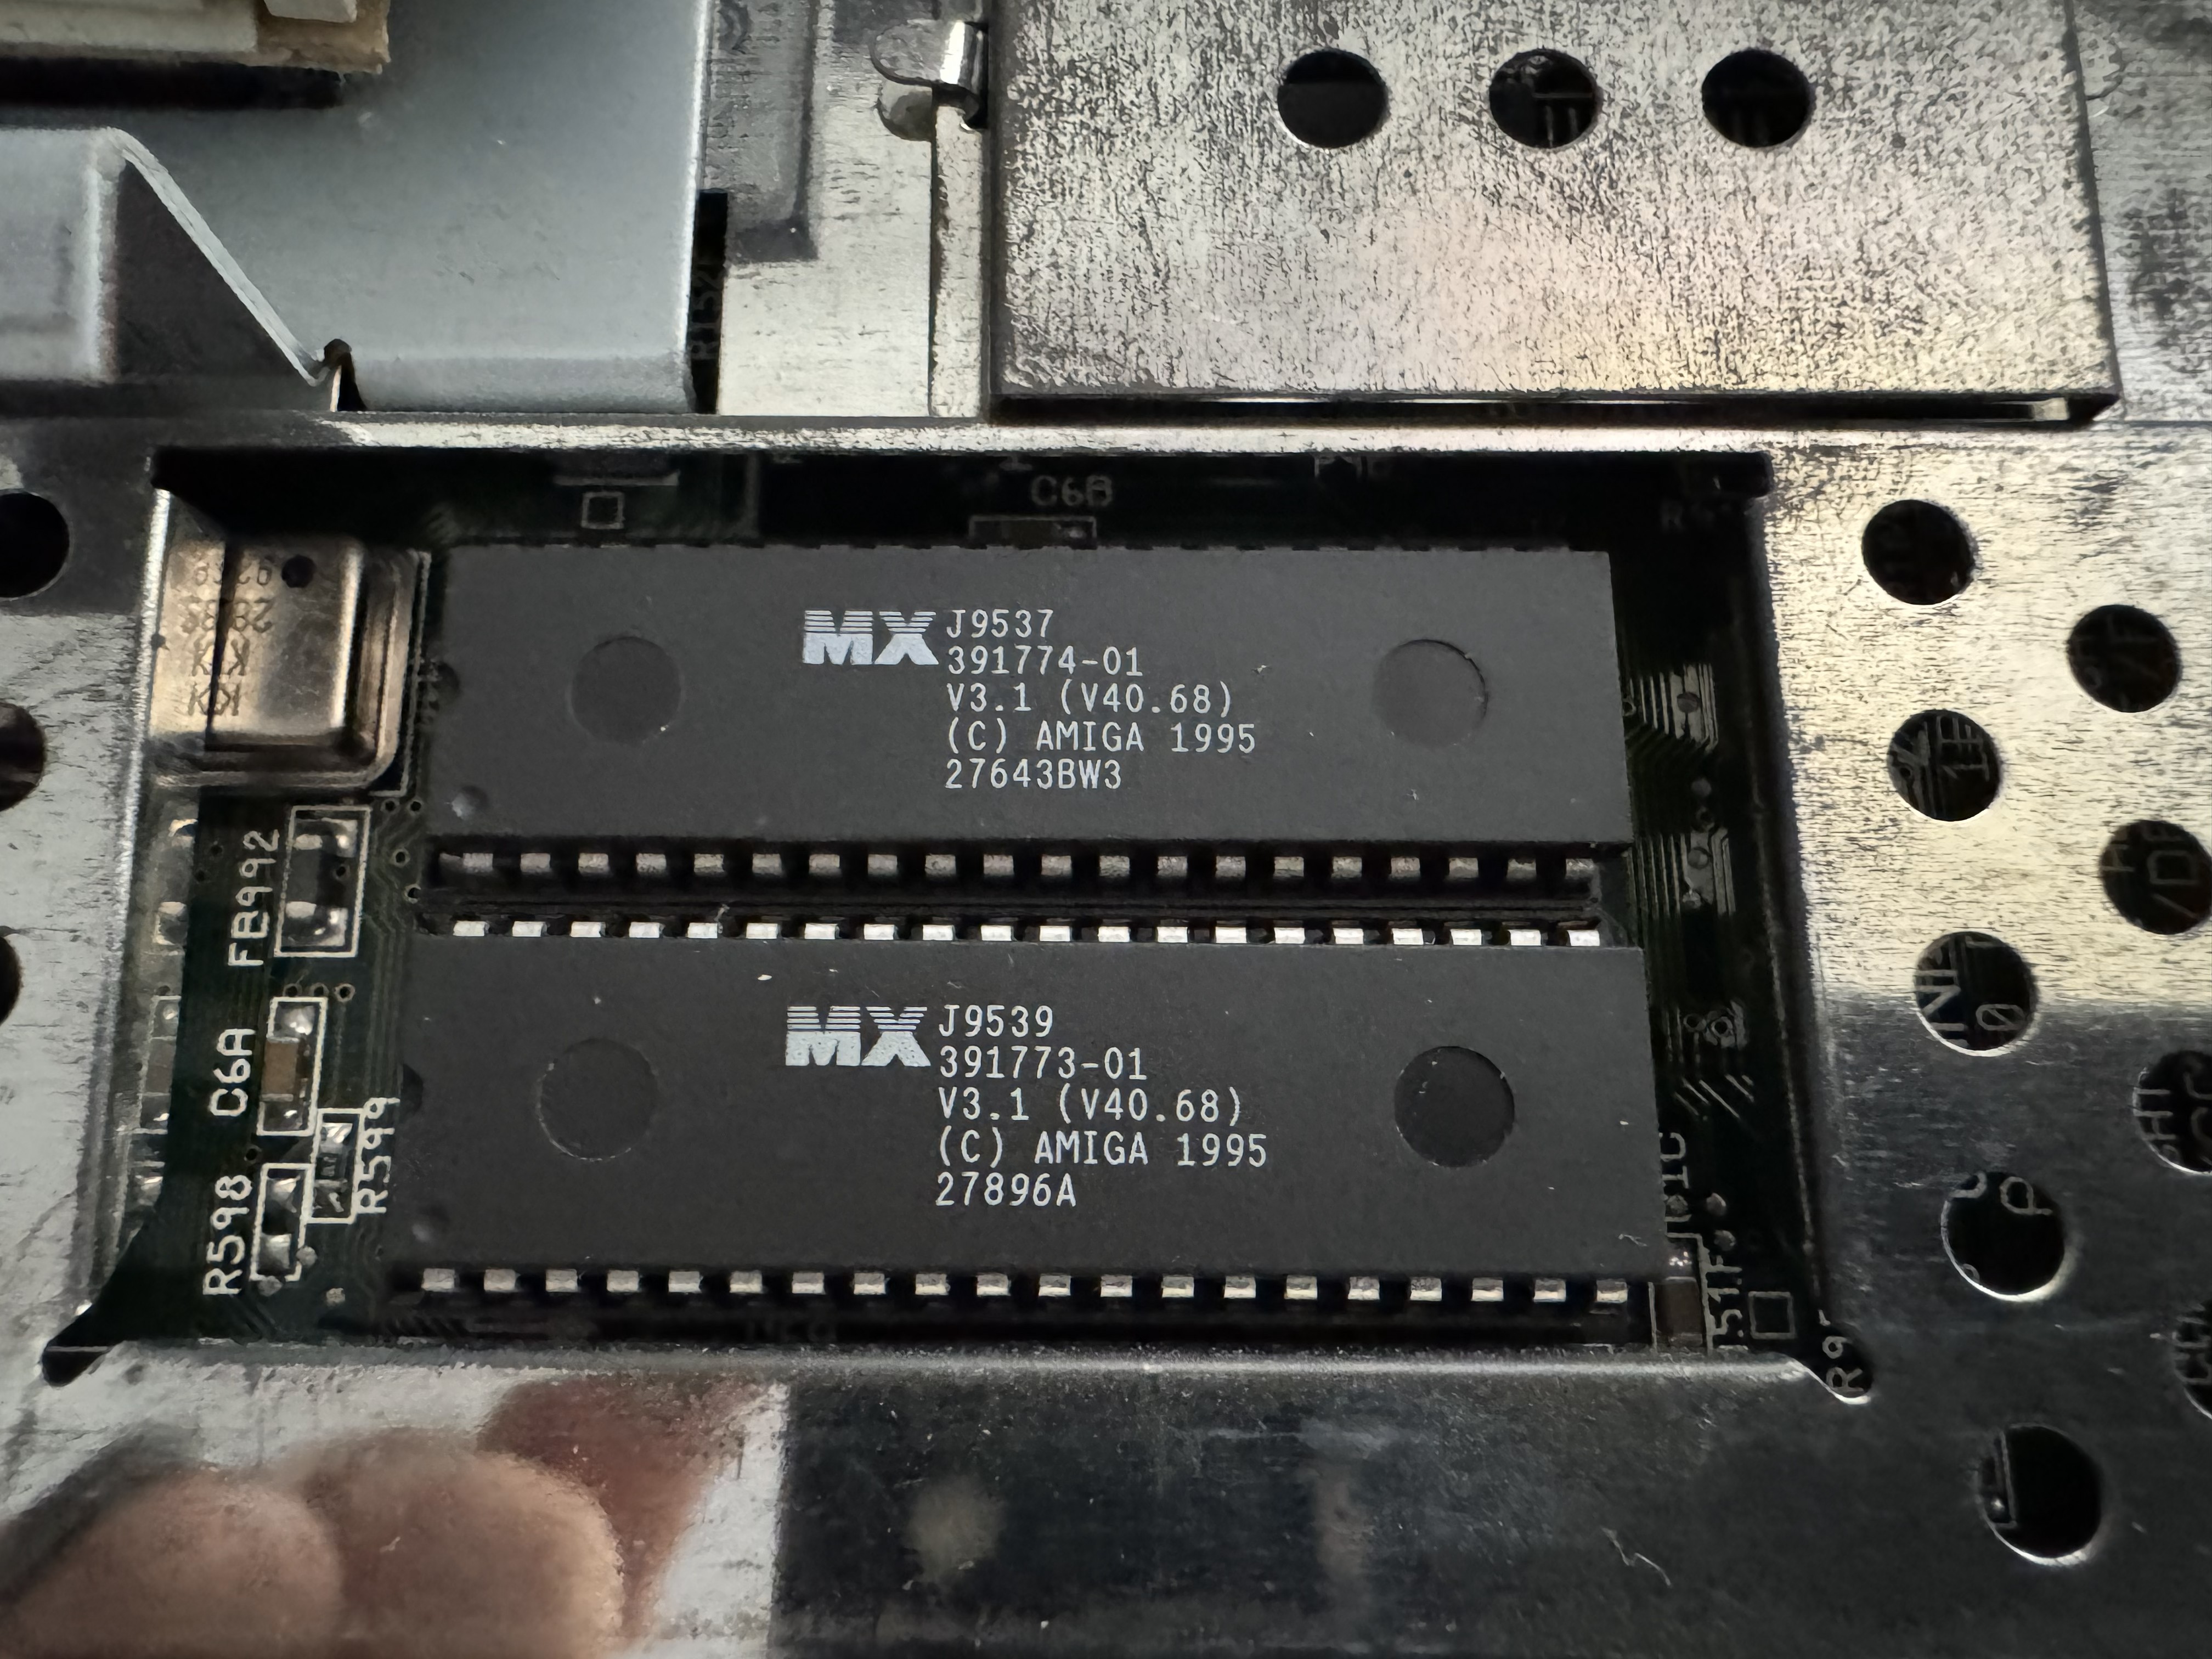
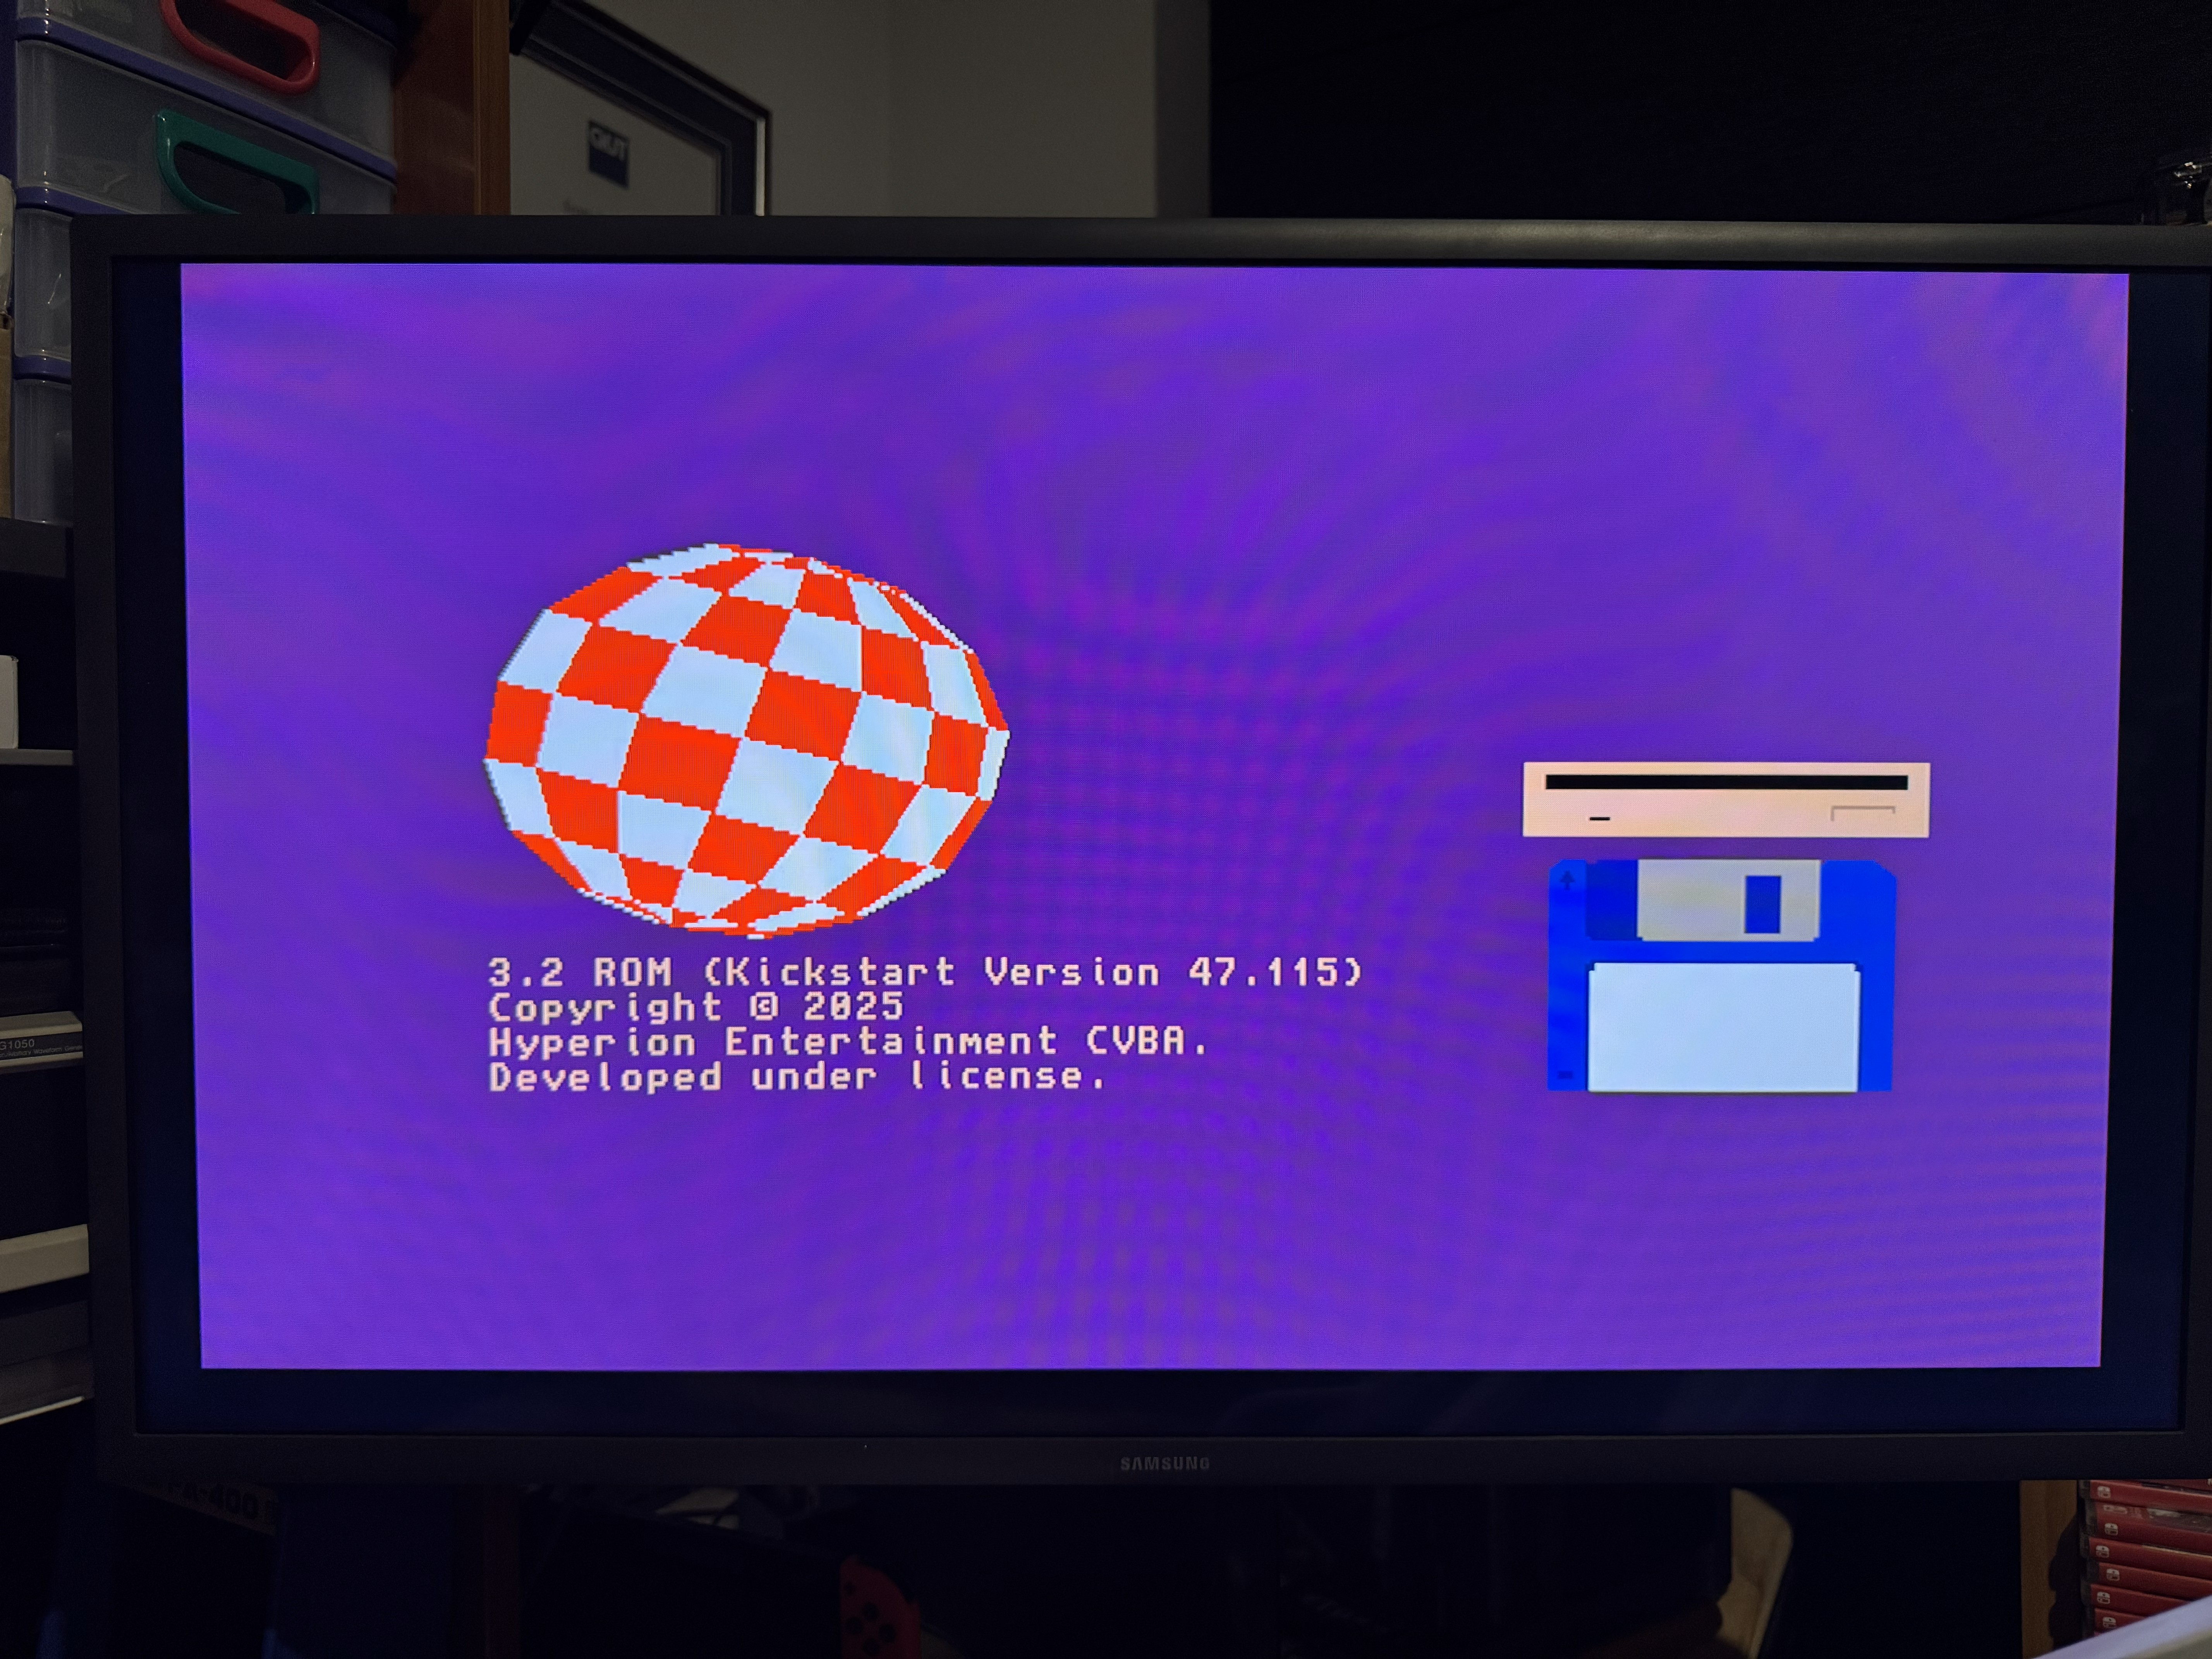
The next upgrade was a copy of AmigaOS 3.2 from AMIGAstore.eu, including 3.2.3 physical kickstart ROMs and a 32GB pre-imaged CF card. This is the latest OS for classic Amigas. I pulled the existing 3.1 kickstart ROMs and installed the new ones. I also imaged the CF card first and then installed it. I should say I never owned or even really used an Amiga growing up, so I have no idea about the software side of things on an Amiga. Imaging the CF card before using it means if (when) I stuff up the software side of things, I can just reimage the CF card and will be good to go.
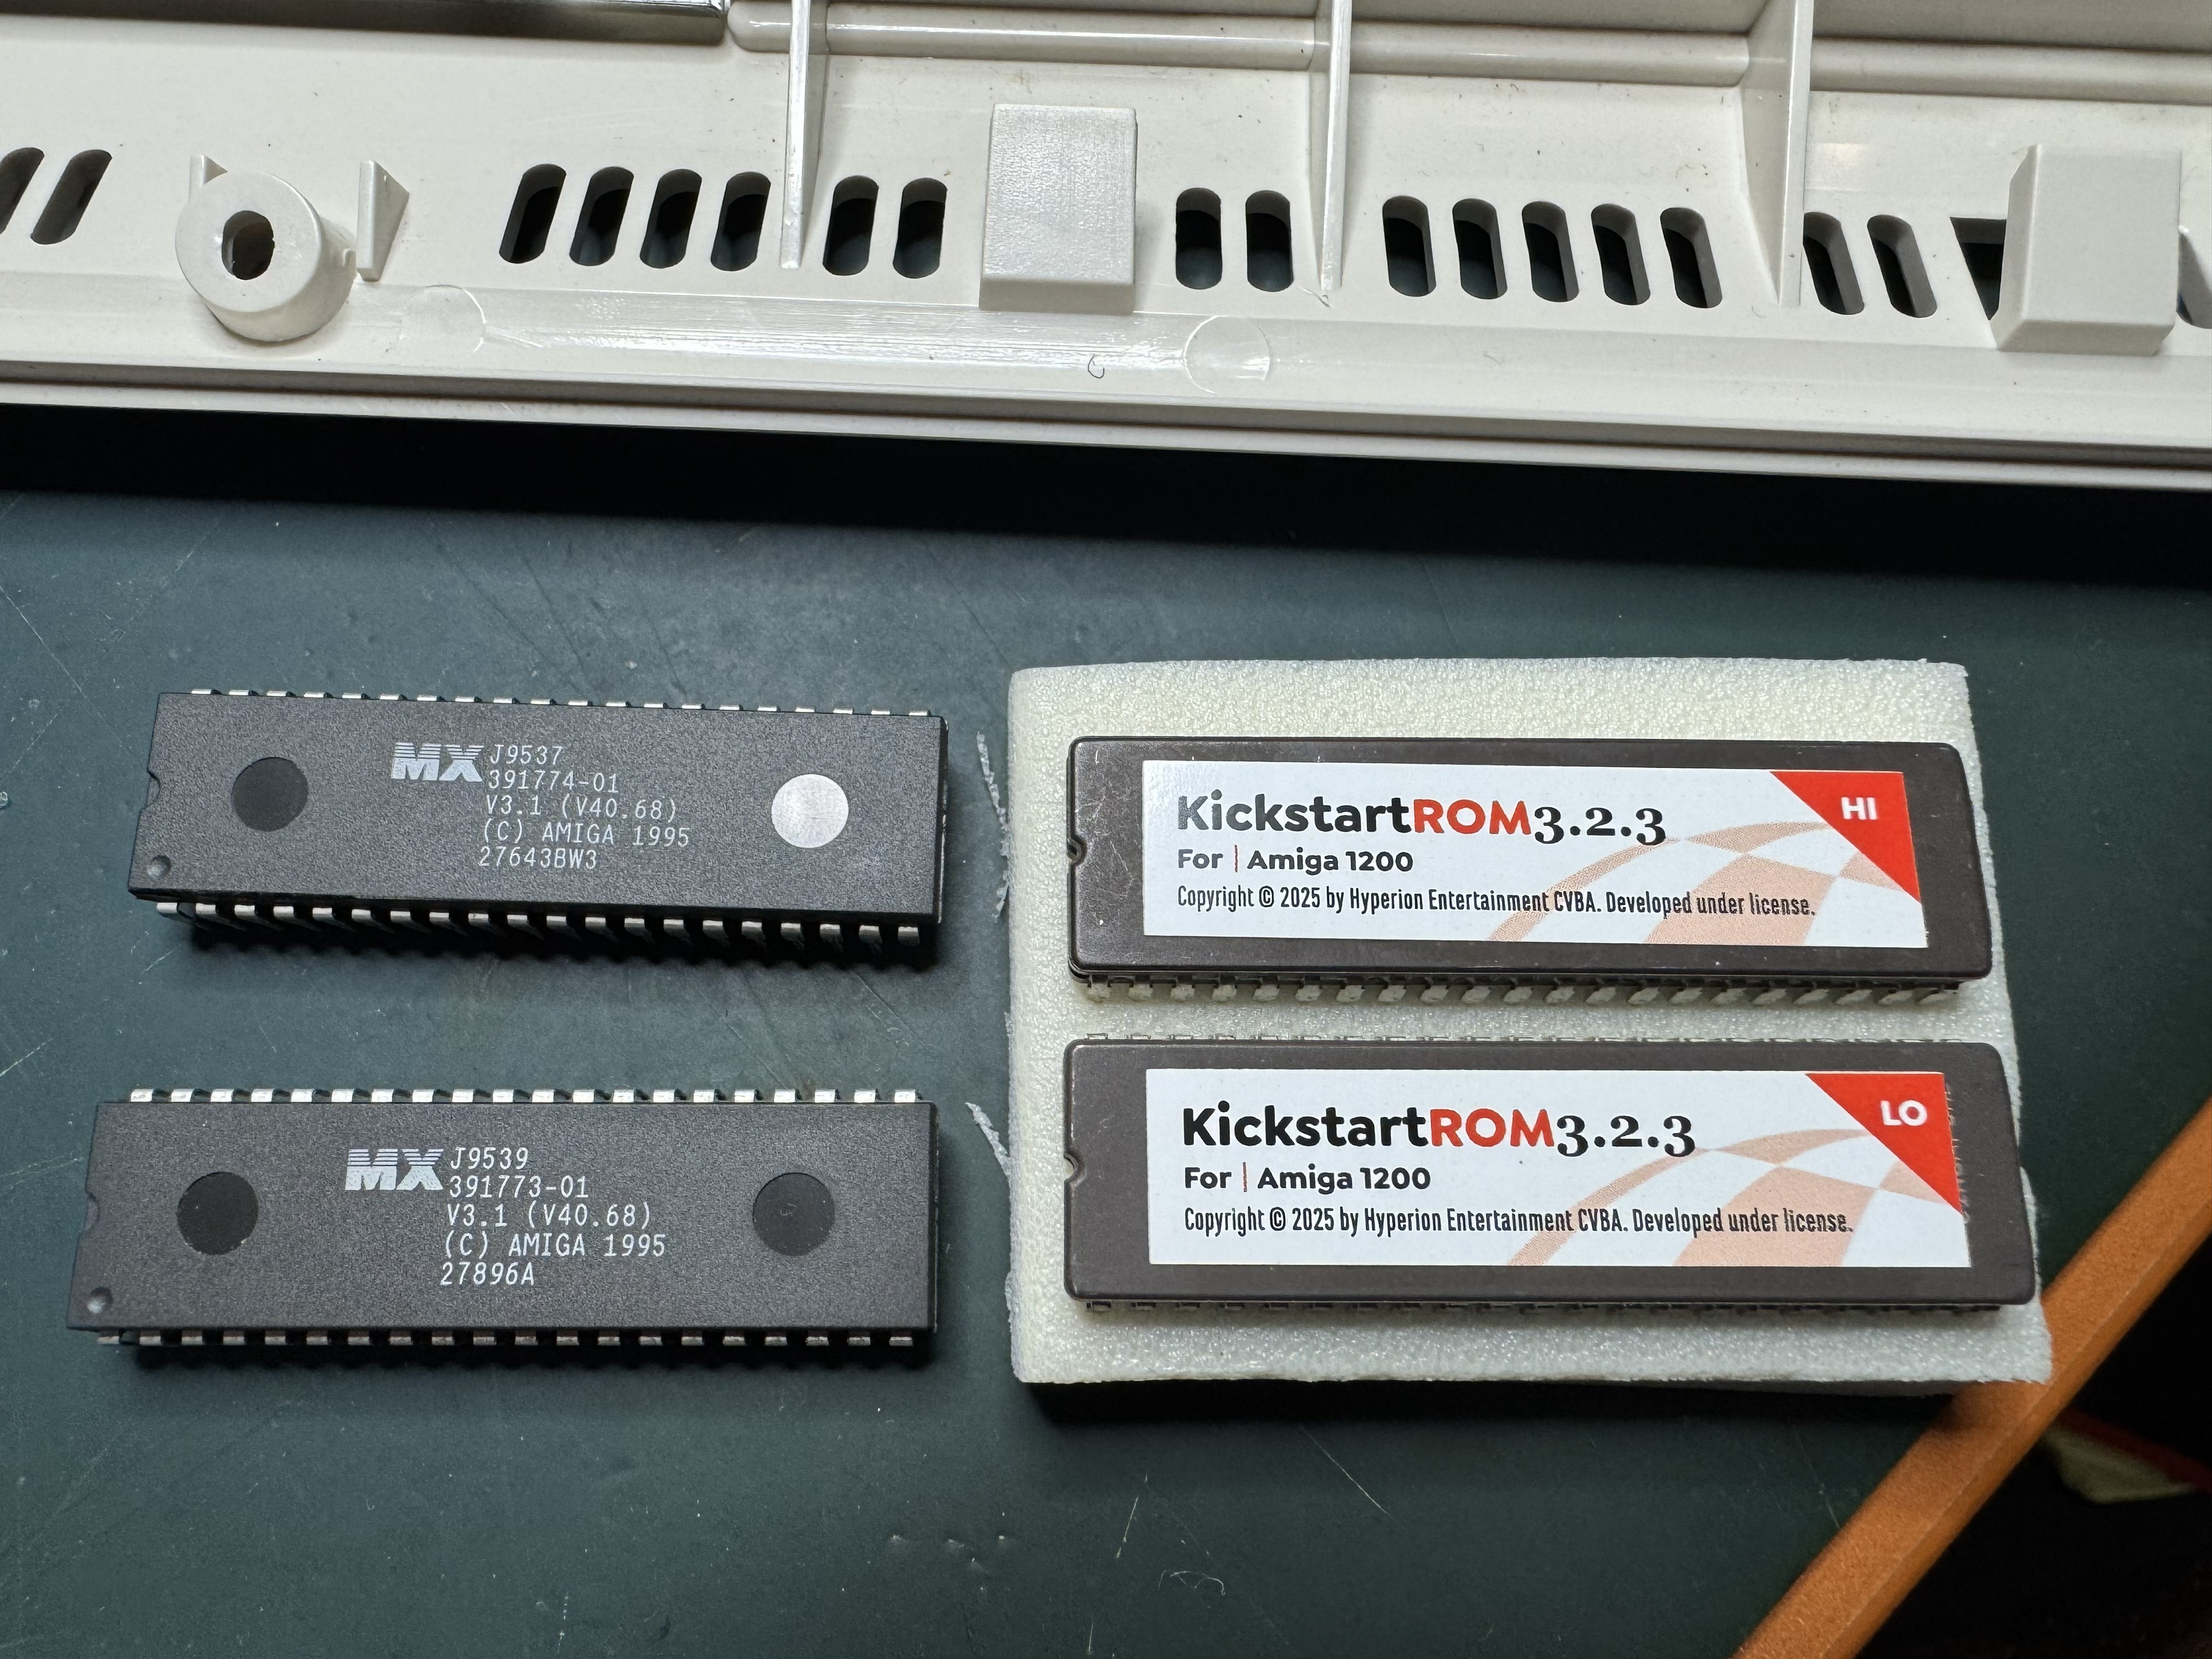
Both of these worked first go, giving me the new Kickstart and Workbench screens:
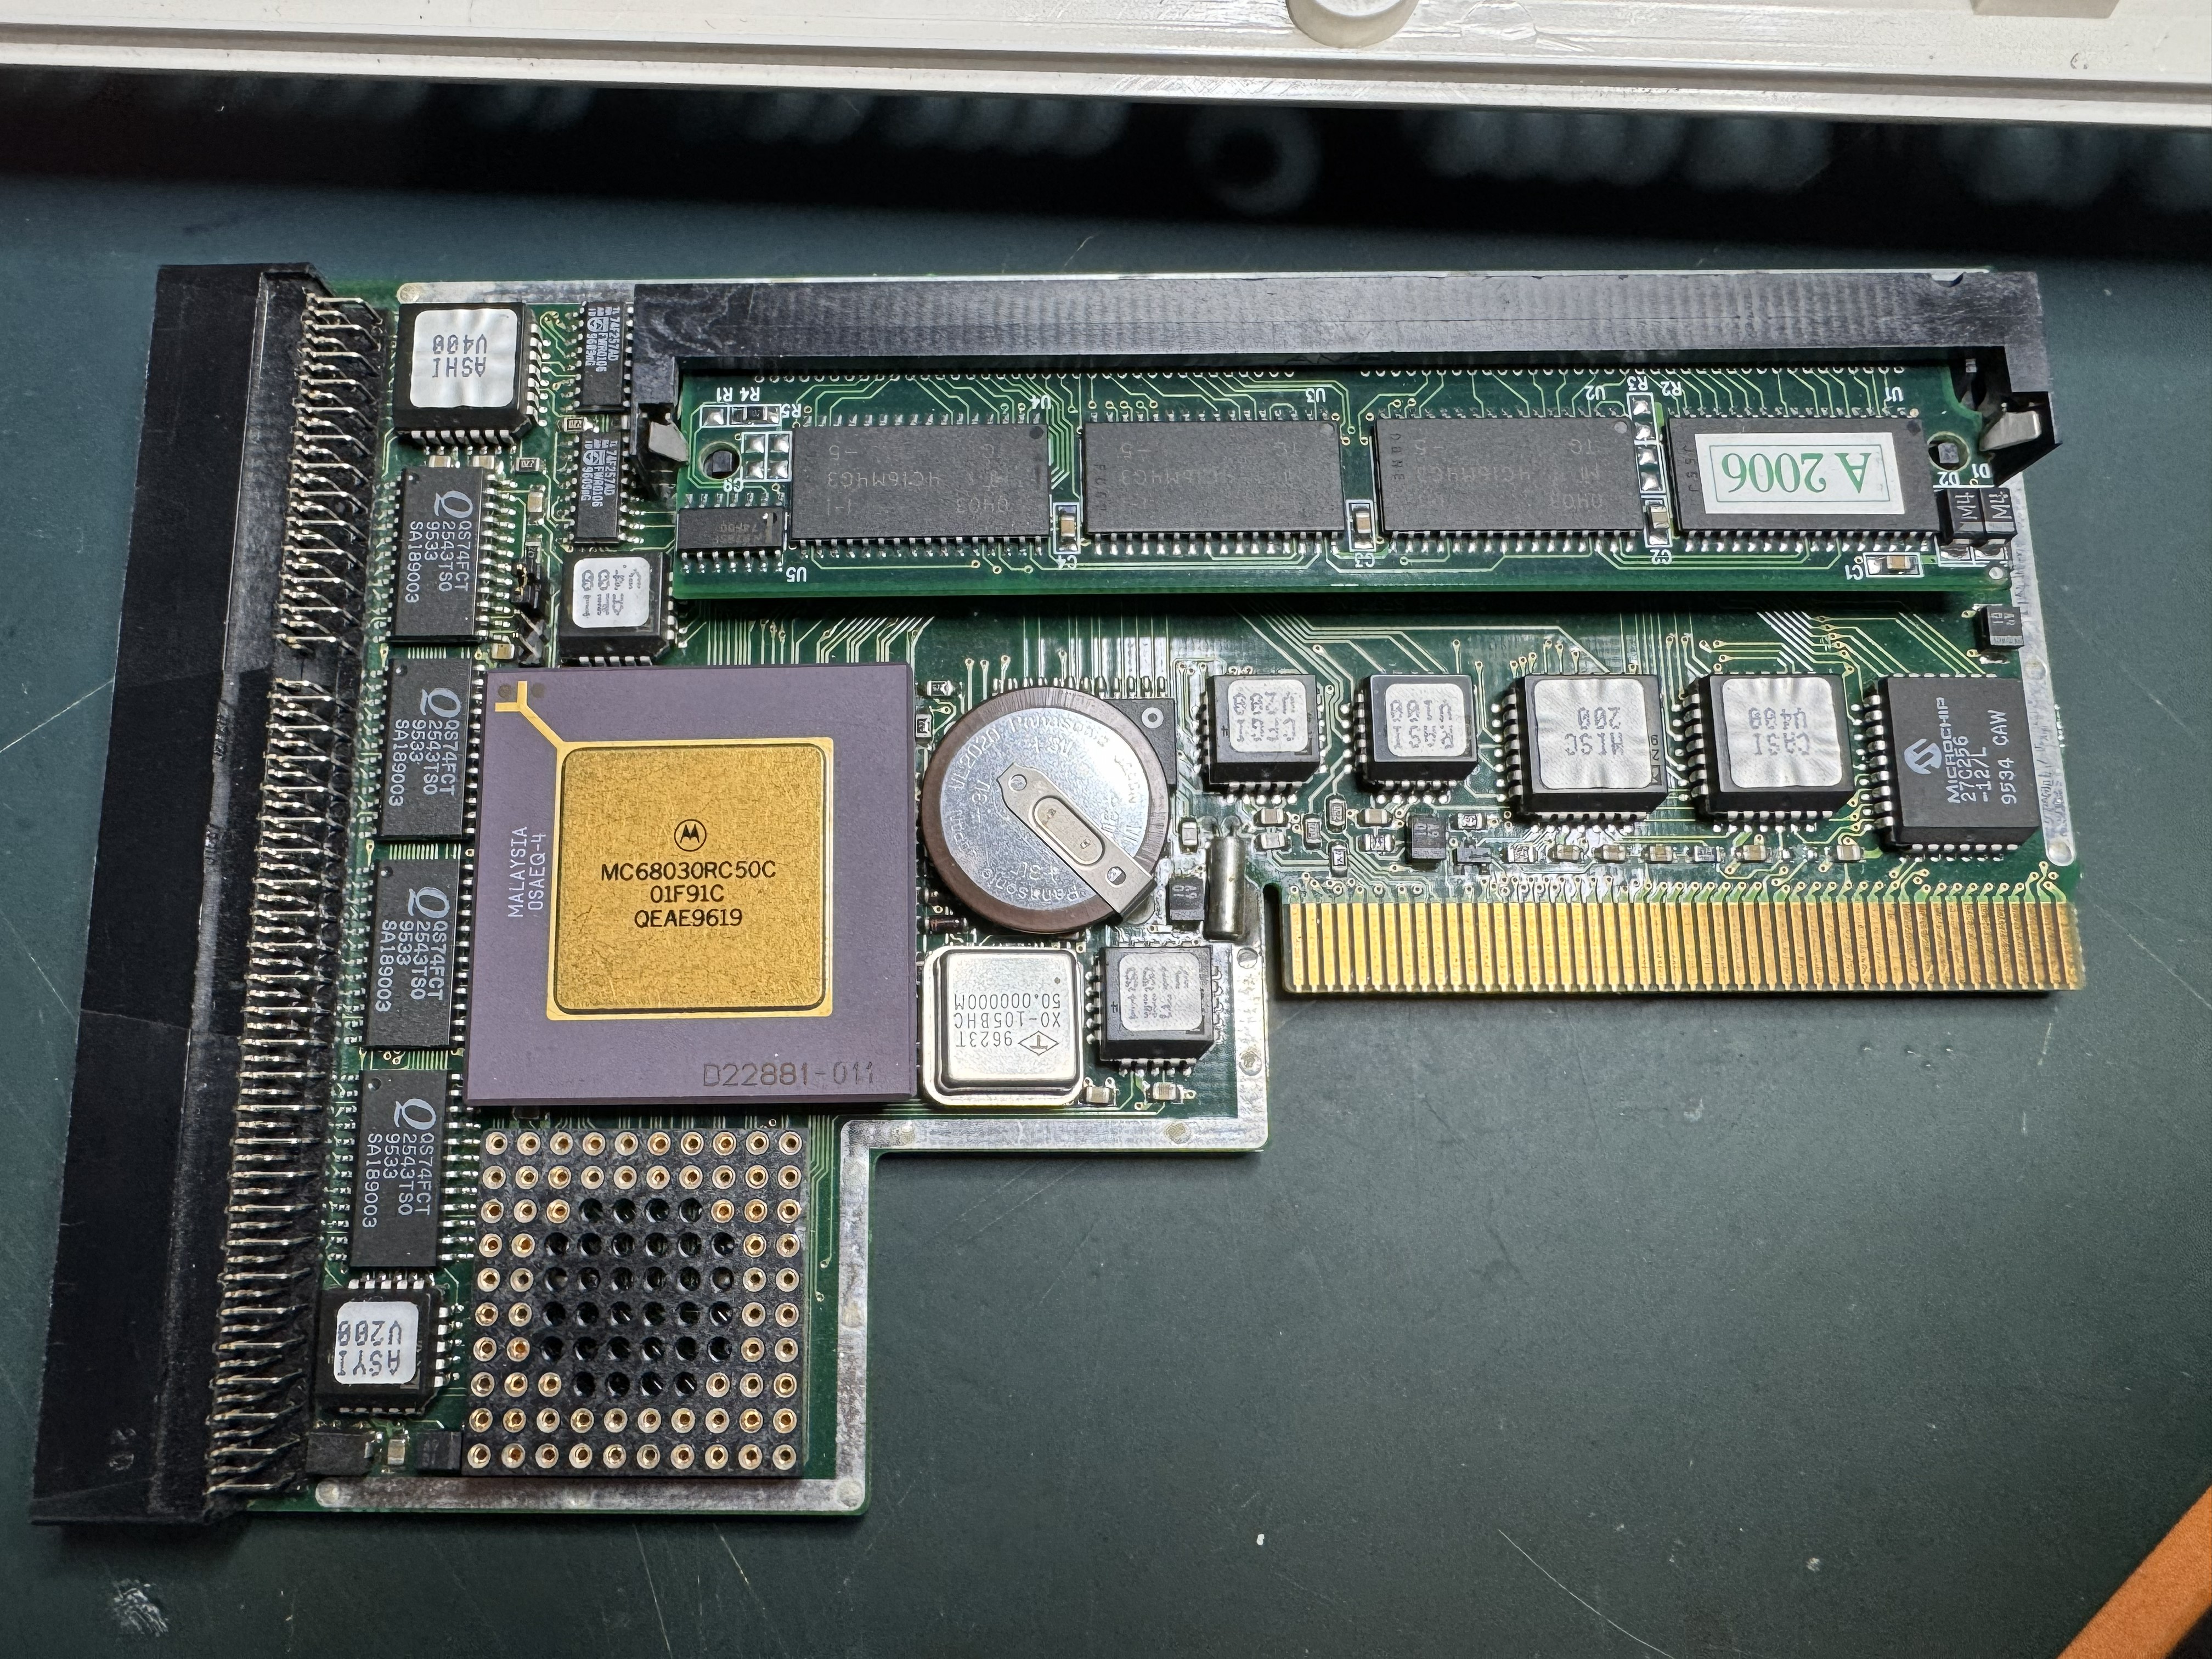
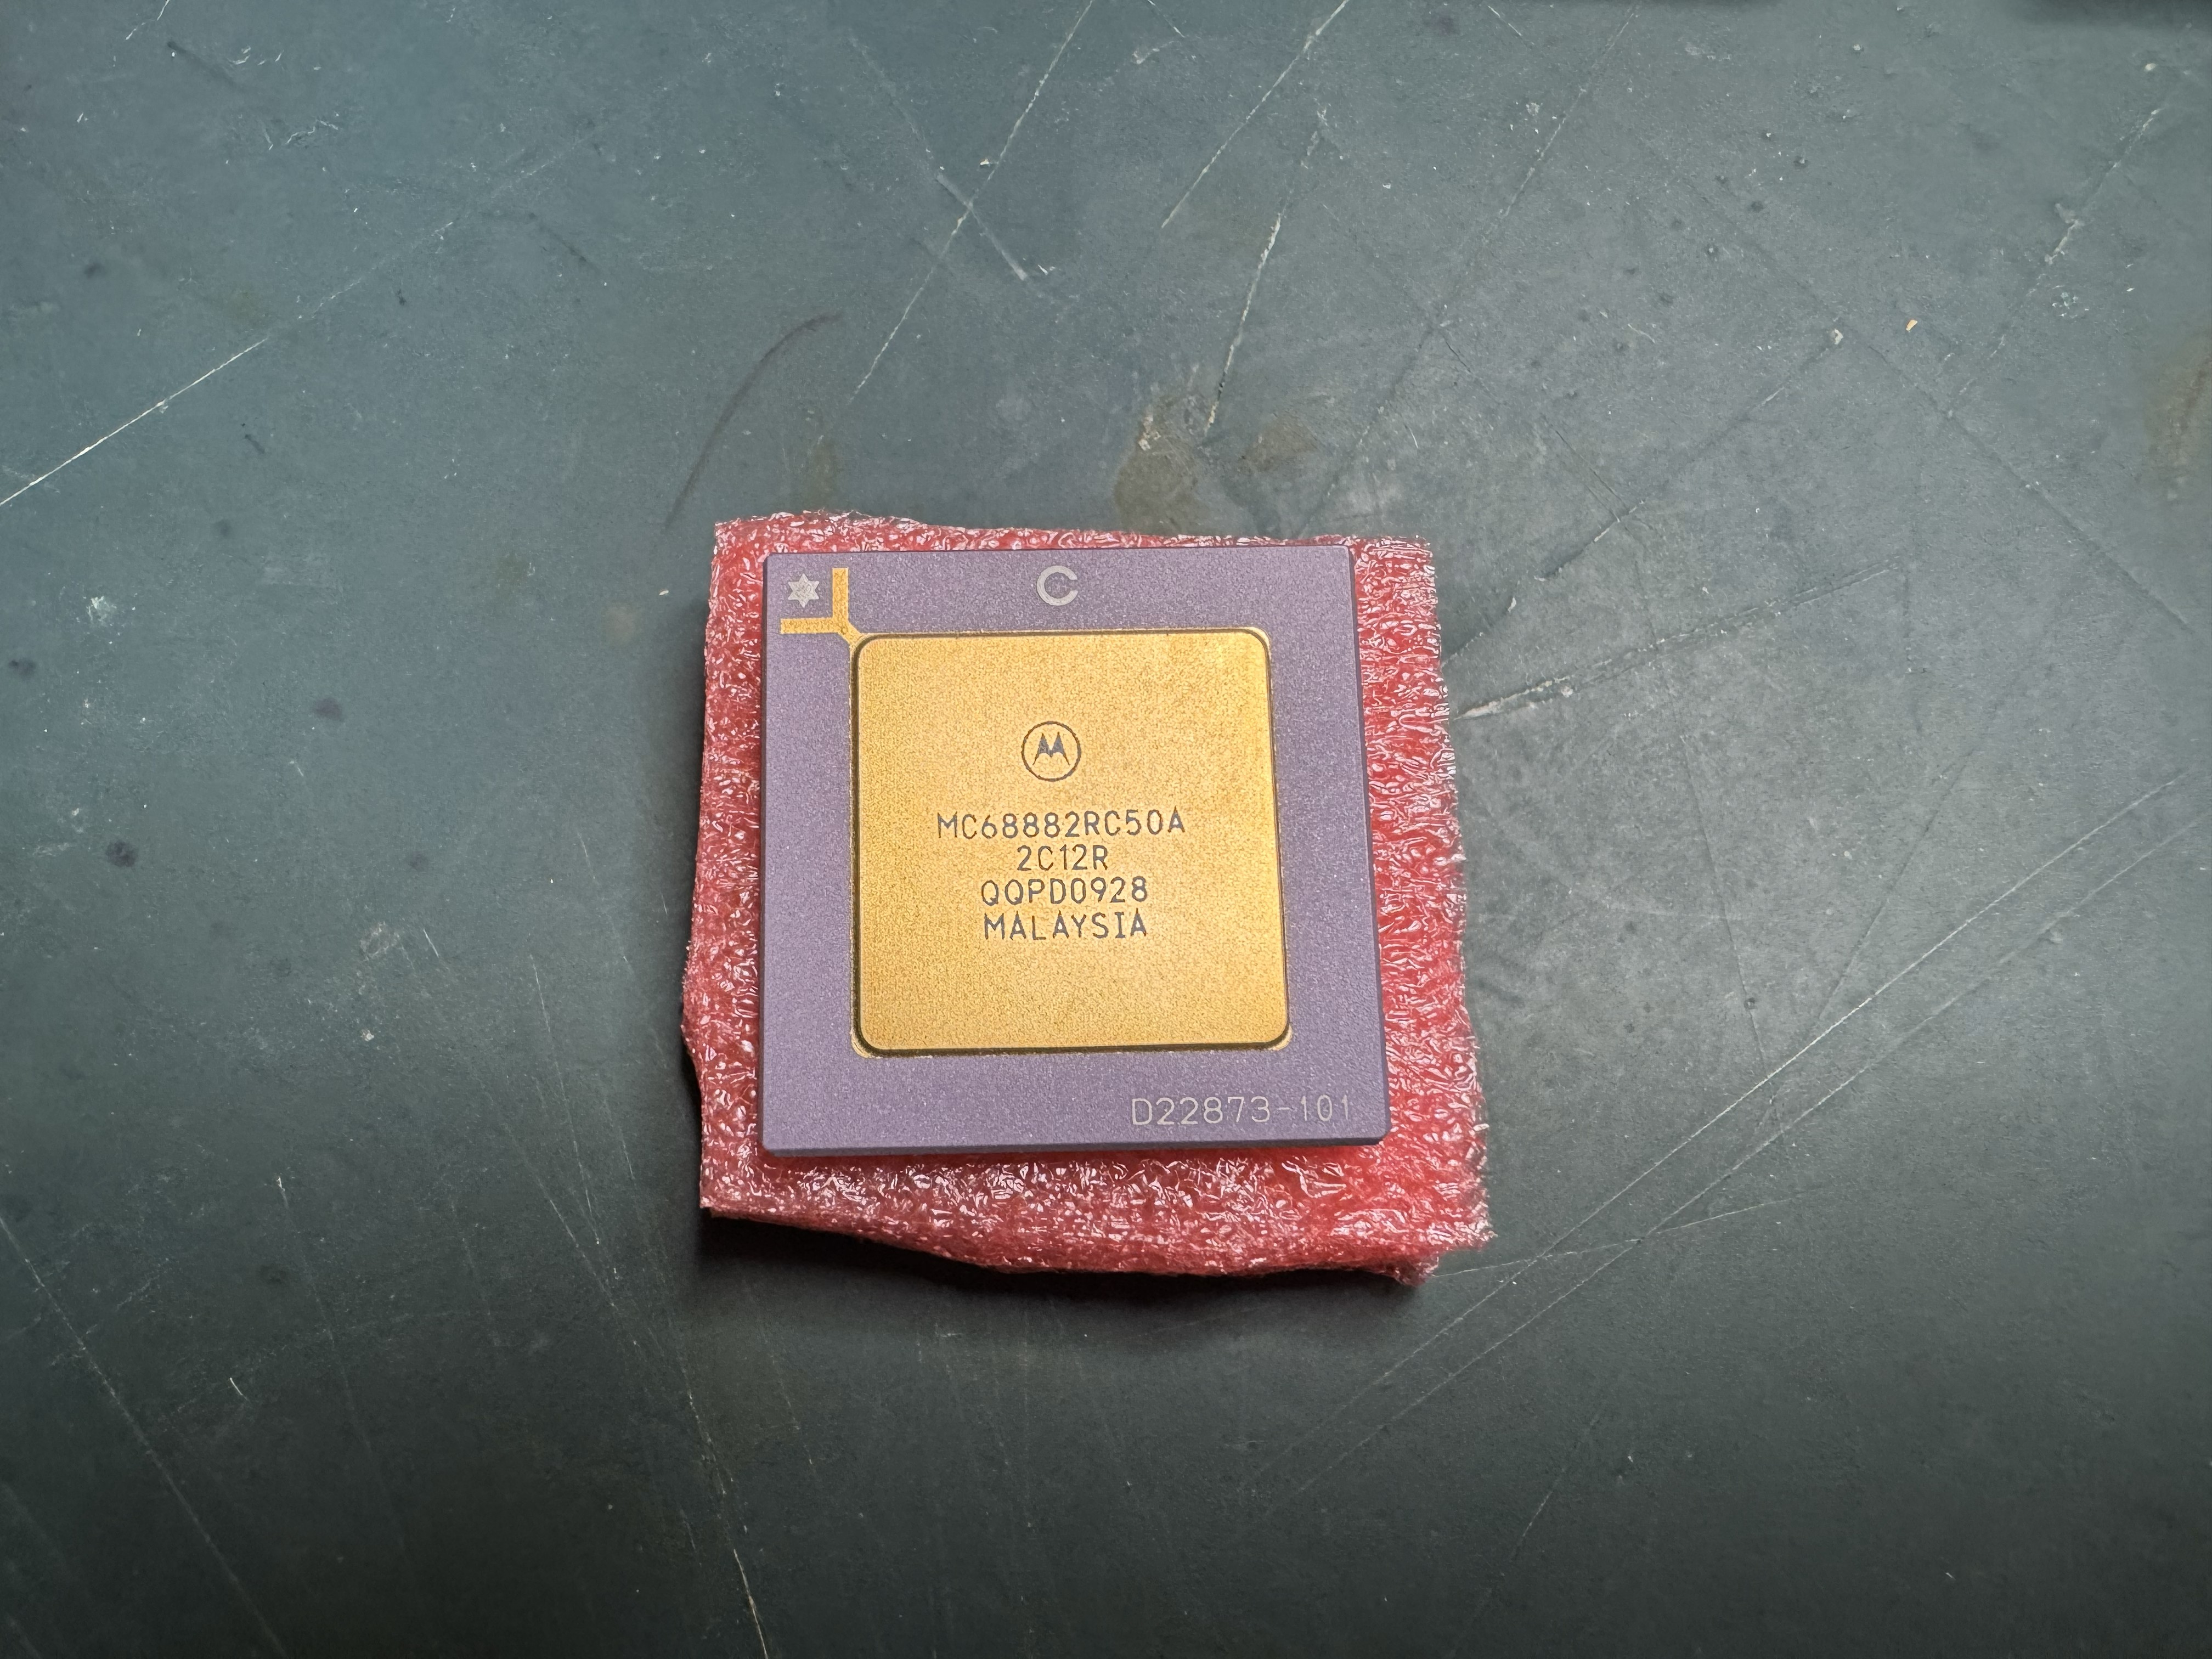
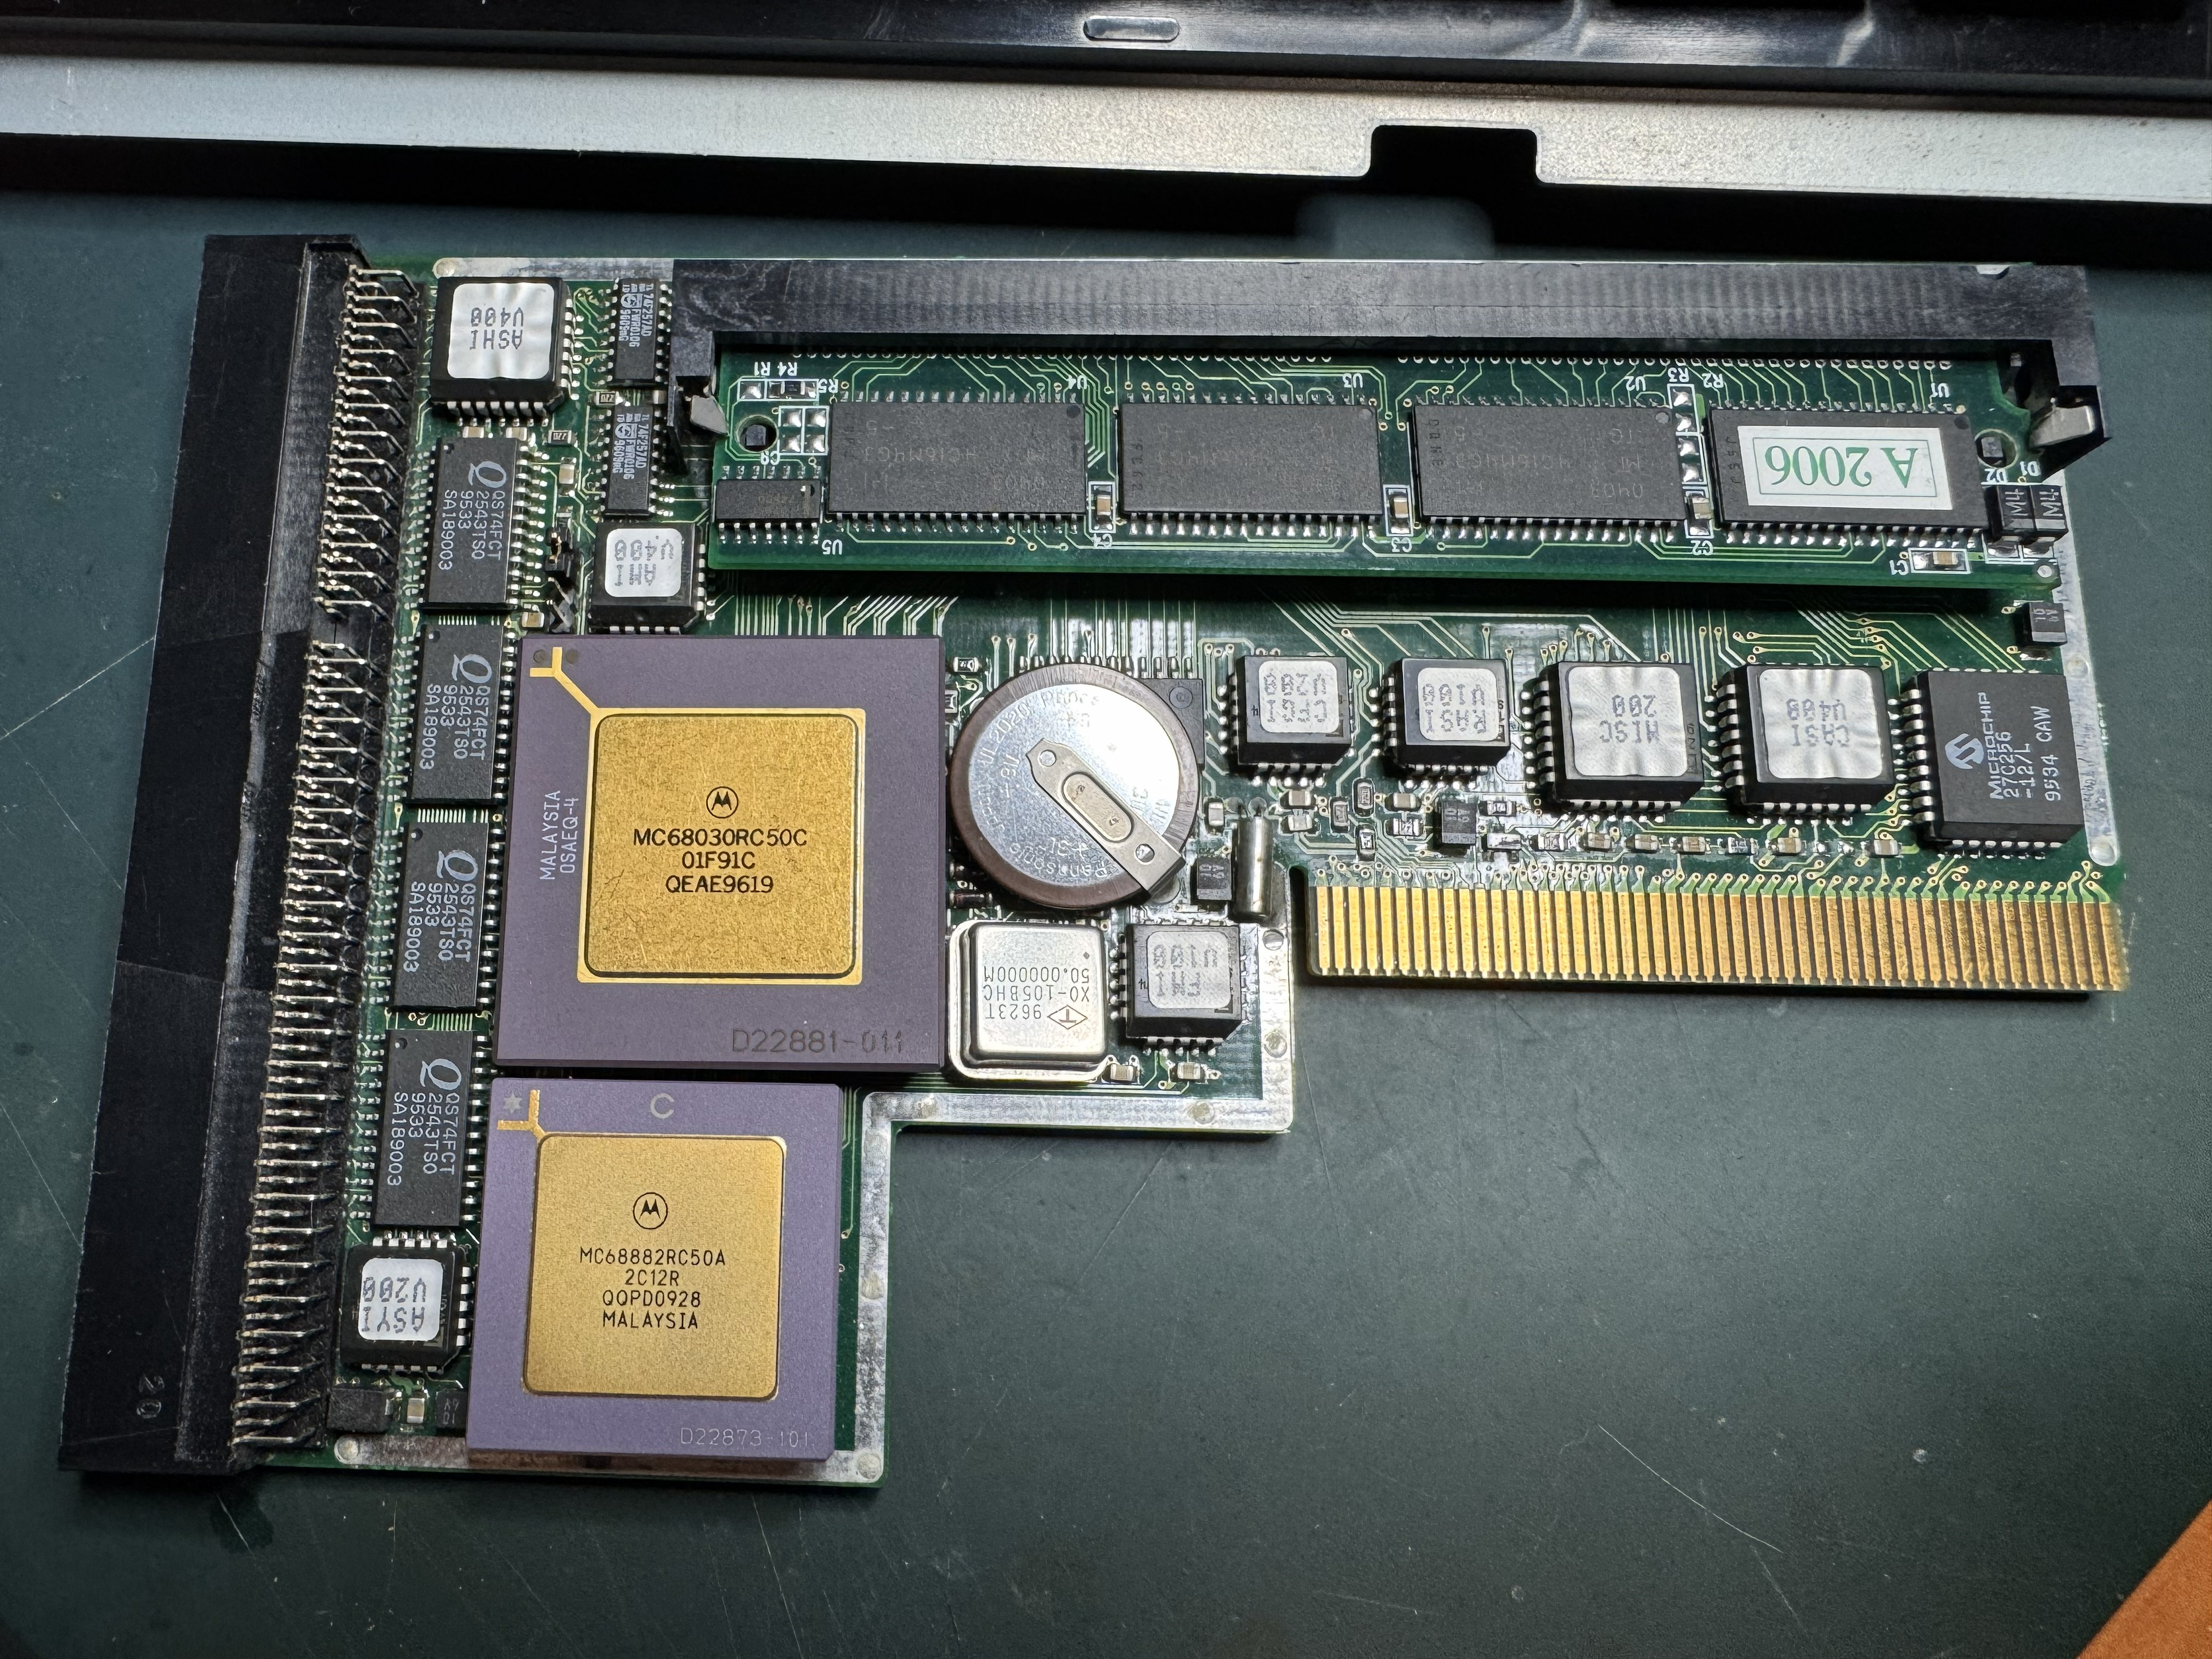
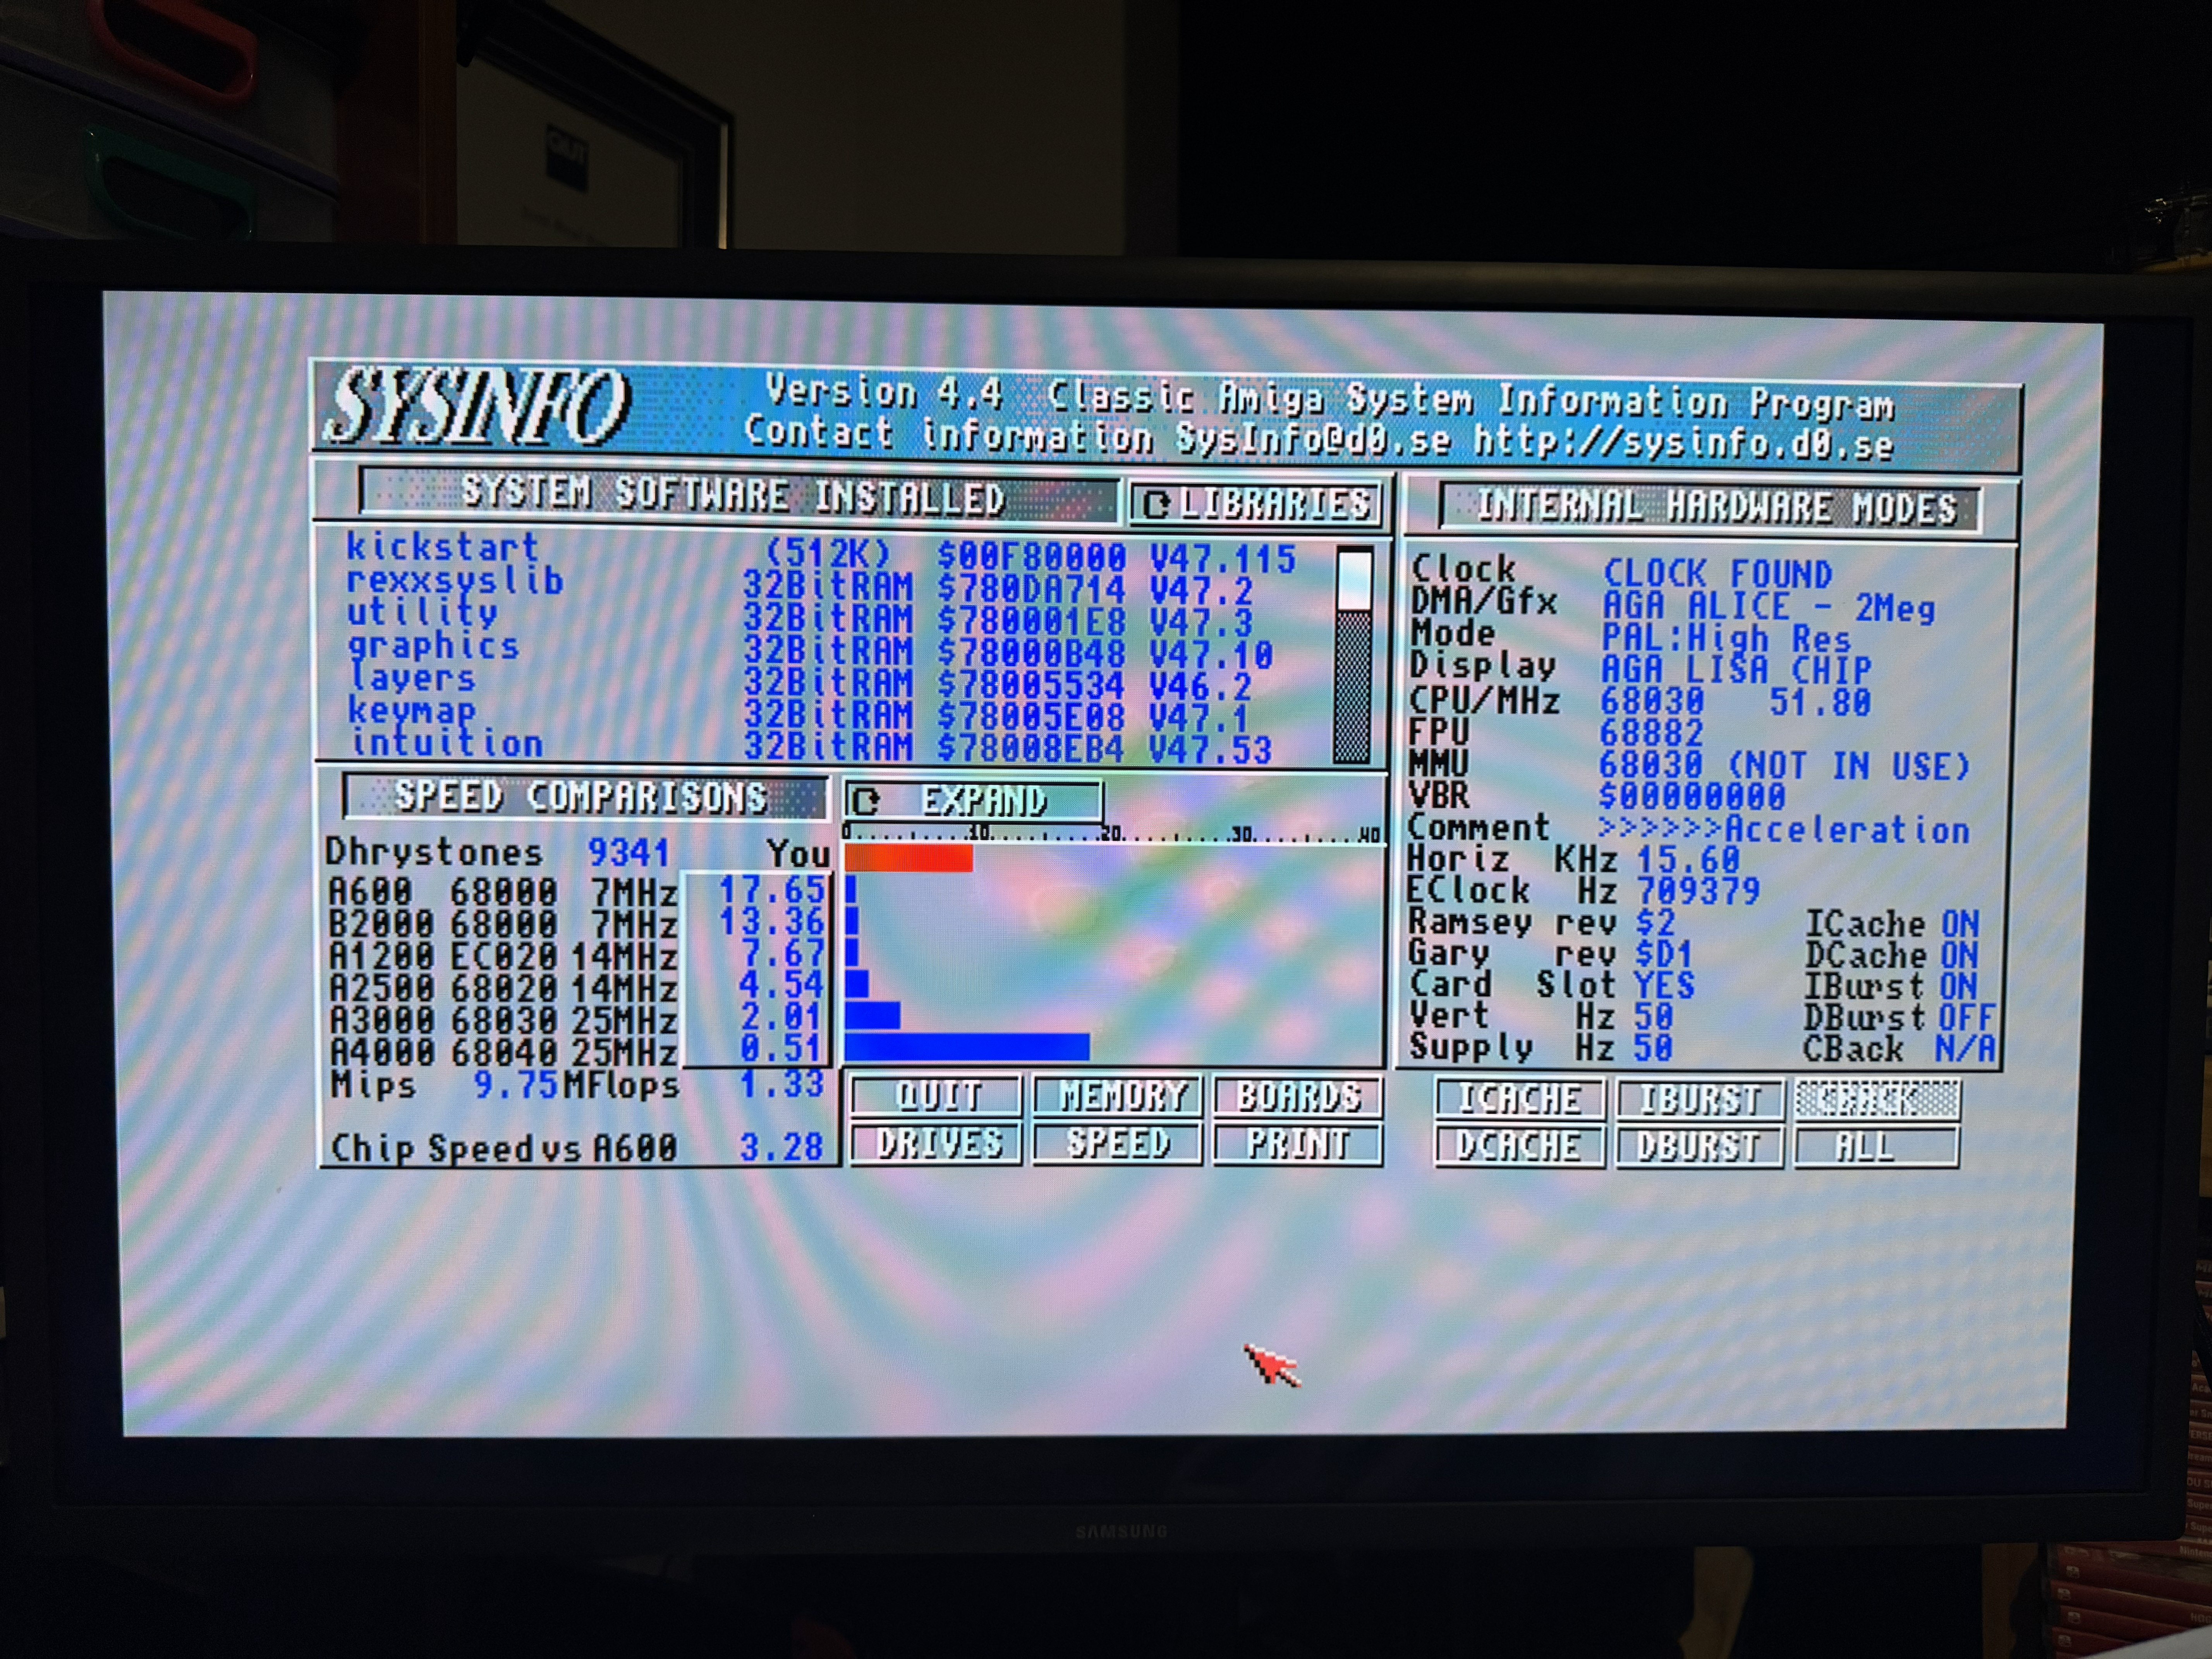
The next upgrade was some acceleration which came via AmiBAY, a Blizzard 1230 mkIV with 64MB of RAM. It took a little longer to arrive from the US, and was advertised without the math co-processor. While the co-processor is rarely used, I wanted it in there. I managed to find one of these quite cheap on eBay and so ordered it. It arrived before the card did, but once the card arrived I plugged the co-processor in and then put the card in my A1200, and ran sysinfo to make sure it was working:
While the original power supply worked, I wanted a modern replacement supply (like I’ve done with my other machines). I purchased one from Electroware’s eBay Shop and swapped it out for the original when it arrived. And then the last hardware upgrade was an external Gotek floppy emulator. These can be found in lots of places and just plug into the existing external floppy port on the A1200. They allow floppy images to be loaded from USB. I already had a PCMCIA to CF adapter and small CF card, which gives me an easy way to transfer files to the A1200 from my PC.
This is my A1200 as it stands right now (including my immortal joystick), all maintenance and upgrades done (for the moment) ready for me to figure out how I actually drive and program this thing. That will be the subject of a future post.
